If you’ve ever looked at an artwork that seems to move or trick your eyes, you’ve seen Op Art. It’s a style that uses lines, shapes, and colors to create optical illusions. Sounds fun, right? But how can beginners get started with it?
In this article, I’ll walk you through simple steps to begin creating your own Op Art. I’ll cover the basics—what it is, why it’s so visually appealing, and how you can start making your designs.
By the end, you’ll have a clear plan to create eye-catching Op Art. You won’t need fancy skills or materials. Trust me, with a bit of practice, you can do this!
So, if you’ve been wondering how to start, I’ve got you covered. Let’s learn in!
What is Op Art?
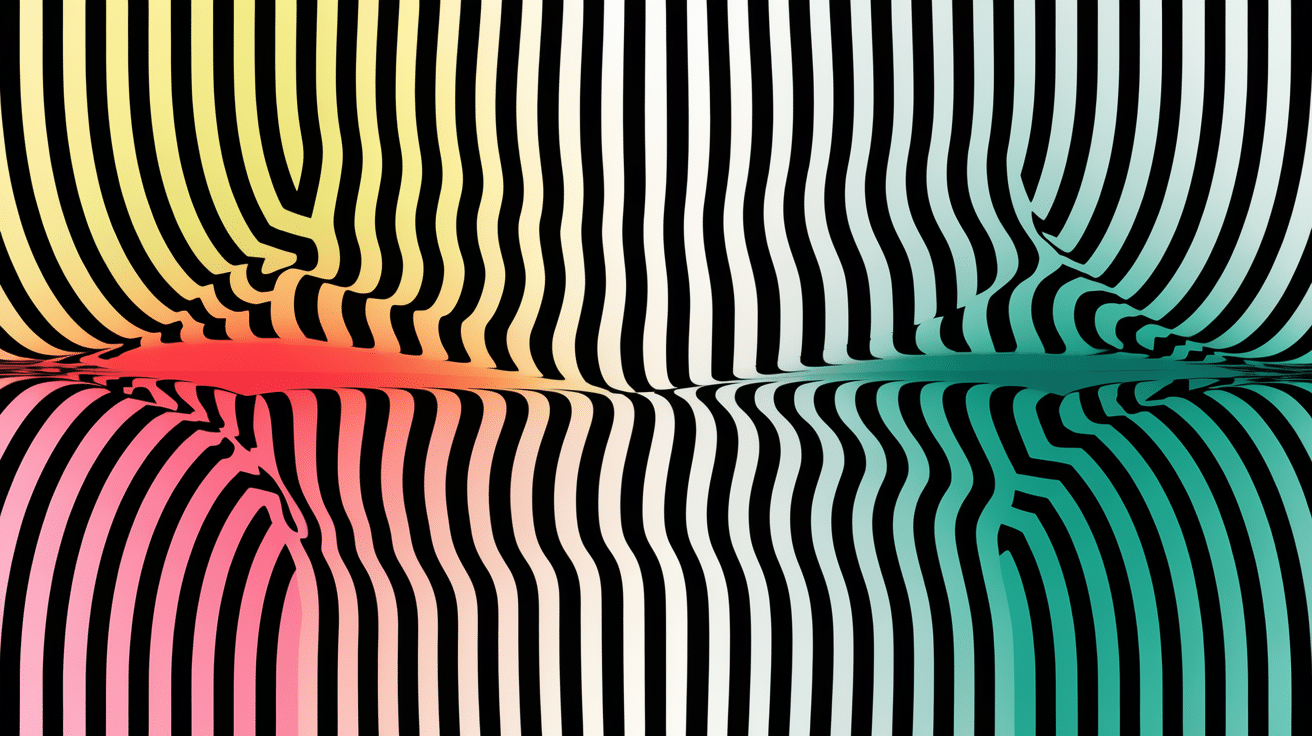
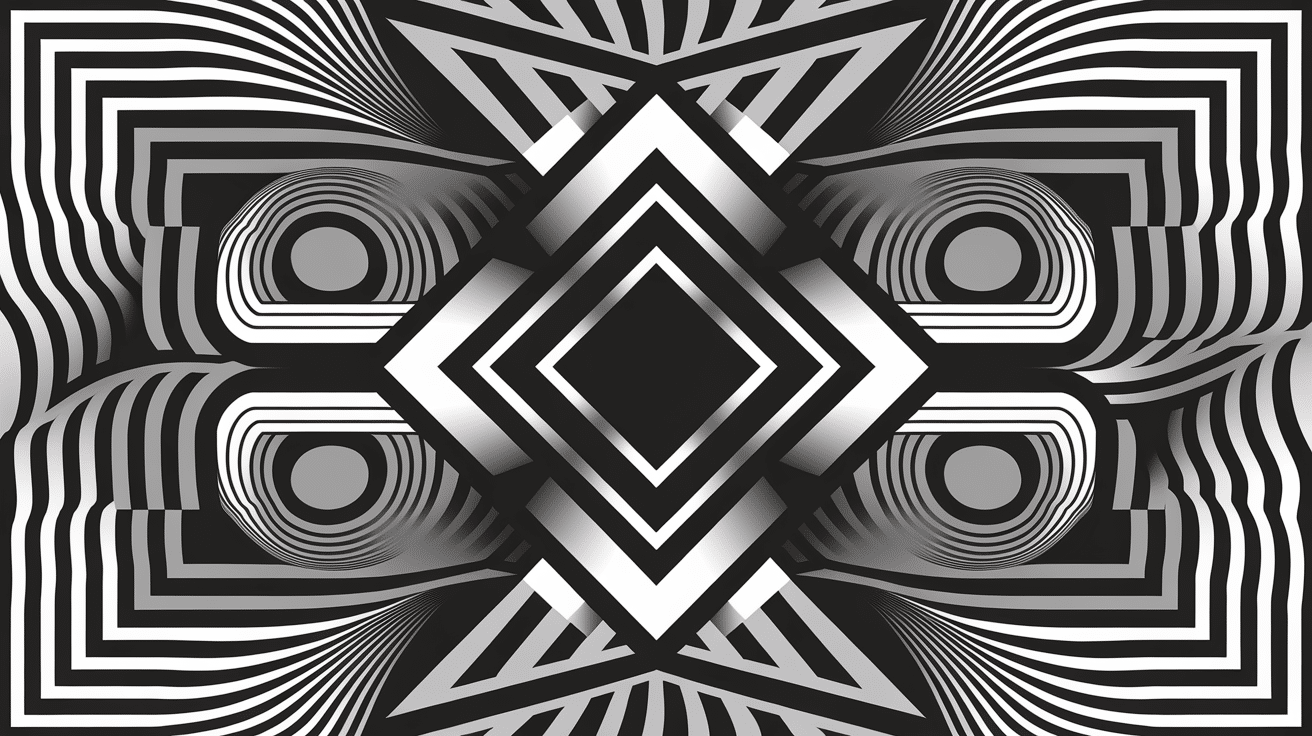
Op Art, short for Optical Art, is a style of art that plays tricks on your eyes. It uses shapes, lines, and colors to create illusions that seem to move or change. When you look at Op Art, it can make your eyes feel like they’re seeing things that aren’t really there.
How does it work?
- Patterns and shapes are arranged in a way that confuses your brain.
- The contrast between black-and-white or bold colors adds to the illusion.
- It’s like a visual puzzle.
Op Art started in the 1960s. Artists wanted to make viewers question what they were seeing. One of the most famous Op Artists is Victor Vasarely. He’s known for his use of geometric shapes and vibrant colors. Another key artist is Bridget Riley, whose works often create moving patterns. These artists helped Op Art become popular and still inspire artists today.
In simple terms, Op Art is all about visual play. It’s fun, and it challenges our way of seeing the world.
Basic Principles of Op Art
Op Art is all about optical illusions. These illusions trick your eyes into seeing things that aren’t really there. When you look at an Op Art piece, it might look like the design is moving, changing, or even jumping off the page.
So, how does it work?
1. Shapes, Lines, and Colors
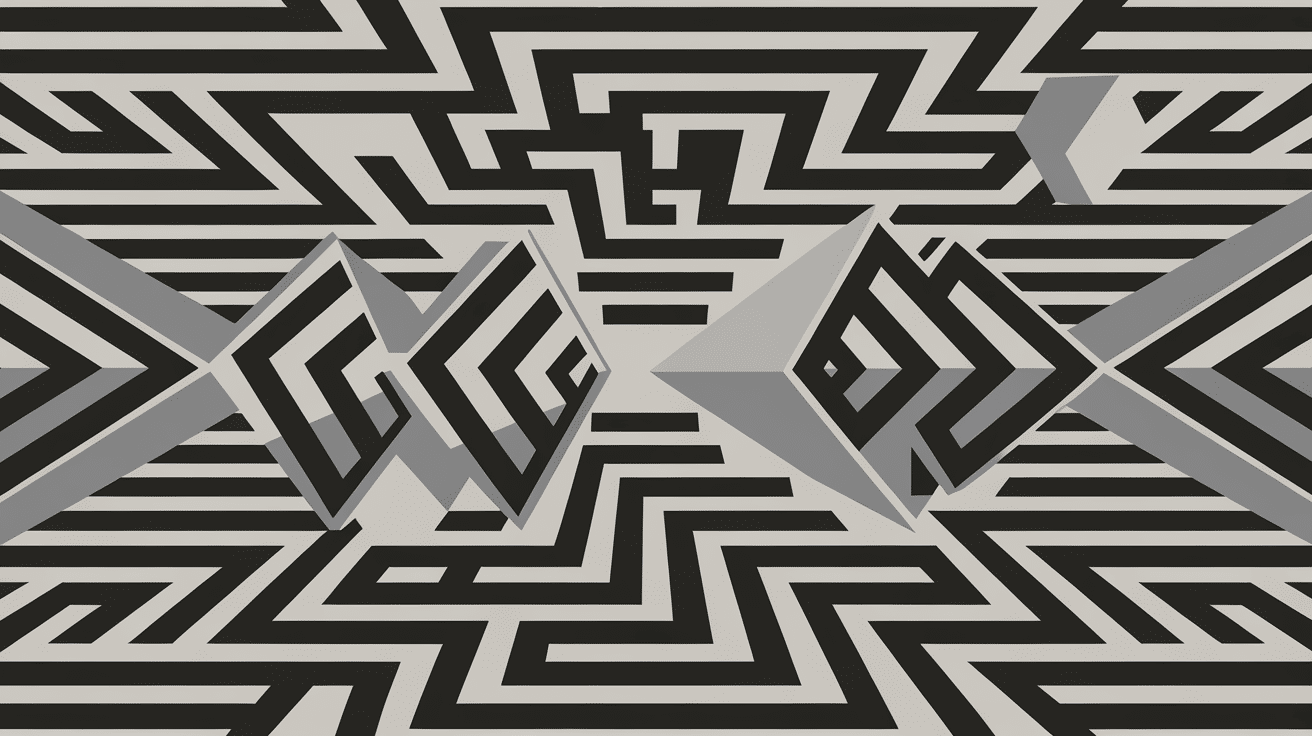
- Artists use geometric shapes—like circles, squares, and stripes.
- Lines and shapes are arranged in a way that messes with your eyes.
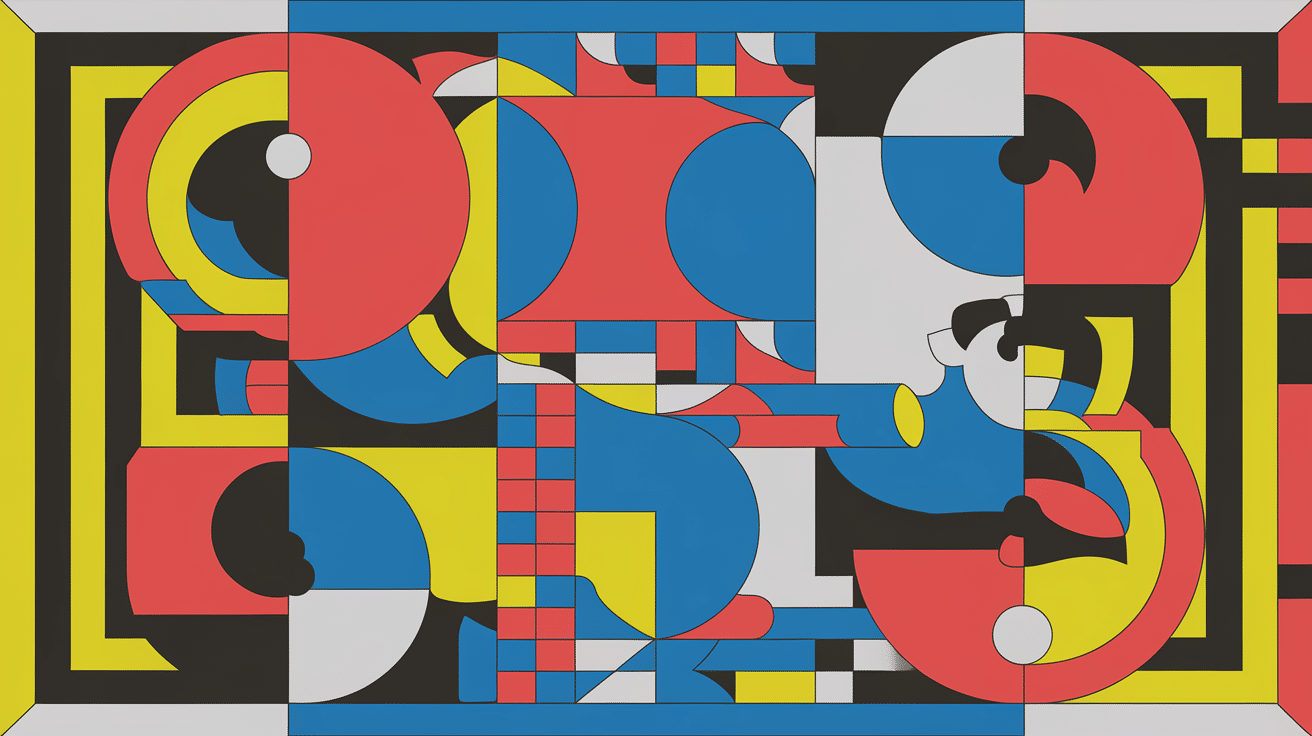
- Colors are often bold and contrasting to create depth and movement.
2. Contrast
- Op Art relies on high contrast—think black and white or bright colors next to dark ones.
- This makes the illusion stronger and more exciting to look at.
3. Movement
- The way shapes are arranged can make them seem like they’re moving.
- Your brain fills in the gaps, making the art feel alive.
In Op Art, everything is about visual play—how shapes, lines, and colors work together to create something that feels like it’s in motion. Pretty cool, right?
Getting Started: Tools and Materials
Ready to create your own Op Art? Let’s talk about the basic tools you’ll need. The good news? You don’t need fancy equipment to get started.
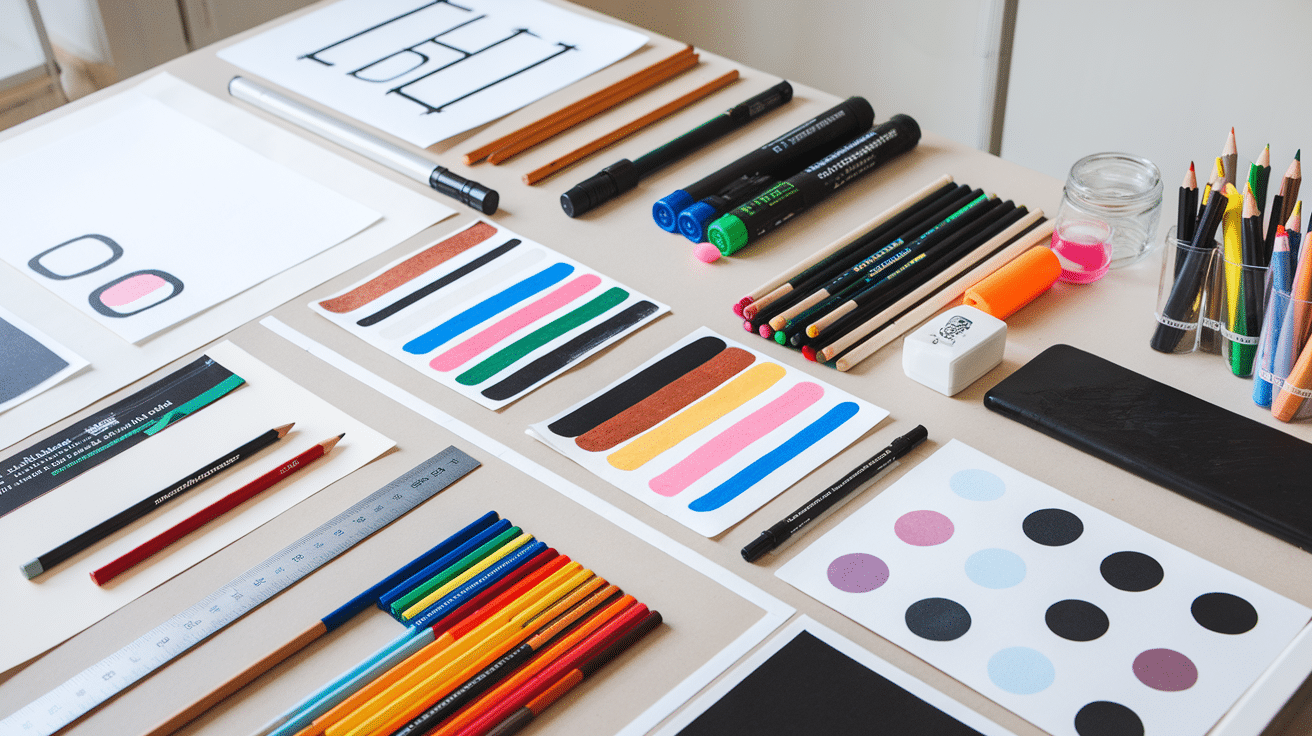
Here’s a list of the basics:
- Paper – Any kind will do, but thicker paper works best for bold lines.
- Pencils – For sketching your designs.
- Rulers – To keep your lines straight and your shapes sharp.
- Markers or Colored Pencils – These are perfect for adding bold color and contrast.
- Eraser – Always helpful for fixing mistakes.
For beginners, I recommend colored pencils or markers. They are easy to use and can be found at any art store or even your local grocery store.
With these simple materials, you’ll be all set to create your first Op Art piece! Keep it basic, and focus on learning the patterns and tricks.
Step-by-Step Guide for Beginners
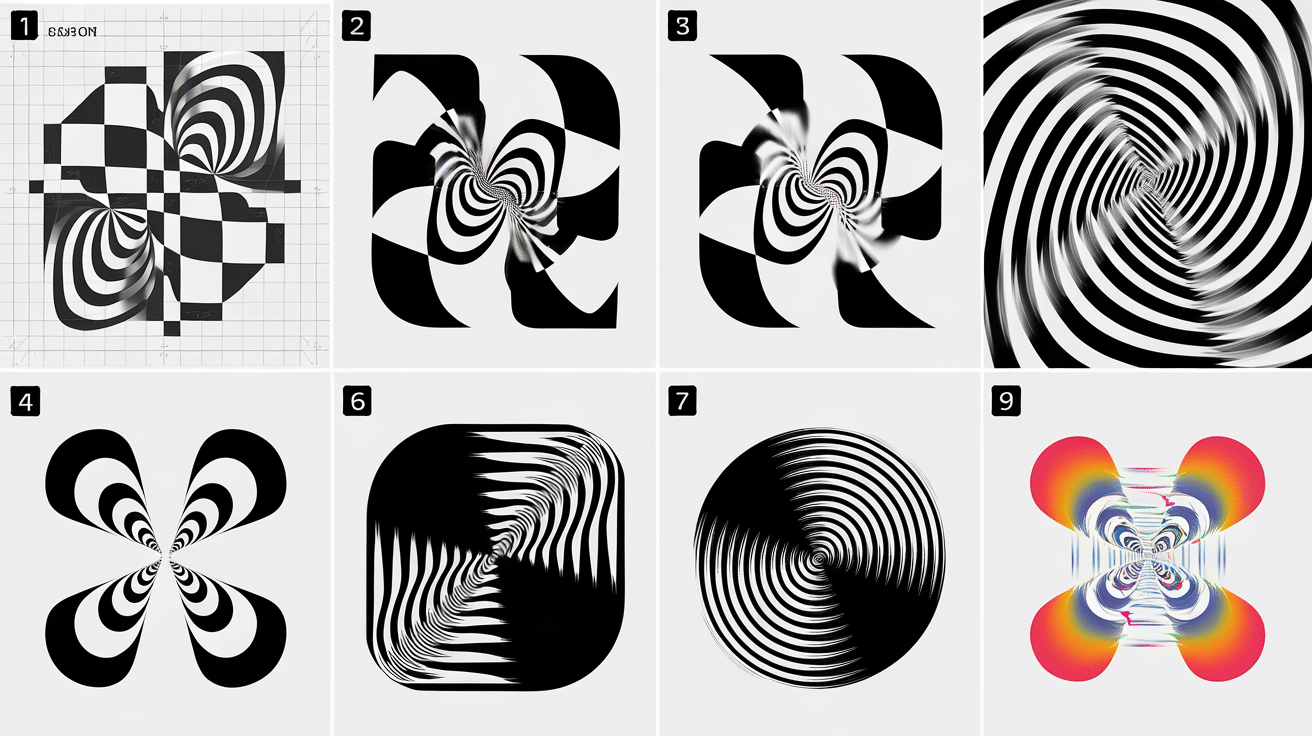
Step 1: Choose a Simple Pattern (Lines, Circles, or Grids)
Start with something simple. Pick basic shapes like lines, circles, or grids. These will give you a solid foundation. It’s easier to work with familiar shapes when you’re starting.
Unique features: Simple shapes are easy to manipulate and combine. They help you focus on mastering the basics before adding complexity.
Step 2: Start with Black-and-White Designs for Simplicity
Begin with black and white. This keeps things simple and lets you focus on shapes and patterns. It’s easier to see how the shapes interact without the distraction of colors.
Unique features: Black and white create high contrast, making your designs bold and clear. This is the best way to focus on learning the principles of Op Art.
Step 3: Add Optical Illusions Using Contrasting Colors and Shapes
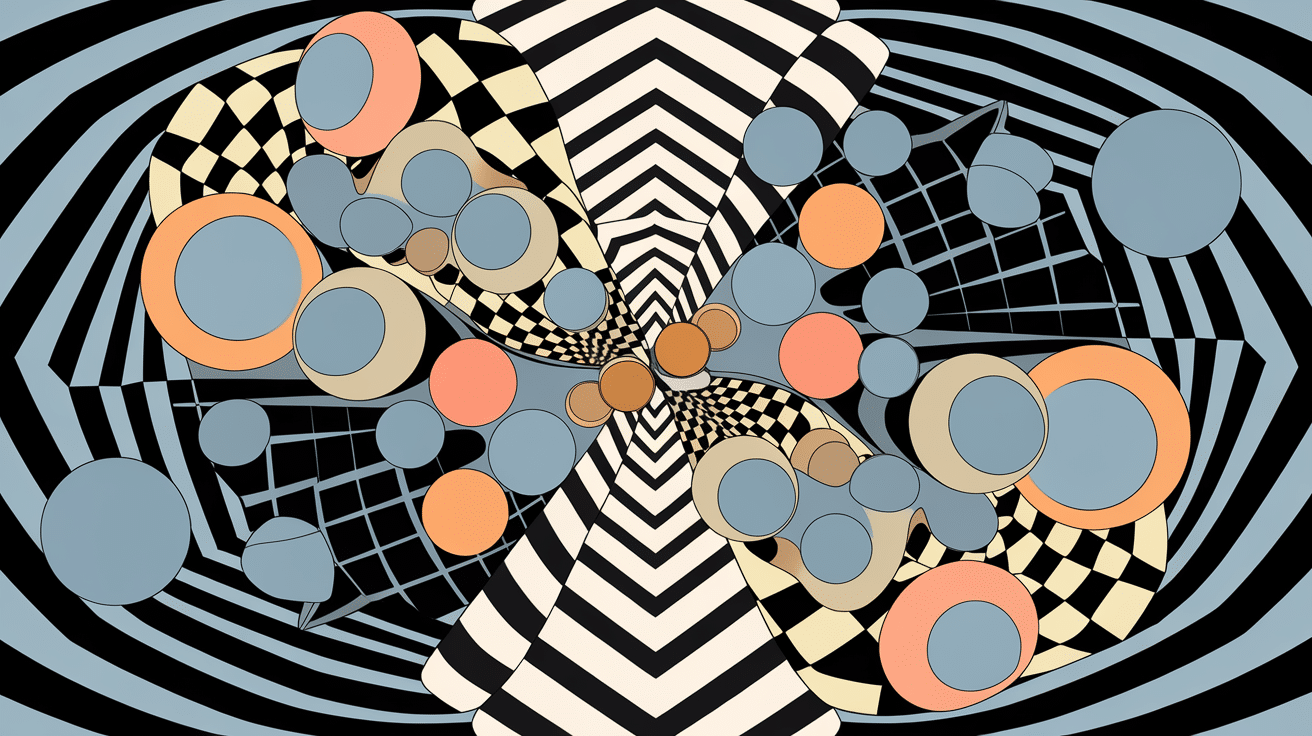
Once you’re comfortable with black and white, add some color. Use bold contrasts, like black next to bright colors, to make the optical illusion more exciting.
Unique features: Contrasting colors help create the illusion of movement, making the artwork pop and seem to come to life.
Step 4: Experiment with Shapes and Spacing to Create a Movement

Now, it’s time to play with the shapes. Adjust their size, spacing, and arrangement. This is where you can make the art look like it’s moving or shifting.
Unique features: Adjusting the spacing between shapes creates different effects. Closer shapes create tension, while more space can make things appear calmer or more dynamic.
Step 5: Practice and Adjust Until You Are Happy with the Result
Op Art takes practice. Don’t worry if your first design doesn’t turn out as you expect. Keep adjusting until you get the effect you want.
Unique features: Practicing is key. The more you experiment, the better you’ll understand how shapes, colors, and spacing create optical illusions.
Tips for Creating Successful Op Art
Creating Op Art can be fun, but it’s important to follow a few tips to make your artwork stand out. Here are some things to keep in mind as you work.
1. Focus on High Contrast
The most effective Op Art uses strong contrasts. Try using black-and-white or bright colors next to dark ones. This will make your design feel more dynamic.
- Tip: High contrast makes the illusion pop and grabs attention.
2. Experiment with Repetition and Symmetry
Repetition is key in Op Art. Repeat shapes, lines, or patterns to create rhythm. Symmetry can also be powerful—balanced designs often work best.
- Tip: Repetition and symmetry help create a sense of order. They guide the eye and make the design more engaging.
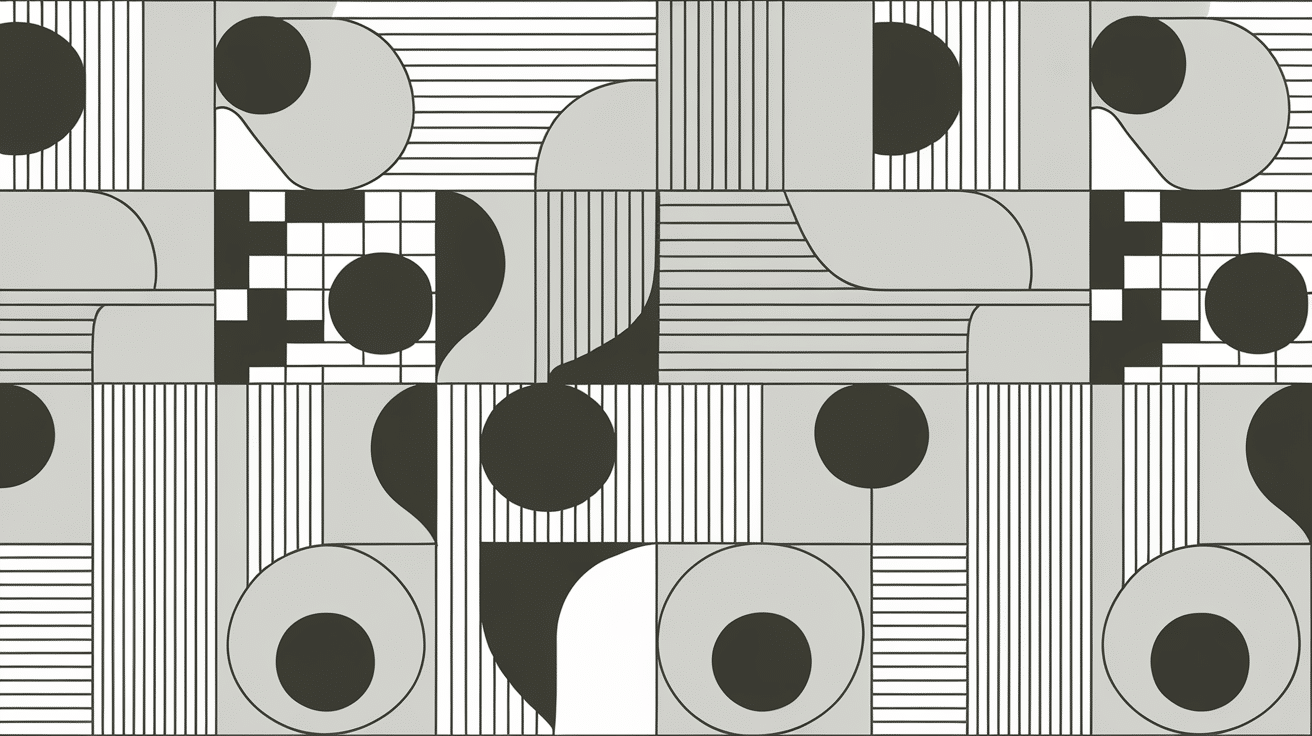
3. Use Geometric Shapes and Patterns
Geometric shapes are the backbone of Op Art. Circles, squares, and triangles create clean, structured designs. You can play around with how these shapes interact to create movement.
- Tip: Simple geometric patterns are easier to control and manipulate. They give your art a crisp, clean look.
Focusing on contrast, repetition, and geometric shapes will help you create successful Op Art!
Common Mistakes to Avoid
As you create your Op Art, it’s easy to make a few mistakes. Here are some common ones to watch out for:
1. Not Using Enough Contrast
One of the biggest mistakes is not having enough contrast. If your shapes and colors are too similar, the optical illusion won’t work.
- Tip: Make sure there’s a big difference between light and dark colors. This will make the patterns stand out.
2. Overcomplicating the Design
Op Art doesn’t need to be complicated. Sometimes, simple designs have the biggest impact.
- Tip: Don’t add too many patterns or colors at once. Stick with a few shapes or colors until you feel comfortable.
3. Misaligning Shapes and Patterns
If your shapes or patterns are off-center or not aligned, they can ruin the illusion—precision matters in Op Art.
- Tip: Use a ruler or guide to keep your shapes neat and aligned. This will help your design look clean and professional.
By avoiding these mistakes, you’ll be on the right path to creating successful Op Art! Keep it simple, bold, and precise.
Conclusion
In this article, I’ve shown you how to start creating your own Op Art. From choosing simple patterns to using high contrast, you now have the tools to make amazing designs. I understand that it can feel tricky at first, but remember, it’s all about playing with perceptions. Trust me, the more you practice, the better you’ll get.
Take your time and experiment with different shapes, colors, and patterns. It’s okay to make mistakes—it’s all part of the process. By following these steps and tips, you’ll be creating fun, mind-bending art in no time. Have fun with it, and enjoy the journey!
Frequently Asked Questions
What materials do I need to create Op Art?
To start your op art designs, you need only paper, pencils, a ruler, and markers or colored pencils.
Can I create Op Art digitally?
Yes! You can use digital tools like Photoshop or Illustrator to create Op Art. The principles of shapes, lines, and contrast still apply.
How long does it take to create Op Art?
It depends on the complexity of your design. A simple piece can take an hour, while more detailed works may take a few hours or more.
Do I need to be an artist to create Op Art?
Not at all! Anyone, even beginners, can create op art. Just focus on basic shapes and lines and experiment with contrast.