

Are you looking to add a special knitting technique to your skills? The two-color brioche stitch creates a thick, squishy fabric with both colors showing on each side.
This cozy stitch makes scarves and hats that keep you extra warm during cold weather. Many knitters think this stitch looks hard at first glance. Don’t worry! While it might take some practice, you can master it step by step.
In this guide, you’ll learn:
- The basic supplies you need
- How to set up your yarn and needles
- Tips to fix common mistakes
I’ve taught this stitch to many beginners who now use it in their favorite projects. With clear instructions and a bit of patience, you’ll be making beautiful two-color brioche pieces in no time.
Tools and Materials You’ll Need
Before we start knitting, let’s gather everything you need. Having the right tools makes learning easier.
Basic Supplies
- 2 balls of yarn in contrasting colors (medium weight works best)
- Circular knitting needles (size US 7-9)
- Stitch markers (at least 2)
- Tapestry needle for finishing
- Scissors
I recommend using circular needles even for flat projects. They hold the stitches better for this technique.
Yarn tip: Pick colors that stand out from each other. Dark blue and light yellow show the pattern clearly. Black and white work well, too.
Your needles should be one size larger than what you’d normally use for your yarn. This helps create that puffy, soft texture that makes brioche so cozy.
Not sure which markers to use? The clip-on kind works best since they’re easy to move. Got everything ready? Great! Let’s move on to learning the basic steps.
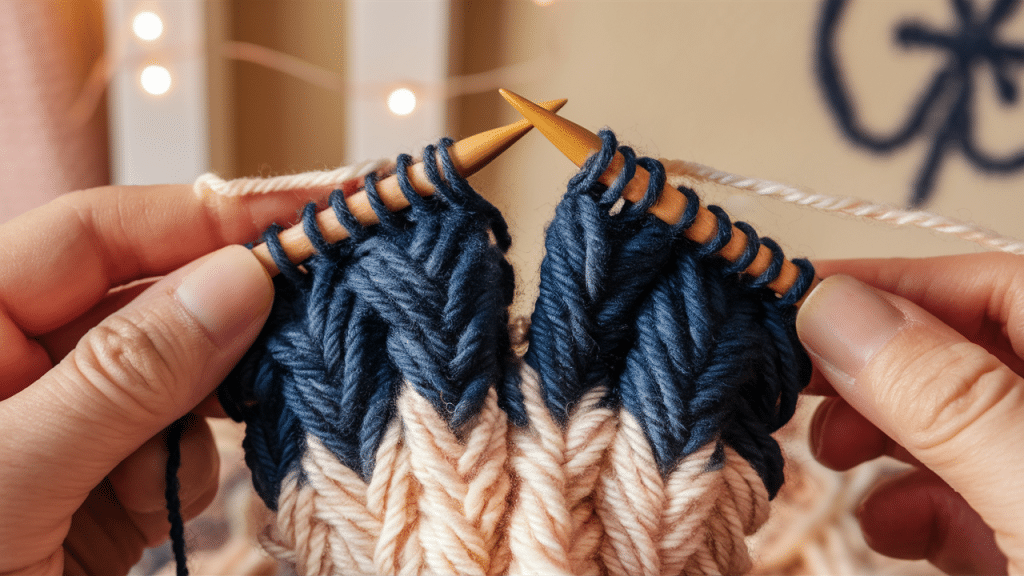
Step-by-Step Guide to Knitting the Two-Color Brioche Stitch
Let me show you how to create this cozy stitch pattern. I’ll break it down into clear steps so you can follow along easily.
Step 1: Cast On and Set Up
Start by casting on an even number of stitches using your main color yarn. I find the long-tail cast-on works best for brioche.
Place a marker at the beginning of your row.
Now for the setup row: Slip one yarn over (yo), knit 1, and repeat this pattern to the end of the row.
This creates the foundation for your brioche pattern.
Step 2: First Color Row
With your first color, work the row this way: Slip the stitch with yarn in front, then knit the yarn over together with the next stitch.
Repeat until you reach the end. This might feel awkward at first.
Don’t worry if it looks loose or strange – that’s normal at this stage!
Step 3: Second Color Row
Now, join your second color of yarn. Don’t cut the first color—just let it hang at the side.
With the new color, work the same pattern: Slip 1 with yarn in front and knit the yarn over together with the next stitch.
Continue to the end of the row.
Step 4: Continue the Pattern
Keep working with your two colors, switching at the end of each row:
- Color A: Slip 1 with yarn in front, knit the next stitch with its yarn over
- Color B: Same pattern as Color A
After a few rows, you’ll start to see the pattern form. The stitches will “pop” and show both colors.
Helpful tip: Count your stitches often. If you drop one, it’s much easier to fix right away than later on.
For a more detailed and visual guide, watch this tutorial by @stephenwest on YouTube:
What Yarn Works Best for Two-Color Brioche?
Picking the right yarn makes a big difference when you’re working on a brioche project. I’ve tried many types over the years and want to share what works best.
Fiber Types
Wool is my top choice for brioche knitting. It has a bit of stretch and holds the stitches nicely. If you’re making a scarf or hat, Merino wool feels soft against the skin.
Alpaca creates extra warm brioche fabric but can be slippery. If you’re just starting out, maybe save Alpaca for your second or third project.
Wool-blend yarns give you the best of both worlds. A wool/nylon blend adds strength while keeping the warmth.
Yarn Texture
Smooth yarns show off the brioche pattern better. Avoid fuzzy or textured yarns when you’re learning this stitch.
The fuzz can hide your stitches and make it hard to spot mistakes.
I once tried using a mohair yarn for brioche – big mistake! I couldn’t see what I was doing and had to start over with a smoother yarn.
Tips for Mastering the Brioche Technique
Learning brioche takes practice, but these tips will help you improve quickly. I’ve collected these pointers from my own experience and from teaching others.
1. Reading Brioche Patterns
Brioche patterns use special terms that might look strange at first. The most common ones you’ll see are “brk” (brioche knit) and “brp” (brioche purl).
When a pattern says “brk,” it means to knit the stitch together with its yarn over from the previous row. For “brp,” you’ll purl the stitch with its yarn over.
I suggest writing these terms on a sticky note until they become second nature to you.
Most patterns will include a key for these special terms, so check that first.
2. Keeping Your Tension Right
Your tension matters a lot in brioche knitting. If you knit too tight, the stitches won’t move freely, and your fabric will look cramped.
Try to keep your yarn tension looser than you normally would. Give those stitches room to breathe!
The yarn-overs need space to sit properly next to their paired stitches.
I find that relaxing my hands and taking breaks helps maintain an even, loose tension throughout my project.
3. Fixing Common Mistakes
We all make mistakes. The trick is fixing them without starting over. Here’s what works for me:
For dropped stitches, use a crochet hook to pick them up. Remember that in brioche, each stitch comes with a yarn over, so you’ll need to grab both.
If you notice a mistake several rows back, try using a safety line. Thread some waste yarn through the row above your mistake, then carefully undo your work to that point.
Count your stitches at the end of each row. This simple habit helps catch problems early when they’re easier to fix.
4. Starting Small
Your first brioche project should be something simple, like a small swatch or bookmark.
This lets you practice without committing to a big project.
I started with a 4-inch square before trying a scarf. That small swatch taught me so much about how the stitches work together.
Once you feel comfortable with the basic moves, you can try larger items like scarves or hats.
Troubleshooting Common Mistakes
Even the most skilled knitters make mistakes with the brioche stitch. I’ve made plenty myself!
Here are solutions to problems you might face while working on your two-color brioche project.
1. Fixing Dropped Stitches
Dropped stitches in brioche can seem scary because of the yarn overs. If you notice a dropped stitch, don’t panic. Place a safety pin through it right away so it doesn’t unravel further.
Use a crochet hook to pick up the stitch. Remember that in brioche, each stitch has a yarn paired with it.
You’ll need to catch both and put them back on the needle in the right order.
For a two-color brioche, pay attention to which color the dropped stitch belongs to.
I find it helps to look at the rows above and below to see the pattern and match the colors correctly.
2. Evening Out Uneven Fabric
Is your brioche looking lumpy or uneven?
This usually happens because of changing tension as you work. The good news is that blocking can fix most unevenness.
To block your finished piece, soak it in lukewarm water with a bit of wool wash. Gently squeeze out extra water (don’t wring it!), then lay it flat to dry in the shape you want.
If one row looks much tighter than others, it might help to go back and fix just that row. It’s worth the time to get an even look.
3. Managing Yarn Overs
Yarn overs can slip off needles or get confused with regular stitches. I mark the beginning of each row with a bright stitch marker to keep track of where I am.
Count your stitches often. Two-color brioche should have the same number of stitches in every row.
If your count is off, you probably missed a yarn over or added an extra one.
When you put your knitting down, always stop at the end of a complete row. This makes it much easier to pick up where you left off without confusion.
4. Dealing With Different Stitch Counts
Sometimes, you might end up with more or fewer stitches than you started with.
So, check if you accidentally knitted two stitches together or dropped a yarn over without noticing.
Also, check if you created an extra stitch by knitting between stitches.
I take a photo of my work when it looks right. This gives me a reference to compare with if something seems wrong later on.
Creative Ways to Use Two-Color Brioche in Your Projects
Now that you’ve learned the basics of two-color brioche, let’s discuss fun ways to use this skill.
I’ve created many brioche projects over the years and want to share some ideas to spark your creativity.
1. Adding Brioche to Hats and Mittens
Brioche makes extremely warm hats because of the double-thick fabric. You can use brioche for the brim of a hat, then switch to another stitch for the crown.
For mittens, try using brioche for the cuffs. They’ll stretch nicely over your hands while keeping your wrists extra warm.
Important tip: When making fitted items with brioche, keep in mind that this stitch is less stretchy than regular ribbing. Make your projects slightly larger than you normally would.
2. Mixing with Other Stitch Patterns
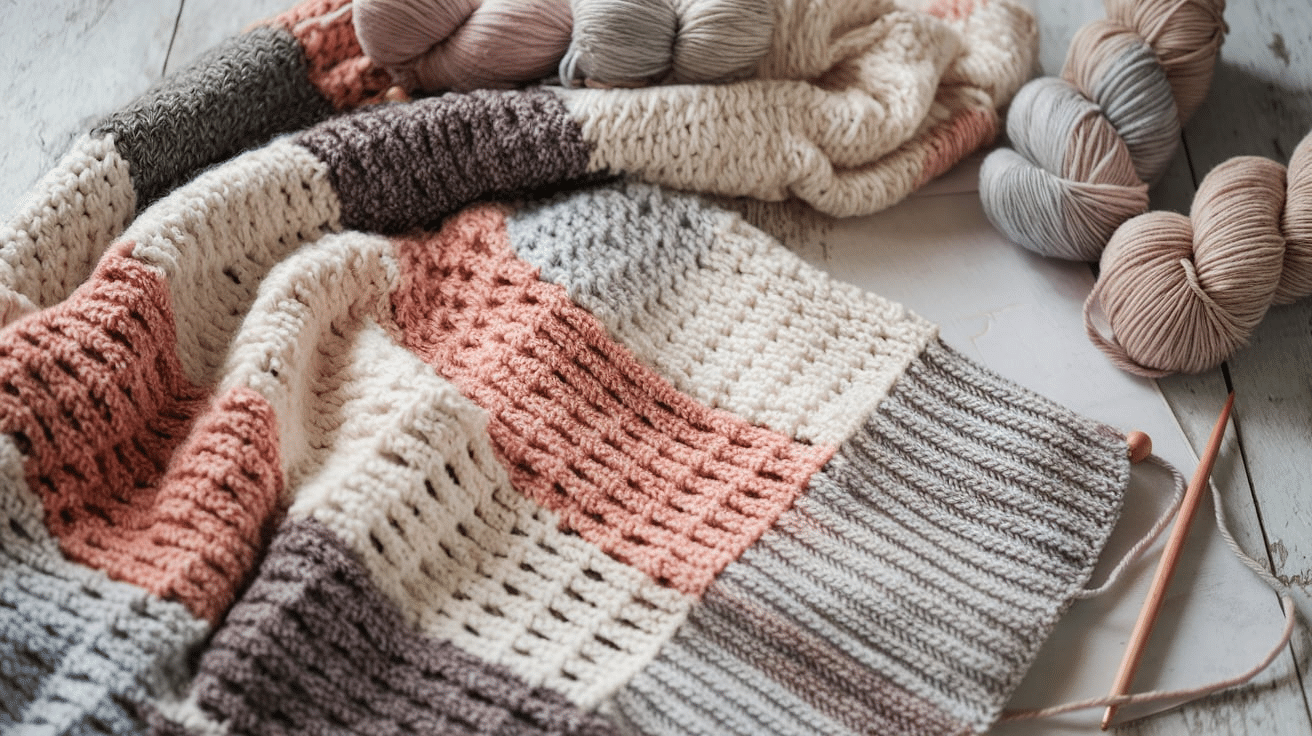
Brioche doesn’t have to stand alone. You can combine it with garter stitch for texture contrast, cables for added depth, and stockinette for smooth sections.
I once made a blanket with strips of brioche between panels of simple stockinette.
The brioche sections popped out while the stockinette stayed flat, creating a striking effect.
3. Playing with Colors
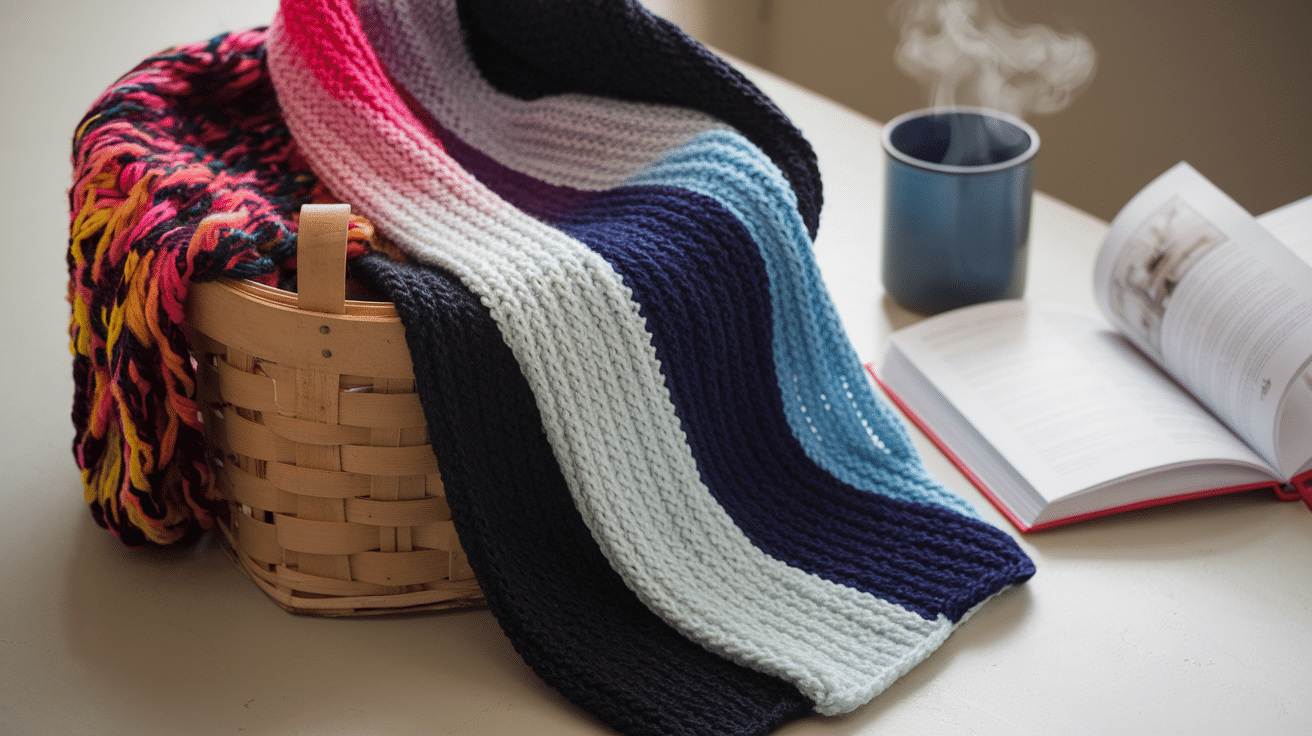
While high-contrast colors show the stitch pattern clearly, don’t be afraid to try other combinations.
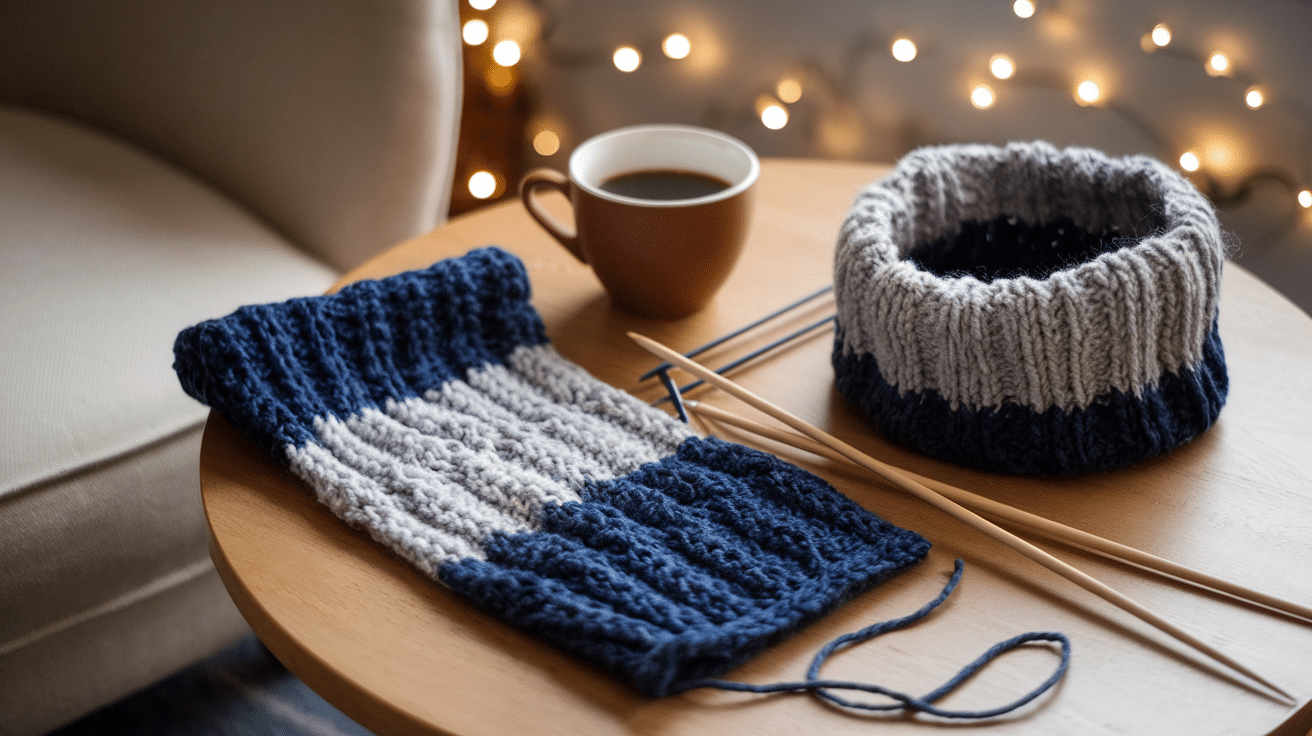
Tone-on-tone colors (like navy with sky blue) create subtle, classy looks.
Variegated yarn paired with solid yarn can create interesting shifts in the pattern. I used a rainbow yarn with black for a scarf that looked different in every section.
Try flipping your colors partway through a project. This simple change creates distinct sections without learning new techniques.
Conclusion
Two-color brioche might initially seem tricky, but with the right tools and some practice, you can master this wonderful technique. Remember to choose yarns with good contrast, keep your tension loose, and count your stitches often.
Start small with a simple swatch or scarf before trying more complex projects. The basics we covered – from setting up rows to fixing mistakes – will help you build confidence with each stitch you make.
I’d love to see what you create! Try making something small this weekend and notice how the squishy, reversible fabric forms with each row. The satisfaction of completing your first brioche project is worth the learning curve.
What brioche project will you try first? Share your experience in the comments below!
Frequently Asked Questions
Can I Knit Two-Color Brioche in The Round?
Yes, you can knit two-color brioche in the round by alternating colors every round. Be sure to use a stitch marker to keep track of your starting point.
How Do I Prevent My Brioche Stitches from Getting Too Tight?
Keep a relaxed grip and avoid pulling the yarn too tightly when working brioche stitches. Using slightly larger needles than usual can also help maintain a looser fabric.
Is the Brioche Stitch Good for Beginners?
Yes, but it requires patience. Start with a small project like a swatch to practice the stitch before moving on to larger pieces like scarves or hats.


