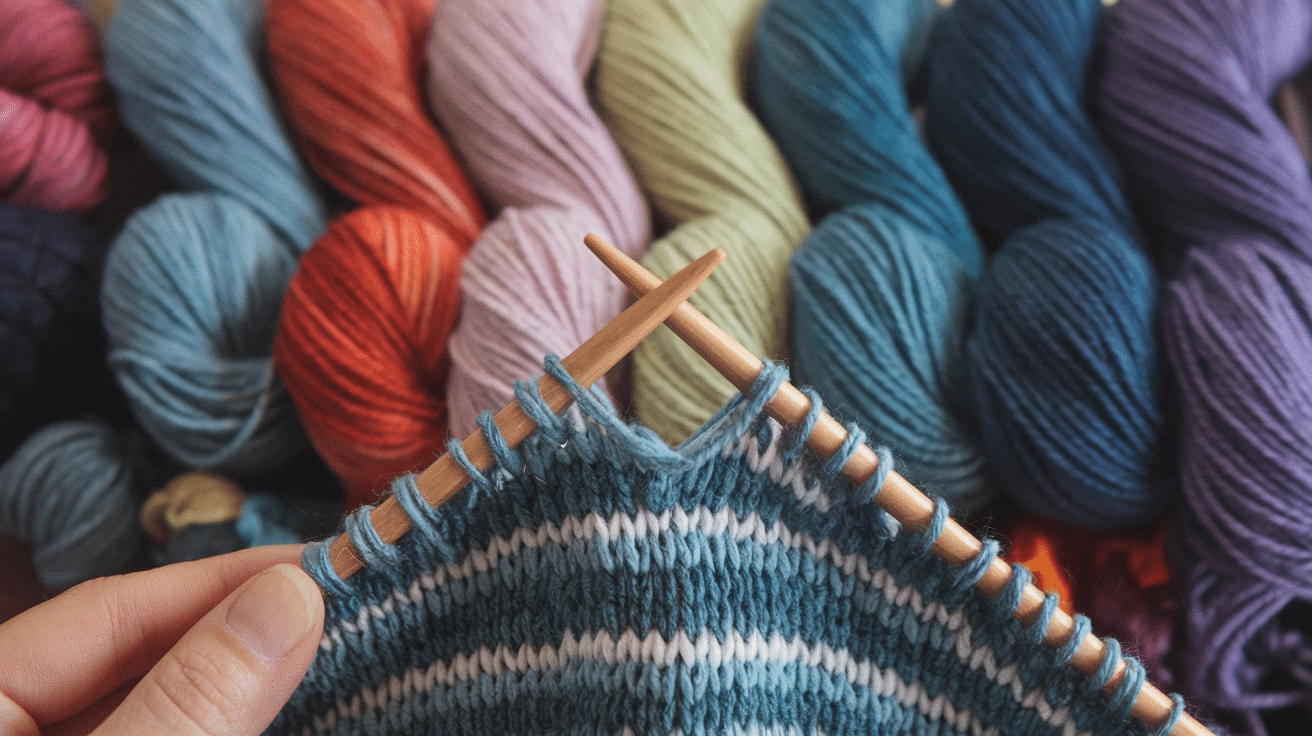
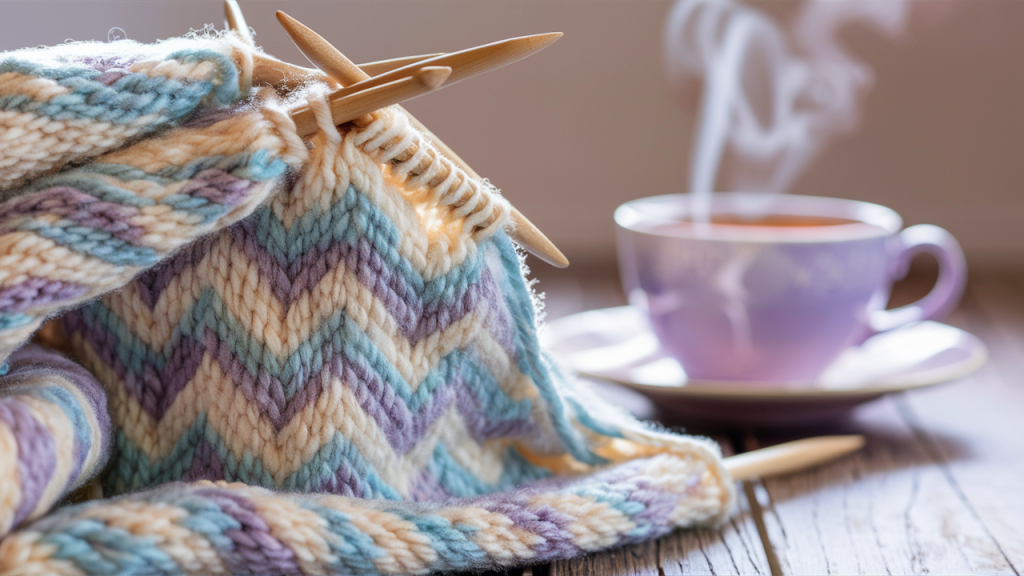
In this article, I’ll show you exactly how to knit a beautiful zig-zag chevron pattern from start to finish.
Are you struggling to create those perfect peaks and valleys in your knitting? You’re not alone. Many knitters find chevron patterns intimidating, but I’ve got you covered with simple, clear steps.
Once you understand the basic principle of balanced increases and decreases, the technique is easier than it looks. The zig-zag chevron pattern is perfect for:
- Beginners ready for their first intermediate pattern
- Quick-to-finish scarves and dishcloths
- Adding visual interest to simple projects
- Using up colorful yarn scraps
Ready to transform your flat knitting into dynamic waves? Let’s dive in!
What Is a Zig-Zag Chevron Pattern?

A zig-zag chevron pattern creates bold, diagonal lines that flow back and forth, forming peaks and valleys. It’s simple to knit but looks dynamic and eye-catching.
You can make the pattern naturally take shape by combining increases and decreases. What I love about it:
- It’s easy to follow and feels timeless.
- It works well with any yarn or project size.
- You see progress row by row, which is really satisfying.
Once you master the increases and decreases, the zig-zag will appear naturally. The rhythm is simple, the results are beautiful, and the process is truly enjoyable.
Materials Needed
Before we start, let’s gather materials and tools that you’ll need for your Chevron adventure:
- Yarn (medium weight works best for beginners)
- Knitting needles (size appropriate for your yarn)
- Stitch markers
- Scissors
- Tapestry needle for weaving in ends
My personal tip: Choose a light-colored yarn for your first chevron project. Dark colors make it harder to see your stitch pattern.
I prefer using wooden needles for chevron patterns. They grip the yarn just right, preventing those pesky slips that can throw off your pattern. Want to make your knitting even easier? A row counter can help you track where you are in the pattern.
Step-By-Step Instructions
1. Materials and Setup
I love knitting chevron patterns, and I know you will too! Before we start, gather your supplies: yarn, appropriately sized knitting needles, stitch markers, scissors, and a tapestry needle.
Cast on a multiple of 14 stitches, plus 2 extra stitches. For example: 44 stitches for a small project, 72 for medium, or 100 for large. I prefer the long-tail cast-on method for a nice, stretchy edge that works perfectly with the zigzag design.
2. Creating The Chevron Pattern
The first row creates the foundation for your pattern. Start with K1 (knit 1), then K5, k2tog (knit 2 together), k4, yo (yarn over), k1, yo, k4, ssk, k5.
Repeat everything between the stars until you have 1 stitch left, then K1. For Row 2, simply purl all stitches from beginning to end.
Did you notice how the increases and decreases are balanced? That’s the secret to maintaining your stitch count while creating those beautiful peaks and valleys.
3. Building Your Project
Keep repeating Rows 1 and 2 until your project reaches the desired length. With each repeat, you’ll see those zigzags forming more clearly.
It’s like magic happening right in your hands! Stop occasionally to spread out your work and check your pattern. Are the zigzags even?
Count your stitches every few rows to make sure you haven’t accidentally added or dropped any. Trust me, it’s easier to fix mistakes early!
4. Troubleshooting Common Issues
If your chevron pattern looks uneven, check that you’re placing your increases (yarn overs) and decreases (k2tog and ssk) in exactly the right spots.
Counting stitches between pattern repeats helps catch errors. Having trouble remembering the pattern? Try placing stitch markers between each 14-stitch repeat.
This makes it easier to spot if you’ve made a mistake before you’ve gone too far. Don’t worry if you struggle at first – this pattern becomes second nature with practice.
5. Finishing Your Work
When your project reaches the perfect length, bind off loosely to maintain the flexibility of your edge. Knit the first two stitches, pass the first stitch over the second, knit one more stitch, and continue this pattern until all stitches are bound off.
Finally, weave in your loose ends with a tapestry needle and block your project by wetting it and laying it flat to dry. Blocking is essential – it helps the chevron pattern really pop and gives your finished piece that professional look you’ll be proud to show off!
Common Mistakes and Troubleshooting
Even experienced knitters make mistakes with chevron patterns. It’s easy to get tripped up when learning a new pattern, but most errors are fixable once you know what to look for. In this section, I’ll point out common errors and share simple tips to keep your knitting on track.
1. Uneven Stitch Count
This usually happens when you forget a yarn over or accidentally add an extra one. Count your stitches after each pattern row. If you’re off, check your most recent row for missed increases or decreases.
- Problem: Your total stitch count changes from row to row.
- Quick fix: Place stitch markers between each 14-stitch pattern and repeat. This will help you spot where things went wrong.
2. Zigzags Don’t Line Up
This happens when you work the increases and decreases in slightly different spots across rows. The pattern should create a clear vertical alignment of peaks and valleys.
- Problem: Your peaks and valleys don’t stack neatly on top of each other.
- Quick fix: Use the stitches from the previous row as guides. Your decreases (K2tog) should always fall in the same spot to create straight valleys.
3. Holes Where You Don’t Want Them
Unintended holes usually happen when you accidentally wrap the yarn around the needle between stitches.
- Problem: You have extra holes appearing outside your planned yarn overs.
- Quick fix: Be mindful of your yarn position as you work. After completing a stitch, the working yarn should always be behind your right needle before starting the next stitch.
4. Puckered Edges
This is common with chevron patterns because the decreases pull the fabric inward. It’s completely normal!
- Problem: The edges of your work curl or pucker inward.
- Quick fix: Proper blocking will solve this issue. Wet the block with your finished piece, gently stretching and pinning the edges straight while it dries.
5. Pattern Looks Flat and Not Zigzag
This usually means your increases and decreases aren’t creating enough definition, or your tension is too loose.
- Problem: Your pattern looks more like gentle waves than sharp zigzags.
- Quick fix: Make sure you’re making two decreases at each valley point (K2tog twice) and two increases at each peak (YO, K1, YO). Blocking will also help define the pattern.
Finishing Touches
When you’ve completed the pattern, the final steps bring it to life. Taking the time to properly bind off, block, and add any finishing details can turn your zig-zag chevron piece into something truly special.
With just a few extra steps, you’ll have a polished, professional-looking project. Once your piece reaches the desired length, it’s time for the finishing touches:
Blocking is especially important for chevron patterns. It helps even out the stitches and makes the zigzags pop! To block your work:
- Soak it in lukewarm water with a bit of wool wash
- Gently squeeze out excess water (don’t wring!)
- Lay flat on a towel or blocking mat
- Pin the edges to shape, emphasizing the points of your zigzags
- Let dry completely
The transformation after blocking is amazing. Your zigzags will look sharper and more professional.
Project Ideas and Applications
The zig-zag chevron pattern offers endless project possibilities, from cozy home décor to stylish fashion pieces. Now that you’ve mastered the basic chevron stitch, the possibilities are endless!
- A cozy chevron scarf
- Stylish dishcloths or washcloths
- A zigzag baby blanket
- Funky chevron socks
- A statement pillow cover
Chevron patterns also work beautifully with color changes. Try switching yarn colors at the peaks or valleys for extra visual impact!
I recently made a chevron table runner using cotton yarn in three colors. It brightens up my dining room and gets lots of compliments!
Conclusion
You did it! You now have all the skills to create gorgeous chevron patterns in your knitting projects.
I’ve taught hundreds of knitters this technique, and the joy on their faces when they see those first perfect zigzags appear is priceless.
Your new Chevron skills open up so many possibilities:
- Eye-catching scarves and blankets
- Unique baby gifts that parents treasure
- Home décor that showcases your craftsmanship
- Patterns that work with any yarn in your stash
Remember that even experienced knitters make mistakes. Count your stitches often and use those stitch markers! The chevron pattern might seem tricky at first, but you now have clear steps to follow. With each row, you’ll gain confidence.
I can’t wait to see what you create with your new zigzag skills!
Happy knitting!
Frequently Asked Questions
Can I Use Any Yarn for A Chevron Pattern?
Yes, you can use any yarn type for chevron patterns. Just make sure to use the right needle size for your chosen yarn.
How Do I Fix a Mistake in My Chevron Pattern?
Count your stitches in each repeat, and use a lifeline before you start. It’s often easier to undo back to your lifeline than to fix mistakes mid-pattern.
Why Does My Chevron Pattern Look Wavy Instead of Zigzag?
Your tension might be uneven, or you might need to block your work. Blocking will help define those sharp peaks and valleys.
Can Beginners Knit a Chevron Pattern?
Yes! If you can knit, purl, and do basic increases and decreases, you can knit a chevron pattern. Start with a small project like a dishcloth.
How Do I Make My Chevron Pattern Wider or Narrower?
When casting on, add or subtract complete pattern repeats. Remember that each zigzag in our pattern needs 14 stitches plus the 3 edge stitches.


