


Caring for a baby while staying hands-free can be a real help during busy days. Baby wraps are a simple way to keep little ones close, calm, and cozy. Store-bought wraps can be costly or hard to use, but making one at home is easier than it sounds.
With just a bit of fabric and a few minutes, anyone can create a soft, safe wrap that works well for everyday use. No need for sewing skills or fancy tools—follow a few easy steps. A homemade baby wrap is budget-friendly, comfy, and great for bonding.
This guide walks you through the process of creating a DIY baby wrap at home, from selecting the right fabric to wrapping it safely. It’s a quick project with lasting benefits, making it a great option for anyone seeking a simple way to carry a baby close.
What Is a Baby Wrap?
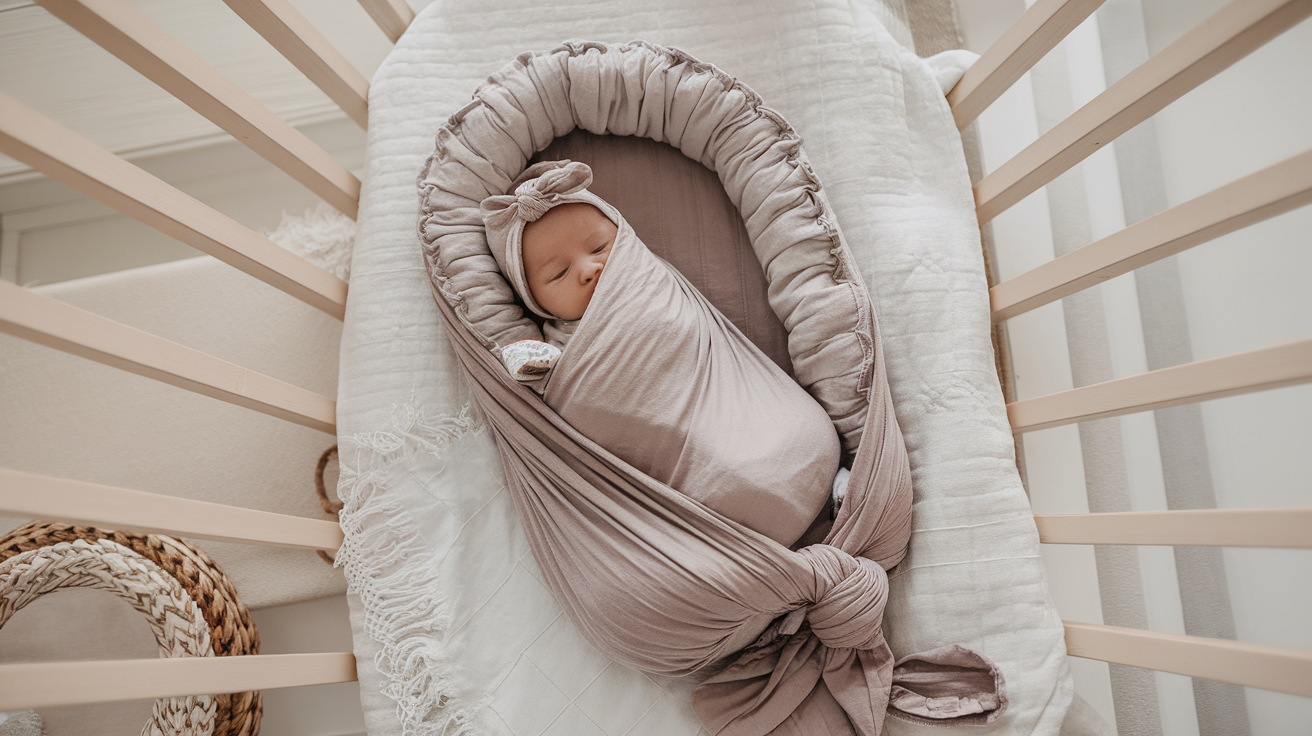
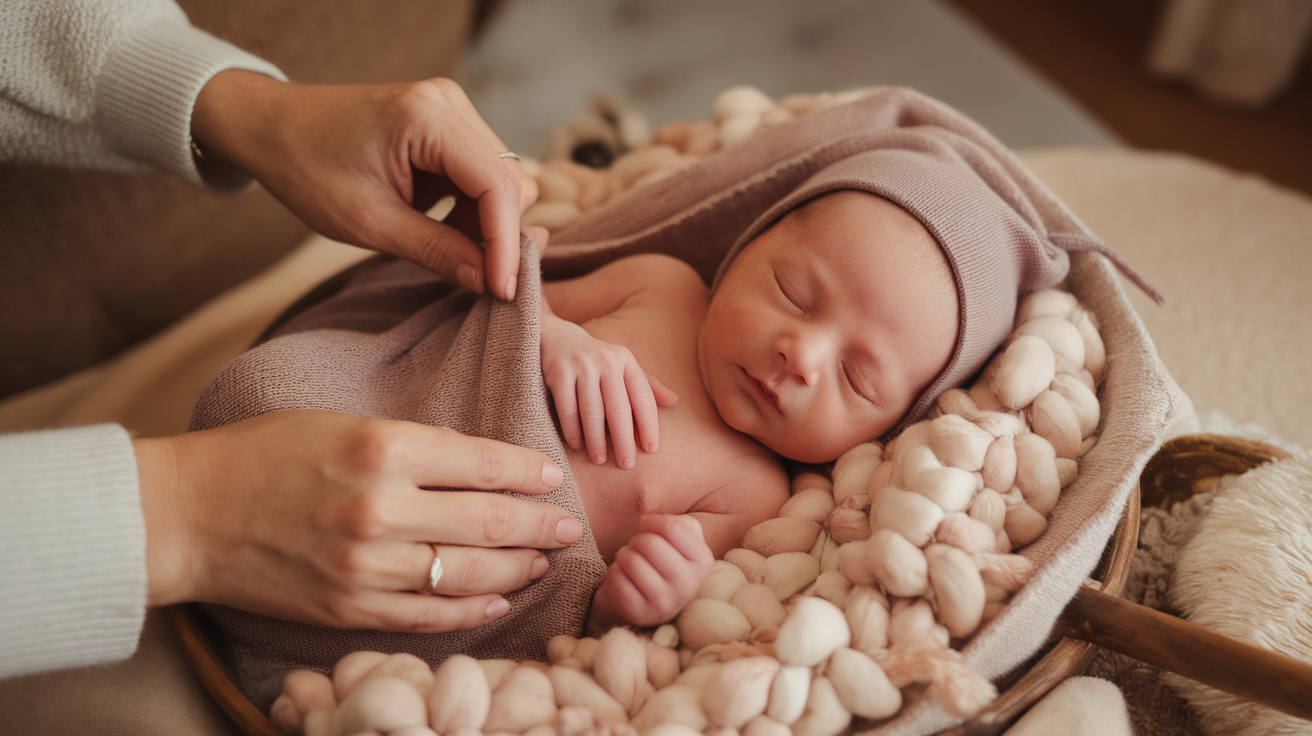
A baby wrap is a long, stretchy piece of soft fabric used to carry a baby close to the body. It wraps around the shoulders, chest, and back to create a snug and safe hold for the baby. When tied correctly, it supports the baby’s head, neck, back, and legs.
The baby sits high on the chest, close enough to kiss, and is held in a natural, cozy position. Baby wraps are a popular choice for newborns and small babies because they provide a warm, secure, and calming experience, much like being held in a parent’s arms.
They also help the person wearing the wrap stay hands-free while walking, doing chores, or just relaxing. A baby wrap is a simple, affordable way to keep your baby close, happy, and safe throughout the day.
Why Use a Baby Wrap?
Using a baby wrap offers numerous benefits for both the baby and the person carrying them. A baby wrap keeps the baby close, which helps them feel safe, warm, and comforted.
Being held against the chest allows babies to hear their own heartbeat, feel gentle movement, and remain calm. It also makes everyday life easier for parents and caregivers, as it leaves their hands free to attend to chores, shop, or care for other children.
Baby wraps are soft, lightweight, and easy to pack, making them great for use at home or while traveling. They can also provide additional support and privacy for breastfeeding. Best of all, using a wrap can build a strong bond between the baby and the person carrying them, creating more chances for cuddles, smiles, and happy moments throughout the day.
What You’ll Need
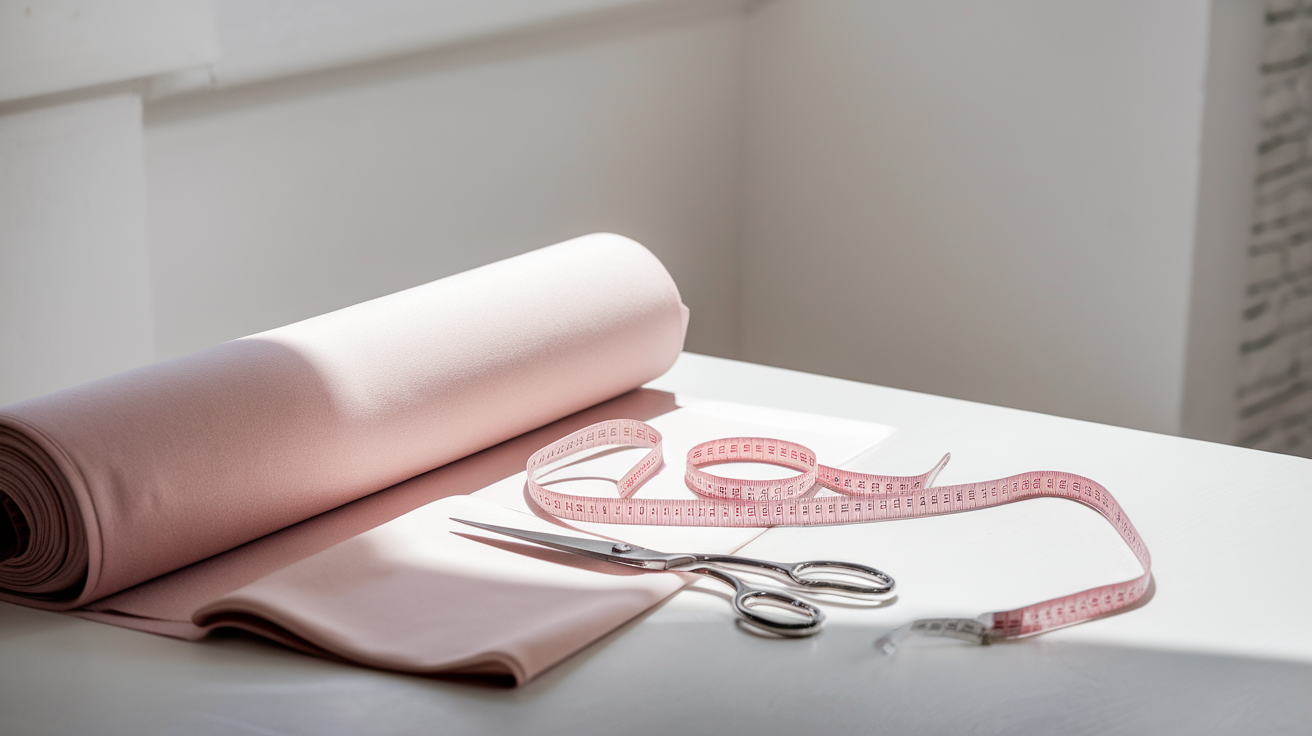
You don’t need much to get started. A list of items you’ll need:
-
5 to 6 yards of soft, stretchy fabric
-
Fabric scissors
-
Measuring tape
-
A flat surface to work on
Optional:
-
Chalk or a fabric marker
-
Pins or clips to help cut in a straight line
Best Fabric for a Baby Wrap
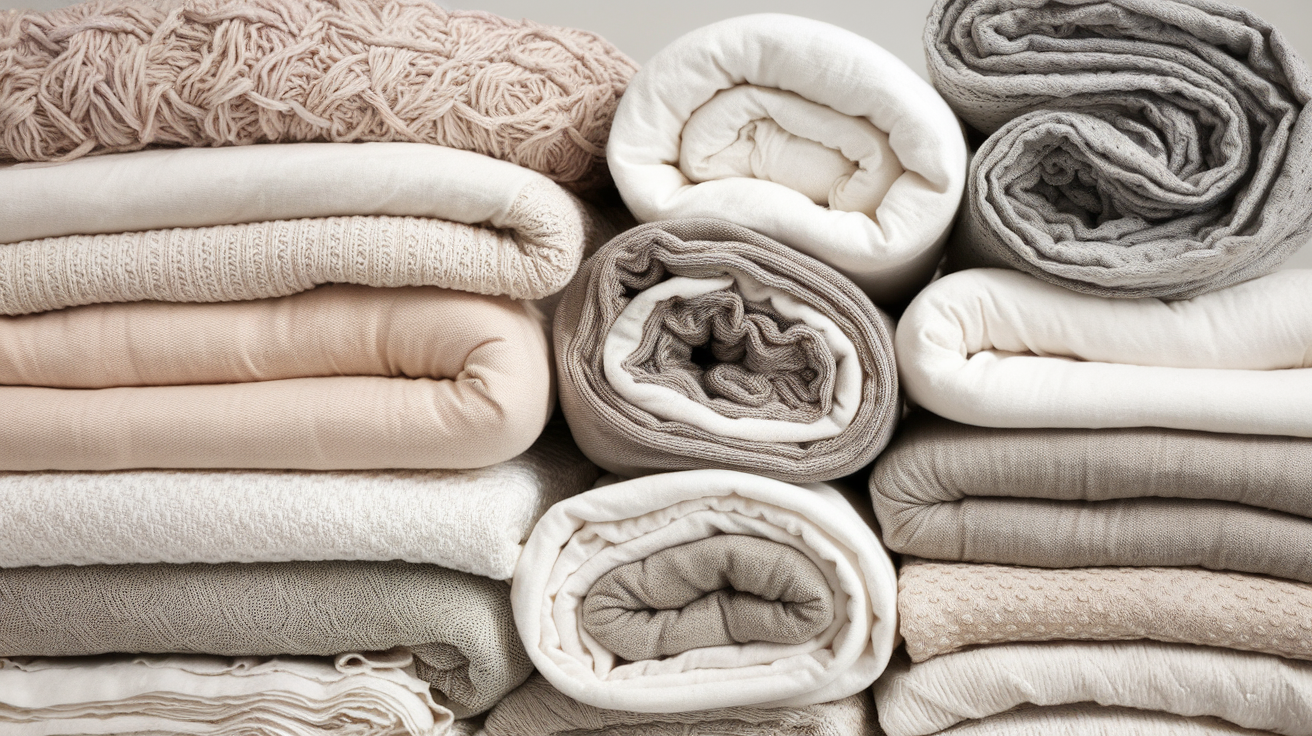
The fabric is the most important part. You want it to be soft, stretchy, and breathable.
Best Options:
- Cotton jersey knit: Soft and stretchy. Great for beginners.
- Modal or bamboo blends: Very soft and breathable. Good for warm weather.
- Stretchy cotton blend: Holds its shape while remaining comfortable.
Fabric Tips:
- Choose something with at least 5–10% spandex or Lycra so it stretches well.
- Avoid fabric that’s too thick or rough. It can make wrapping hard and may be too warm for the baby.
How Long Should the Fabric Be?
The length of the fabric is very important when making a baby wrap. Most DIY baby wraps should be between 5 to 6 yards long. This gives enough fabric to wrap around the body and tie safely, no matter the size of the person wearing it.
A wrap that is too short might not support the baby well or could come undone. A wrap that is too long can feel bulky, but it can always be tied with extra knots. The width of the fabric should be about 20 to 30 inches, which is wide enough to support the baby’s back, bottom, and legs without too much extra fabric getting in the way.
Always make sure the fabric length and width are enough to fit comfortably and securely for both the baby and the person wearing it.
Step-by-Step Guide to DIY Baby Wrap
Making your own baby wrap is simple and fun. Follow these easy steps to create a soft and safe wrap at home.
Step 1: Pick the Right Fabric
Choose a soft, stretchy fabric like cotton jersey knit. Look for something that’s gentle on the skin and has a little stretch so it can hold your baby snugly. A fabric with 5–10% spandex or Lycra works well.
Step 2: Measure and Cut the Fabric
Lay the fabric flat on a clean surface. Use a measuring tape to measure 5 to 6 yards long and 20 to 30 inches wide. You can fold the fabric in half lengthwise and cut it down the middle to make two wraps. Use sharp scissors to cut in a straight line. If your fabric doesn’t fray, you don’t need to hem the edges.
Step 3: Mark the Center
Find the center of the fabric and mark it with a small piece of fabric tape, chalk, or by sewing a small tag. This center mark will help you line up the wrap when tying it.
Step 4: Try the Wrap On
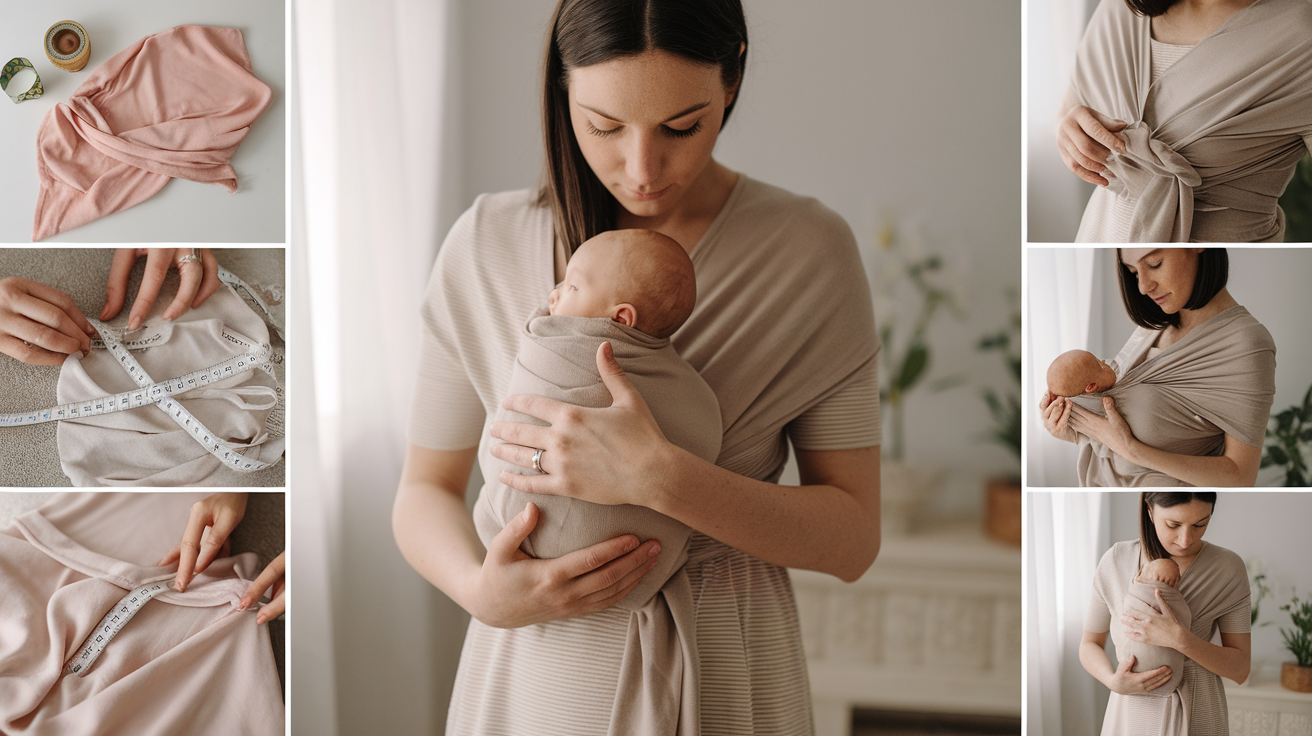
Use a mirror or ask someone to help you the first time. Stand up straight and place the center of the fabric across your chest. Pull the two ends around your back, cross them behind you, and bring them over your shoulders to the front.
Step 5: Wrap and Tie Securely
Tuck the ends under the front piece at your waist, cross them again in the front, and tie a double knot behind your back or at your side. Adjust the wrap so it feels snug but comfortable.
Step 6: Add the Baby
Once the wrap is tied, gently place your baby into the front panel. Spread the fabric over the baby’s body, making sure the back, bottom, and legs are supported. The baby’s face should be visible and close enough to kiss.
This process may take a little practice at first, but it gets easier with time. Always check the baby’s position and make sure the wrap feels secure before moving around.
For a more detailed and visual guide, watch this YouTube Tutorial by @FarmhouseOnBoone:
How to Choose a Baby’s Position
Choosing the right position depends on the baby’s age, size, and how comfortable you both feel. Some common ways to carry your baby in a wrap:
-
Newborn Hold (Front Carry): Newborns and small babies should always be carried upright on your chest. This keeps their head supported and helps them breathe easily.
-
Hip Carry: Once babies can hold their heads up (around 4 to 6 months), you can carry them on your hip. This gives them a better view of the world.
-
Back Carry: For bigger babies and toddlers, back carries are a good choice. Only try this when you feel very comfortable tying the wrap and the baby is strong enough to sit up well.
Always check that the baby’s head, neck, and hips are fully supported. The baby should sit in an “M” shape, with knees higher than their bottom.
When to Use a Baby Wrap?
A baby wrap can be used many times during the day to make life easier.
-
At home: Keep your baby close while you clean, cook, or relax.
-
Going for a walk: A wrap is great for short walks or outings where a stroller is too much trouble.
-
Shopping trips: Keep your hands free while your baby stays calm and cozy.
-
When the baby is fussy: Being wrapped close to you can calm crying and help babies feel safe.
-
During naps: Some babies nap better while being carried, feeling the warmth and heartbeat of the person holding them.
Always stay aware of how long the baby has been in the wrap. Take breaks and check the baby’s comfort often, especially if it’s hot outside.
How to Wash and Care for Your DIY Wrap
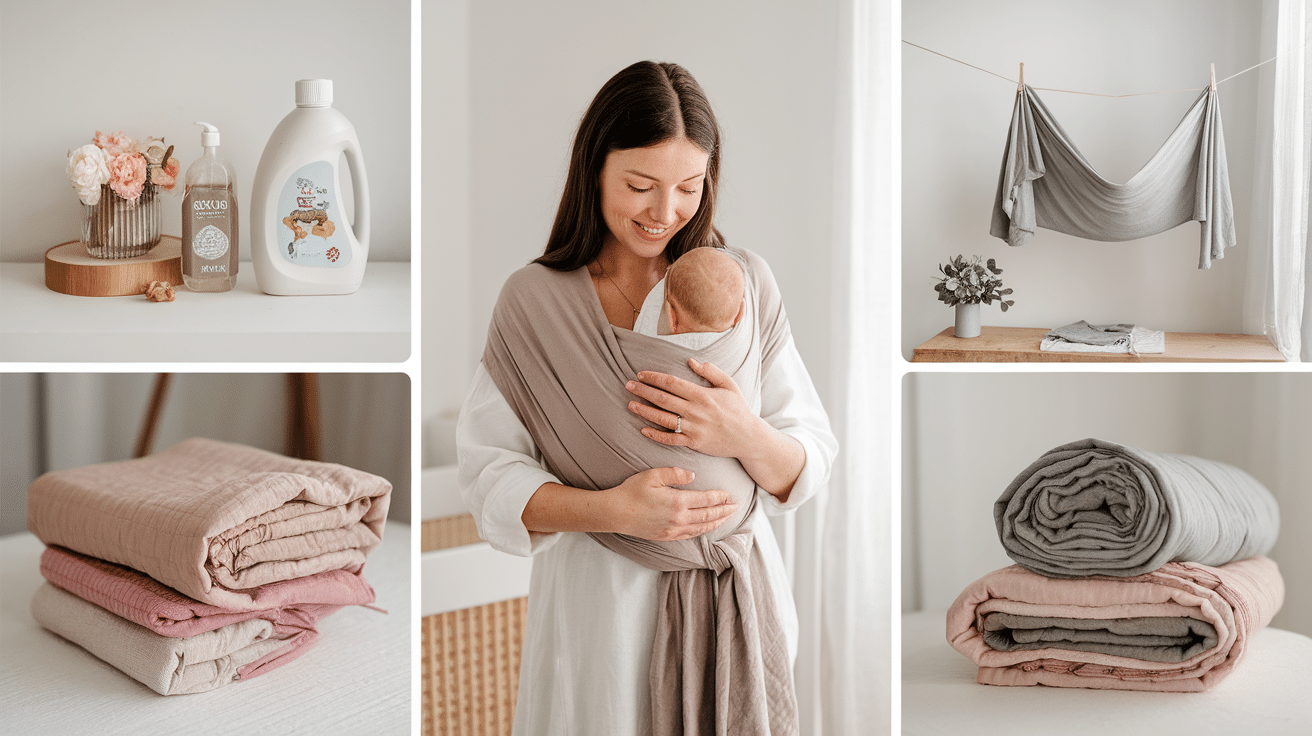
Taking good care of your baby wrap keeps it soft, strong, and safe for longer. Washing it the right way also makes sure it stays clean and gentle for your baby’s skin. Luckily, most DIY baby wraps are easy to wash and care for at home.
1. Washing Your Baby Wrap
-
Use a gentle cycle: Always wash your wrap on the gentle or delicate setting of your washing machine.
-
Pick a mild detergent: Use a baby-safe detergent with no harsh chemicals or strong smells.
-
Cold or warm water: Wash your wrap in cold or warm water, not hot. Hot water can shrink or stretch the fabric.
-
No bleach: Avoid using bleach or strong stain removers. These can weaken the fabric over time.
2. Drying Your Baby Wrap
-
Air dry when possible: Hanging your wrap to dry keeps the fabric soft and stretchy.
-
Low heat if needed: If you need to use a dryer, pick the low heat setting. High heat can damage the stretch in the fabric.
-
Avoid fabric softeners: They may leave a coating on the fabric that can make it less breathable.
3. Keeping Your Wrap Looking Good
-
Fold and store neatly: After washing and drying, fold the wrap and store it in a clean, dry place.
-
Check for wear and tear: Look over the fabric every few uses to make sure there are no holes, tears, or weak spots.
-
Avoid rough surfaces: Try not to drag the wrap on rough ground or surfaces that could cause snags or damage.
A little extra care goes a long way. By washing your DIY baby wrap gently and checking it often, you can keep it soft, safe, and ready for many snuggles to come!
Safety Tips
Safety should always come first when using a baby wrap:
- Tight and snug: The wrap should hold the baby firmly against your body, not loose or hanging.
- Keep baby’s face clear: Baby’s face should always be visible and not pressed into the fabric or your body.
- Support the head and neck: Especially for newborns, make sure the wrap holds the head upright without slumping.
- Check the airway: Baby’s chin should never rest on their chest. There should always be space for a finger between the chin and chest.
- High enough to kiss: The top of the baby’s head should be close enough for you to kiss without bending down.
- Monitor body heat: Make sure the baby doesn’t get too hot. Dress them in light clothes under the wrap if needed.
- Practice first: Try wrapping a doll or stuffed animal until you feel confident.
Taking time to wrap the baby the right way keeps both the caregiver and the baby safe, comfortable, and happy.
Conclusion
Making a DIY baby wrap at home is a smart and easy way to keep your baby close while staying hands-free. It does not take much time, and you only need a few basic supplies. Choosing the right fabric, cutting it to the right size, and learning how to wrap it safely make all the difference.
Baby wraps help babies feel calm, warm, and secure. They also help parents and caregivers stay active and get things done without losing that special bond. A homemade baby wrap is soft, safe, and much cheaper than many store-bought wraps. Plus, making your own wrap gives you the freedom to pick the color and fabric you like best.
Always remember to follow safety tips and check your baby’s position often. A good wrap can make everyday life a little easier and much more joyful. With just a little effort, you can create something that brings comfort and happiness to both you and your baby


