


Have you ever wondered how to make a fun, personalized bobblehead? It’s easier than you think! A clay bobblehead is a perfect project for anyone who loves crafting and wants to create something different.
With just a bit of clay and some simple tools, you can make a fun, custom bobblehead that reflects your creativity.
Don’t worry if you’re new to sculpting – I’ll take you through the steps in an easy way.
I’ll guide you through each step, from shaping the base to adding fun details like hair and eyes. You don’t need to be an expert to create something amazing.
By the end of this guide, you’ll have a cool bobblehead you can show off to your friends or keep as a fun keepsake.
What is a Clay Bobblehead?
A bobblehead is a small figure with a big head that moves or “bobbles” when touched. It’s a fun and playful collectible, often representing a person, animal, or character.
Bobbleheads are popular because of their unique design and ability to move with just a tap. Making a clay bobblehead allows you to customize every detail, turning it into a one-of-a-kind creation.
This craft is a great way to express your creativity when you want to make a bobblehead that looks like someone you know or create a fun character.
Tools and Materials Needed
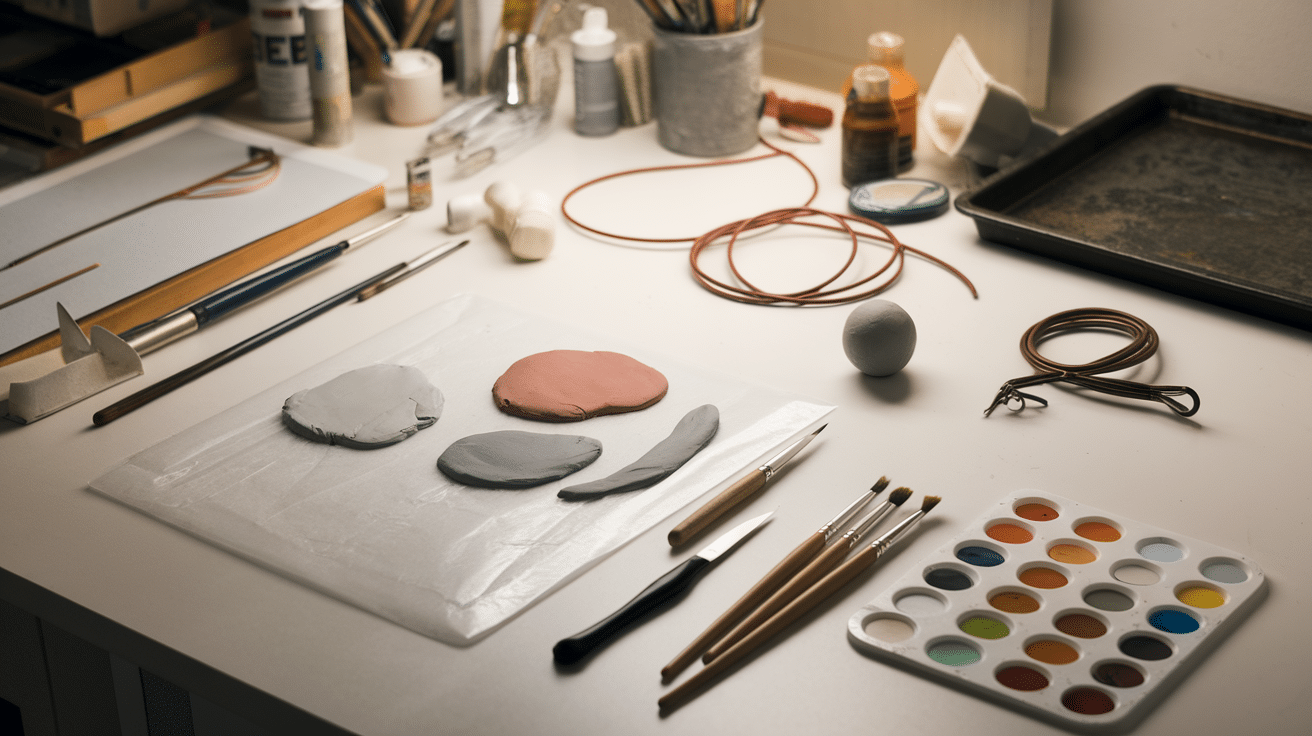
Before you start sculpting, it’s important to gather all the tools and materials you’ll need. Having everything ready will make the process smoother and more enjoyable.
Materials
- Clay: You’ll need a good quality polymer clay or air-dry clay. Polymer clay works well because it’s easy to mold and can be baked to harden. Air-dry clay is another option if you don’t want to bake your creation.
- Wire: A small wire will be needed to make the bobblehead’s neck. It helps connect the head to the body and allows it to bobble.
- Wire cutters: These are useful for cutting the wire to the right size.
- Armature (optional): This is a base skeleton made from wire, helping support the clay while sculpting.
- Clay tools: A few simple sculpting tools, like a knife, spatula, and ball stylus, will help you shape the clay and add details.
- Acrylic paint: For coloring the bobblehead after it’s finished. You can also use markers for details like eyes and hair.
- Baking tray: If you’re using polymer clay, you’ll need a baking tray to cook your bobblehead.
- Water (optional): Some types of clay may require a little water to help soften it while sculpting.
Optional Materials
- Foam base: This can be used for support while you work on the bobblehead.
- Clear glue: If you want to add accessories like small hats, glasses, or extra details, clear glue can be helpful to stick things in place.
Step-by-Step Guide to Sculpting a Clay Bobblehead
1. Plan Your Bobblehead
The first step is to decide what kind of bobblehead you want to create. You can base it on a person, a favorite character, or even something abstract.
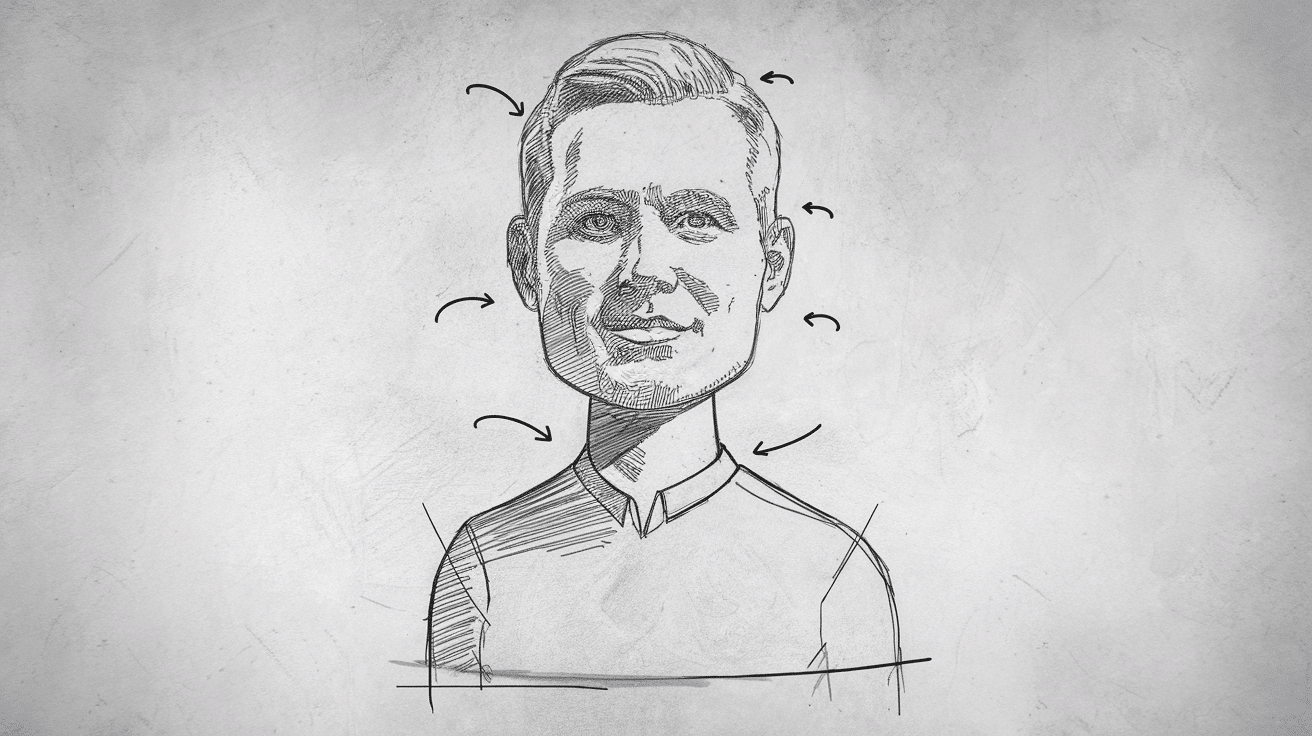
Think about the pose and expression you want your bobblehead to have. It can be helpful to draw a quick sketch of what you want to create.
This way, you’ll have a better idea of how to form the clay and which details you need to focus on.
- Head shape: Will the bobblehead have a round or square head? The size of the head is a big part of the design, so keep that in mind.
- Body: Will the body be simple or more detailed? Keep the proportions in mind to ensure the bobblehead looks balanced and fun.
- Accessories: Do you want to add hats, glasses, or other little items? These will add personality and make your bobblehead stand out.
2. Create the Wire Armature
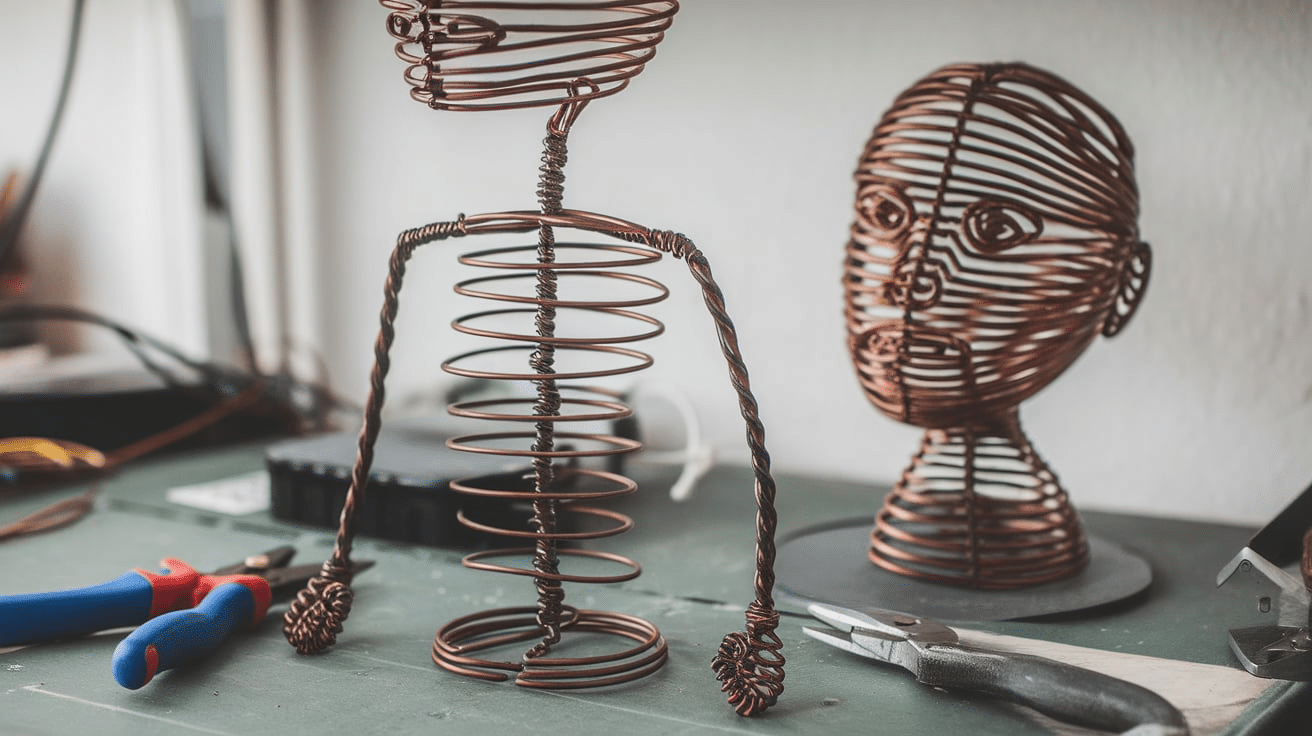
The armature is a skeleton made from wire that will hold your bobblehead up. It’s especially helpful when sculpting the body and keeping everything in place.
Start by cutting a piece of wire to the length you want for the neck and body. Shape the wire into a simple skeleton, keeping the neck and legs separate.
- Twist the wire at the base for the body and at the top for the neck.
- Make sure the wire is strong enough to support the clay you’ll add later.
- You can add more wire for the arms and legs if you want to include them.
The armature should be simple, as it will be covered with clay later. If you’re making a larger bobblehead, you might want to use thicker wire for more support.
3. Sculpt the Body

Once your armature is ready, it’s time to start adding clay. Begin by rolling out the clay to create a basic body shape.
This doesn’t need to be perfect right away – just get the rough shape of the body.
- Torso: Roll a small piece of clay into an oval or rectangular shape for the torso. Press it onto the wire armature, smoothing it out to create a body. Make sure the clay covers the wire but leaves some space at the top for the head.
- Arms and Legs: You can either mold the arms and legs directly from clay or use the wire armature to form them first. Add small amounts of clay and shape them into simple, cartoonish arms and legs. Keep the shapes simple but fun!
At this stage, you don’t need to worry about the details. Just focus on getting the basic form of the body. Once you’re happy with the body’s size and shape, smooth the clay out to remove any fingerprints or rough edges.
4. Sculpt the Head
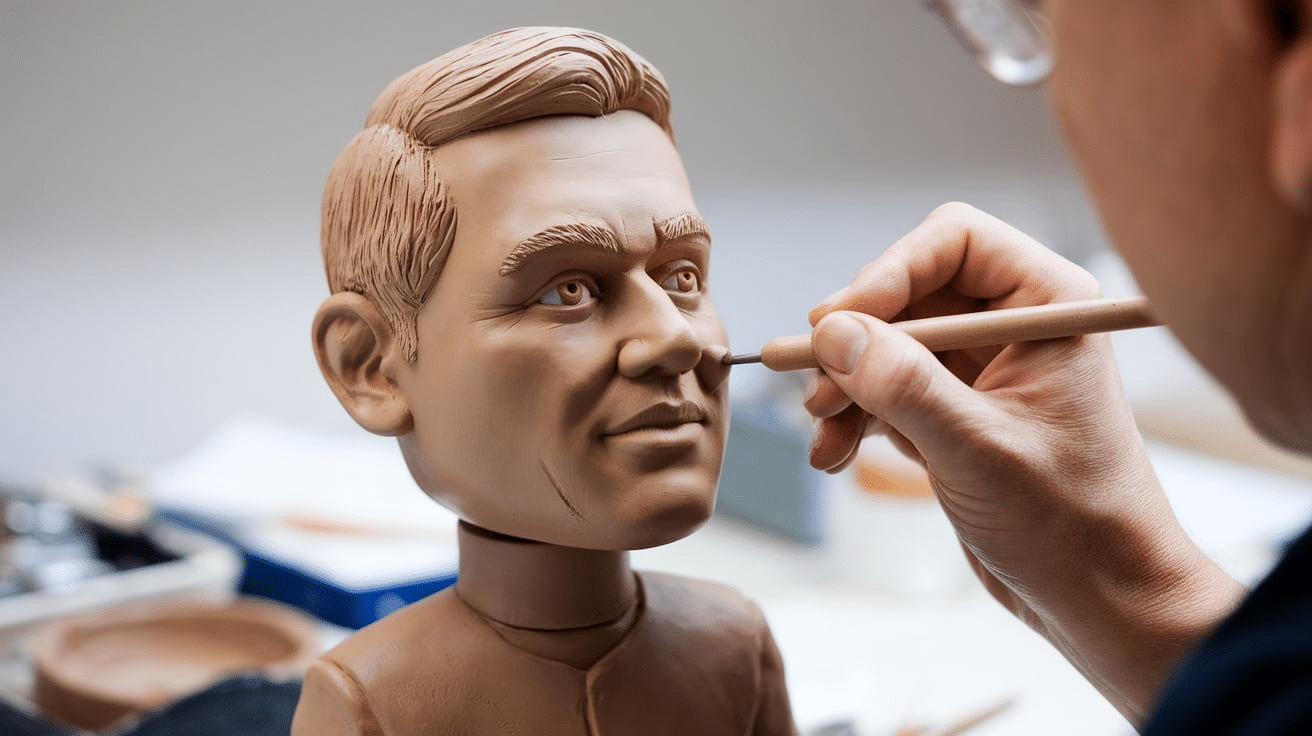
The head is the most important part of a bobblehead, so take your time with this step. It’s going to be the focal point of the sculpture, so you want it to have a fun, playful look.
- Shape the Head: Start by rolling a ball of clay for the head. Depending on the look you want, you can make it round, oval, or even a little square. Attach it to the neck of the armature, smoothing the clay where the head meets the neck.
- Facial Features: Begin sculpting the eyes, nose, and mouth. For the eyes, you can use a ball stylus to create deep indentations. The nose can be shaped with your fingers or a small tool. Add a simple line for the mouth, or you can get creative with different expressions.
- Hair: You can sculpt hair from clay, shaping it in whatever style you want. Roll small pieces of clay into long or short shapes and attach them to the top of the head.
- Details: Add any other small details, like ears, hats, or glasses. These accessories can give your bobblehead extra personality.
Once the head is shaped, check that it’s well connected to the body and that the proportions look good.
5. Add the Bobblehead Mechanism
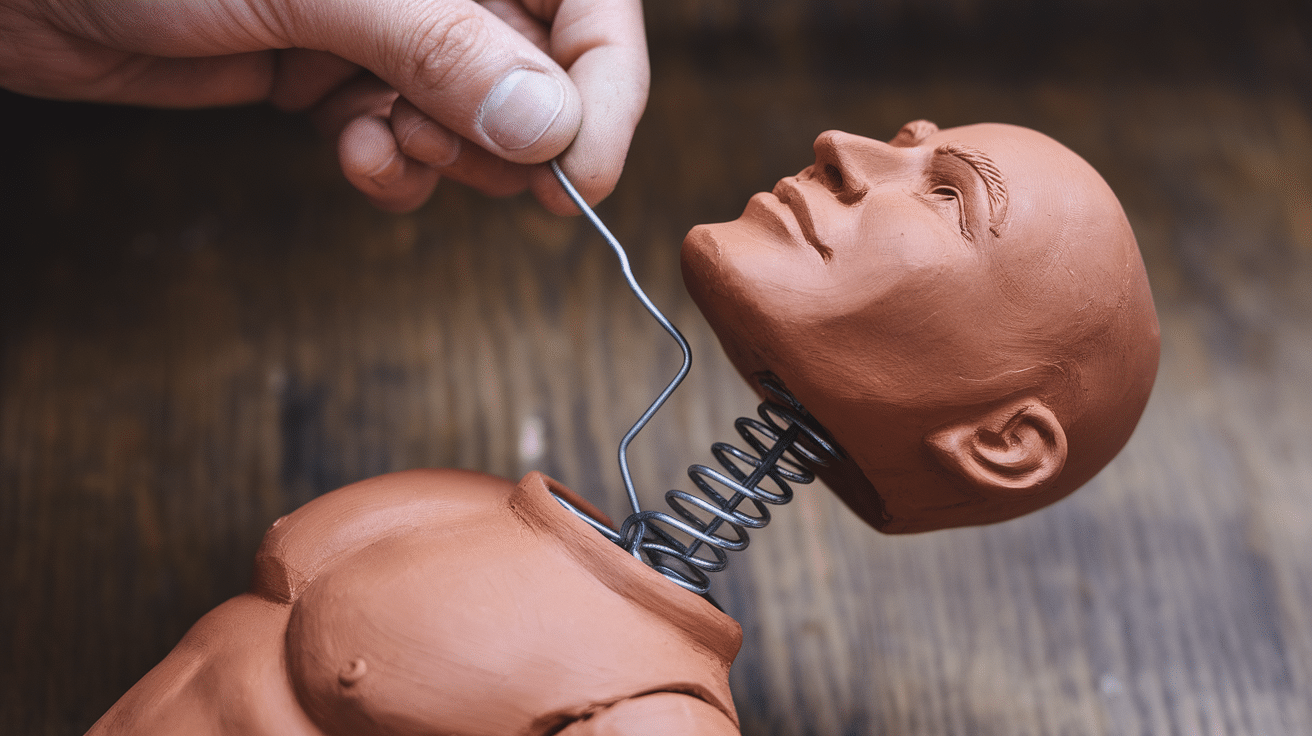
To make the bobblehead actually bobble, you’ll need to add a little mechanism. This is where the wire comes into play.
You’ll use the wire to create a flexible connection between the head and the body.
- Neck Attachment: Gently bend the wire at the neck so it can hold the head but also let it move freely. Make sure the wire is long enough to allow the head to bobble easily but not too long that it falls over.
- Test the Bobble: Gently tap the head to see if it moves. If it doesn’t bobble, try adjusting the wire or adding more flexibility.
6. Bake or Dry Your Bobblehead

If you’re using polymer clay, you’ll need to bake your bobblehead to harden the clay. Follow the instructions on the clay package for the right temperature and time.
Typically, polymer clay bakes at 275°F (135°C) for about 15-30 minutes, depending on the thickness.
If you’re using air-dry clay, allow your bobblehead to dry for 24-48 hours. Keep it in a safe place where it won’t get bumped or damaged.
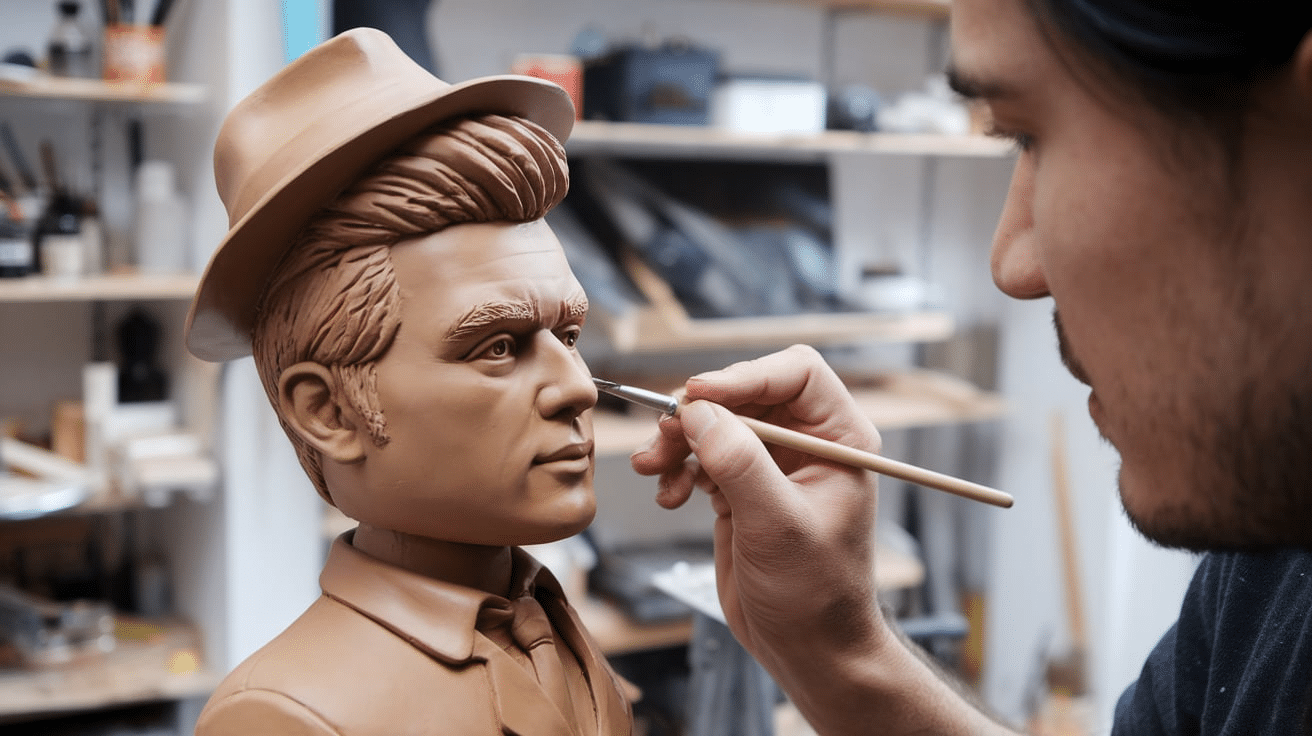
7. Paint and Finish Your Bobblehead

Once your bobblehead is fully hardened, it’s time to bring it to life with color! Use acrylic paints to add details like skin tone, clothes, and hair.
You can also use markers or paint pens for finer details like eyes, lips, or any accessories.
- Base color: Start with a base coat of paint for the face and body.
- Details: Add more layers of paint to create features like eyes, mouth, and hair. Be sure to let each layer dry before applying the next.
- Finishing touches: Once the paint is dry, you can add a glossy finish to give your bobblehead a shiny look or leave it matte for a more natural feel.
8. Display Your Bobblehead
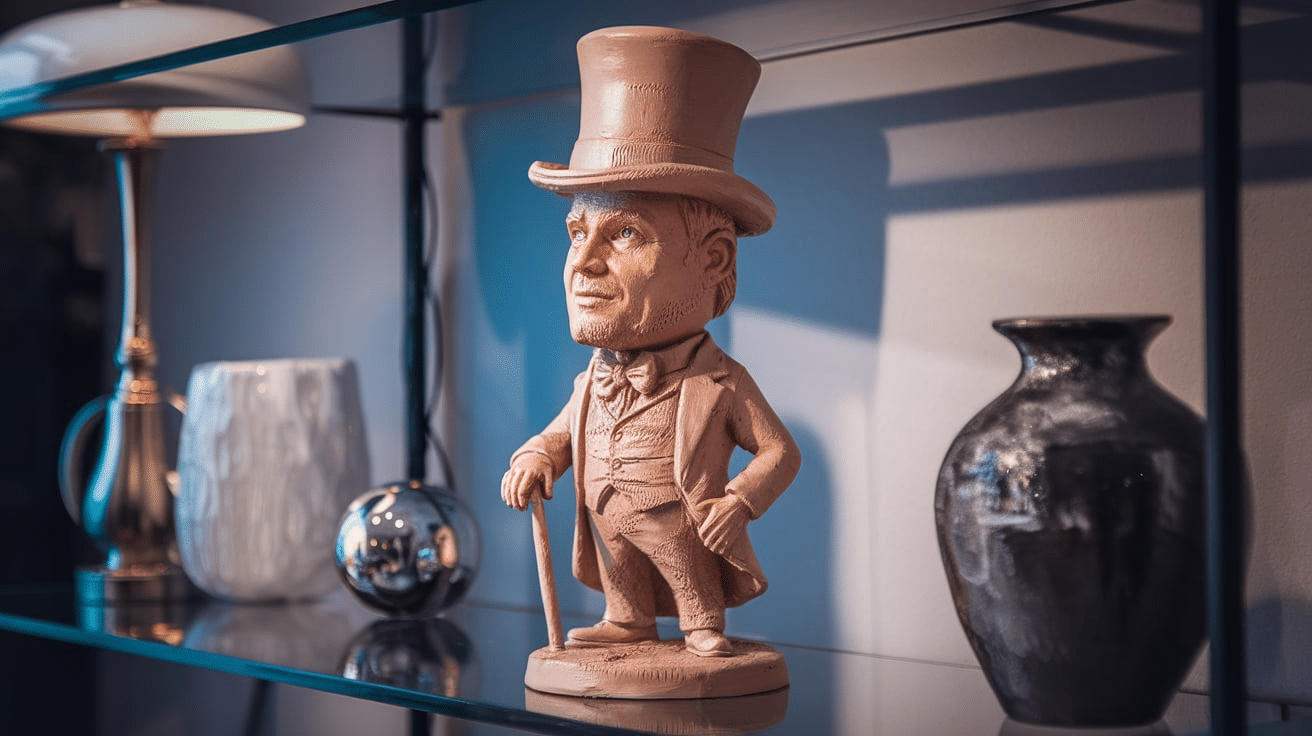
Now that your bobblehead is finished, it’s time to show it off! You can place it on your desk, shelf, or anywhere you like. Its fun bobbling feature will make it a great conversation starter.
How to Add Personal Details to Your Bobblehead?
Personalizing your clay bobblehead can make it even more fun and unique. If you’re making a bobblehead of a friend, family member, or character, adding small details will make it stand out.
- Facial Features: The eyes, nose, and mouth can make a huge difference. For example, if you’re making a bobblehead of a friend, pay attention to the unique shape of their eyes, the curve of their nose, or the way their smile looks. Adding these details can bring a more lifelike touch to your bobblehead.
- Clothing: You can shape the clay to mimic the person’s clothing or add accessories like hats, scarves, or jewelry. For example, if your bobblehead is based on a sports fan, sculpt their favorite team’s logo or jersey.
- Hairstyle: Hairstyles are a great way to personalize your bobblehead. Use different clay shapes to recreate specific haircuts, or add fun accessories like hairbands or caps to give it a more distinctive look.
- Props and Accessories: Add props that match the person’s interests or hobbies to make the bobblehead even more unique. A camera for a photographer, a book for a reader, or a guitar for a musician are just a few ideas. These little touches add character and personality to your bobblehead.
- Expressions: If you want your bobblehead to reflect a specific emotion or attitude, play around with the facial expression. A happy face with wide eyes and a big smile or a serious expression with narrowed eyes can really capture a personality.
Tips for Making a Perfect Clay Bobblehead
- Take your time: Sculpting takes patience. Don’t rush through the process.
- Use reference images: If you’re making a bobblehead based on a person or character, look at photos for accurate details.
- Keep the clay moist: If your clay starts to dry out, use a little water to soften it and make it easier to work with.
- Practice first: If you’re new to sculpting, practice with a small piece of clay before starting your bobblehead.
- Have fun: The most important part is to enjoy the process and let your creativity flow.
Common Mistakes to Avoid When Sculpting a Bobblehead
While sculpting your clay bobblehead, be mindful of these common mistakes:
- Incorrect Proportions: Keep the head larger than the body, but make sure the size difference is balanced.
- Overworking the Clay: Avoid making the clay too soft by handling it too much. Work in small sections and take breaks.
- Skipping Details: Details like facial features and accessories are important to make your bobblehead unique and fun.
- Stiff Bobble Mechanism: Ensure the wire for the neck is flexible enough for the head to bobble easily.
- Clay Cracking or Falling Apart: Shape the clay into thinner layers and allow proper drying or baking time to avoid cracks.
- Not Allowing Enough Drying or Baking Time: Follow proper instructions for drying or baking to prevent soft or burnt clay.
Avoiding these mistakes will help you create a sturdy, fun, and well-proportioned bobblehead.
Conclusion
Making a clay bobblehead is a fun and creative project that anyone can enjoy. By following the simple steps in this guide, you can create a personalized bobblehead that reflects your own style or someone else’s personality.
From shaping the clay to adding small details like facial features and accessories, every step allows you to express your creativity.
As you work through the process, remember that patience is key. Take your time with each part, from sculpting the body and head to making sure the bobble mechanism works properly.
Don’t rush through the details – it’s the little touches that make your bobblehead special.
Once your creation is finished, you’ll have a fun, one-of-a-kind figure to display or give as a gift.
With a little time and effort, you’ll have a bobblehead that’s both fun and personal.
Frequently Asked Questions
How do I make the head bobble properly?
Ensure the wire at the neck is flexible enough. Test it during the process to check that the head moves easily and doesn’t get stuck.
How long does it take to make a clay bobblehead?
It can take anywhere from a few hours to a couple of days, depending on the size and complexity of your bobblehead, and drying or baking time.
Can I add accessories like hats or glasses?
Yes! You can easily add small accessories using clay or glue to make your bobblehead more personalized and fun.
How do I avoid cracking in the clay?
Ensure the clay is evenly shaped in thinner layers and allow enough drying or baking time to prevent cracks from forming.


