

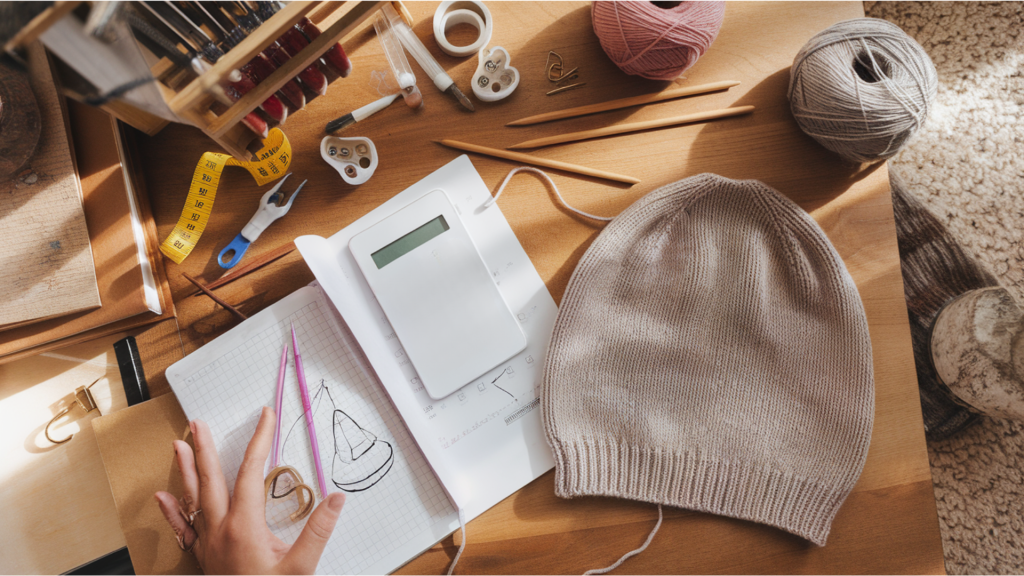
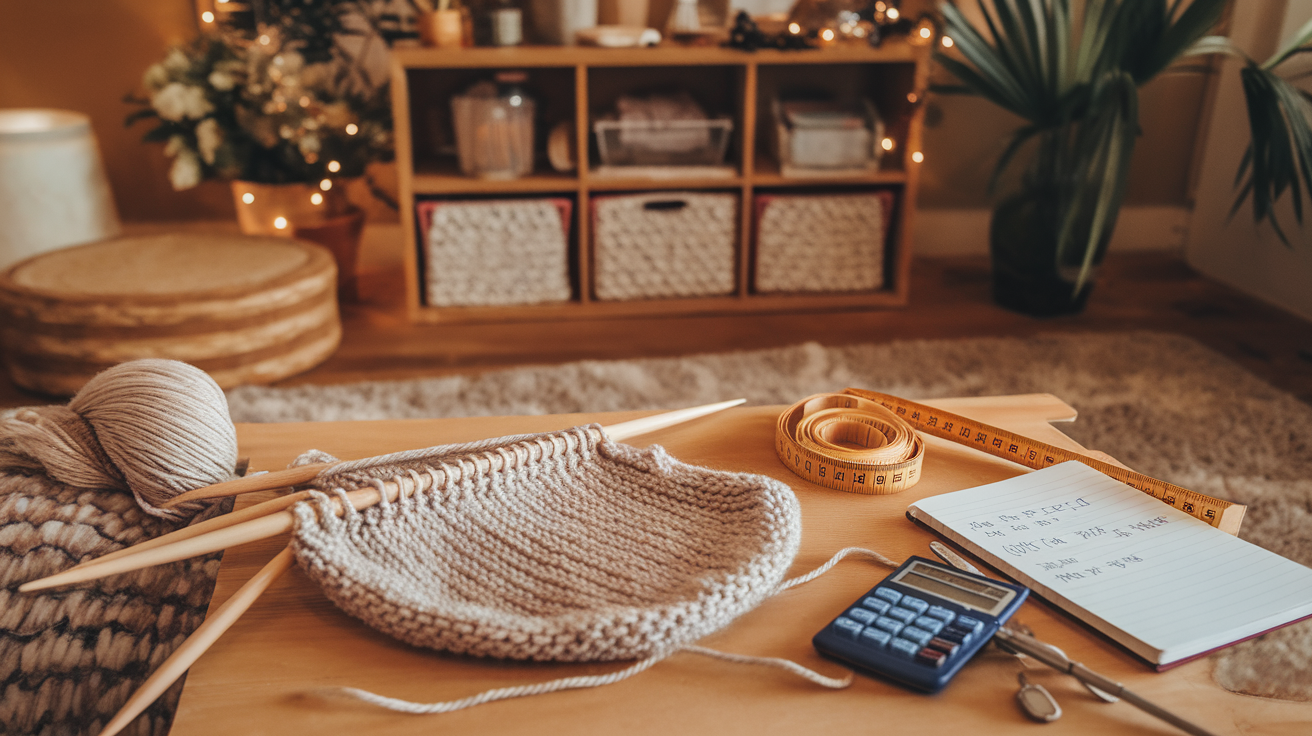
Knitting often requires shaping fabric by adding or removing stitches. Decreasing stitches is important for projects like sweaters, sleeves, and hats. However, spacing decreases evenly can be tricky, especially when numbers do not divide perfectly.
A knitting decrease calculator helps by placing decreases in the right spots. It takes the total stitch count and the number of stitches to remove and then provides a simple step-by-step plan. This prevents uneven fabric and keeps the project looking smooth.
Without a calculator, knitters often guess where to place decreases, leading to bunching or gaps. This tool removes the guesswork and saves time. No matter the size of the project, a decrease calculator ensures neat and balanced stitch reductions.
What Is a Knitting Decrease Calculator?
A knitting decrease calculator is a tool that helps knitters remove stitches evenly across a row or round. Decreasing stitches is necessary to create the right shape and fit when working on projects like sweaters, sleeves, or hats.
However, placing decreases randomly can cause uneven fabric, making the final piece look messy or distorted.
This calculator takes the current stitch count and the number of stitches to decrease and provides a clear plan for where to place them. It prevents mistakes like bunching or pulling by spacing the decreases evenly. This helps the fabric lay flat and keeps the edges smooth.
Many knitters struggle with manual calculations, especially when the decreased number does not divide evenly into the stitch count. The calculator solves this problem by doing the math instantly, so knitters can focus on their work instead of figuring out complex patterns.
How Does It Work?
A knitting decrease calculator is simple to use. It takes two numbers: the total stitches you have and the number you need to decrease. Once you enter these numbers, the tool gives a step-by-step plan for where to place each decrease.
For example, if you have 100 stitches and need to remove 10, the calculator will spread the decreases evenly so they do not clump together. This prevents uneven fabric and keeps the pattern balanced.
The tool also helps when the numbers do not divide evenly. If you need to decrease 13 stitches from 120, it spaces them in a way that avoids bunching. Without this, knitters often guess and end up with gaps or tight sections in their work.
Using the calculator is much faster than figuring it out by hand. Instead of manually counting stitches and trying to space decreases, you get a clear pattern to follow. This helps knitters focus on their projects without worrying about mistakes.
Why Use a Decrease Calculator?
A decrease calculator makes knitting easier by helping you space decreases evenly across a row or round. Instead of guessing where to place decreases, you get a clear plan that keeps your fabric smooth and balanced. This tool is especially useful for projects that require shaping, like sleeves or sweaters.
Benefits of using a decrease calculator:
- Saves time: No need to count manually, and space decreases. The tool does the math for you.
- Prevents mistakes: Reduces the risk of an uneven fabric caused by random decreases.
- Creates smooth shaping: Helps maintain the correct tapering for sleeves, waistlines, and other fitted designs.
- Works for any stitch count: Adjusts decreases no matter how the numbers divide.
- Improves project consistency: Ensures a polished, professional-looking final piece.
Using a decrease calculator lets you focus on the fun part of knitting while keeping your work neat and structured. It’s a simple tool that makes a big difference, especially for patterns that require precise stitch reductions.
Manual Calculation vs. Using a Calculator
Decreasing stitches manually takes extra time and attention. Knitters must carefully space decreases to avoid bunching or gaps. The fabric may pull in some areas if uneven decreases, making the final piece look unbalanced.
A decrease calculator makes this process easier by automatically spreading the decreases across the row or round.
Simple Case
If you have 80 stitches and need to decrease eight stitches, a simple way to do this is to place a decrease every 10th stitch. This keeps the spacing even and prevents clumping.
To do this manually, start by counting every 10 stitches and place a decrease at that spot. You can use stitch markers to keep track of the placements before you begin knitting.
This method works well when the decreased number is divided evenly into the total stitch count. However, you must adjust the placement if the numbers do not divide evenly.
Complex Case
The numbers do not divide evenly if you need to decrease 13 stitches from 120. If you try to place decreases every nine stitches, you will remove too many stitches. If you place them every 10 stitches, you will not remove enough. The best way to handle this is to alternate placements.
For example, you can decrease every 9th stitch for some sections and every 10th stitch for others. This balances the reductions without causing an uneven look.
Manually planning this takes time; mistakes can happen if decreases are not spread correctly. A decrease calculator instantly provides a pattern that spaces the decreases properly.
Using a calculator removes the need for manual math and prevents errors. It ensures decreases are evenly placed, keeping the fabric smooth and balanced.
Best Practices for Even Decreases
Even decreases keep the knitted fabric smooth and well-shaped. When spaced correctly, stitches blend naturally, preventing pulling or uneven tension. Poorly placed decreases can cause tight spots or loose sections, affecting the final look.
- Keep decreases away from edges: Placing them slightly inward prevents stretched borders and keeps the edges even.
- Use stitch markers: Helps track decrease points, ensuring symmetry and avoiding mistakes.
- Adjust based on row gauge: Yarn and stitch patterns affect how decreases appear, so checking the gauge keeps shaping consistent.
- Space decreases evenly: Uneven spacing can create distortions; alternate placement when needed for balance.
- Plan decreases in advance: Counting stitches before starting helps avoid last-minute adjustments and ensures a smooth fit.
Following these tips makes projects look polished. A decrease calculator simplifies spacing, helping knitters achieve even results effortlessly.
Common Applications of Stitch Decreases
Stitch decreases are essential for shaping knitted projects. They help create smooth transitions, ensure a comfortable fit, and maintain symmetry in circular knitting.
Properly placed decreases improve the overall look and structure of a project. Instead of guessing where to remove stitches, knitters can use a structured plan to achieve even results.
Tapering Sleeves
Sleeves need gradual decreases to create a fitted shape. Without evenly spaced decreases, the fabric may gather in some areas while remaining too loose in others.
Placing decreases at regular intervals helps the sleeve narrow smoothly toward the cuff, giving it a well-proportioned look.
Body Shaping
Many sweater and top designs require stitch decreases to shape the waist, bust, or other fitted areas. Uneven decreases can cause the fabric to bunch or stretch in the wrong places, affecting the fit.
By reducing stitches in a balanced way, knitters can create a natural-looking taper that enhances the overall design.
Circular Knitting
Dec decreases must be placed symmetrically when working in the round to maintain an even shape. This is especially important for hats, yoke sweaters, or seamless garments.
The final piece may twist or become misshapen if decreases are not balanced. Spacing decreases correctly, ensuring smooth shaping from every angle.
Using stitch decreases correctly helps knitters create well-structured projects with a clean, professional finish. A decrease calculator simplifies the process by providing a clear pattern for even spacing, reducing the chance of error, and making shaping easier.
Step-By-Step Guide to Using the Calculator
A decrease calculator helps knitters remove stitches evenly across a row or round. Instead of manually spacing decreases and risking uneven shaping, this tool provides a structured plan that ensures smooth and balanced stitch reductions. Follow these steps to use the calculator effectively.
- Enter stitch count: Enter the total number of stitches in your row or round. This number represents the current stitch count before any decreases are made.
- Input decrease number: Type in how many stitches need to be removed. The calculator will use this number to determine the best way to distribute decreases evenly.
- Click calculate: Once both numbers are entered, click the calculate button. The tool will instantly generate a pattern showing exactly where to place each decrease.
- Follow the decrease instructions: Use the provided pattern to knit the row, following the recommended decrease placements. This ensures the fabric remains even and prevents distortion.
Knitters can avoid time-consuming manual calculations and reduce errors by using a decreased calculator. The tool provides a simple and effective way to shape projects while keeping stitch reductions smooth and well-balanced.
Common Mistakes and Troubleshooting
Evenly spaced decreases help keep the knitted fabric smooth and well-shaped. When decreases are placed incorrectly, they can create uneven tension, distort the design, or cause the fabric to pull unexpectedly.
Understanding common mistakes and how to fix them helps knitters avoid frustration and achieve a more polished result.
Placing Decreases Too Close Together
When decreases are grouped too closely, the fabric may pull in certain areas, leading to uneven shaping. This can create visible ridges or tight sections that do not blend smoothly with the rest of the knitting.
If decreases are too close, they can also create an unwanted pattern shift. To avoid this, space decreases evenly across the row, and adjusts placement when needed to maintain balance.
Not Considering Row Gauge
Every yarn and stitch pattern has a different row gauge, which affects how decreases appear in the fabric. The final measurements may not match the intended shape if the row gauge is ignored.
This is especially important when shaping sleeves, waistlines, or fitted garments. Checking the row gauge before placing decreases ensures the shaping remains smooth and proportional, preventing unexpected tightness or looseness in certain areas.
Forgetting to Round Numbers Properly
If the number of stitches does not divide evenly, rounding errors can lead to misplaced decreases. This may cause one section to have more reductions than another, creating uneven tension.
It is best to alternate and decrease placement when working with uneven stitch counts. This helps maintain an even shape across the fabric, ensuring a balanced look rather than a lopsided reduction.
Why Every Knitter Should Use This Tool
Decreasing stitches evenly, especially with large stitch counts or complex patterns, can be challenging. A decrease calculator simplifies the process by providing exact placement for stitch reductions, removing the need for guesswork.
This tool helps knitters save time, improve accuracy, and achieve a polished final result. Instead of manually counting stitches and trying to space decreases evenly, knitters can follow a clear, structured guide that ensures smooth shaping.
Eliminates Guesswork and Improves Accuracy
Without a structured plan, knitters may struggle to place decreases evenly. This can lead to too tight, loose, or visually uneven sections. Some knitters try to estimate the spacing, but small miscalculations can cause noticeable distortions in the fabric.
A decrease calculator ensures that stitches are reduced in the right spots, helping the fabric lay smoothly without creating unwanted ridges or pulling.
Saves Time While Ensuring Professional Results
Manually counting stitches and figuring out decreased placement can take a long time, especially for larger or more detailed projects. If a mistake is made, it may require undoing and re-knitting multiple rows, adding to the frustration.
The calculator instantly provides a step-by-step plan, allowing knitters to focus on their craft rather than on math. By following the generated instructions, knitters can produce a cleaner, more polished finish without the stress of counting stitches manually.
Enhances Knitting Efficiency, Especially for Complex Projects
Some knitting projects require frequent or evenly spaced decreases, such as shaping sleeves, sweaters, or circular knitting. If decreases are not spaced correctly, the final piece may have an uneven shape or awkward fabric bunching.
A decreased calculator makes it easier to handle these adjustments, ensuring consistency throughout the project without the risk of errors. This is particularly helpful for projects that involve shaping over multiple rows, where maintaining accuracy is crucial for a smooth transition.
Using a decrease calculator lets knitters focus more on their creativity rather than worrying about miscounting stitches. No matter the skill level, this tool helps ensure balanced and well-structured knitting projects with minimal effort.
When working on a small section or shaping an entire garment, having a structured plan for decreases makes the knitting process easier and more enjoyable.
Other Helpful Knitting Tools
A decrease calculator is just one of many tools that help knitters achieve smooth and well-shaped projects. Knitting often involves adjusting stitch counts, increasing stitches to expand a pattern, or converting a gauge for a different yarn.
Using the right tools ensures accuracy and saves time, making the knitting process more enjoyable.
Knitting Increase Calculator
Just as a decreased calculator helps reduce stitches evenly, an increased calculator ensures stitches are added uniformly. This tool is useful for expanding sections like sleeves, yokes, or flared designs. It prevents uneven spacing, which can cause the fabric to pucker or stretch in unexpected ways.
By entering the stitch count and the number of increases needed, knitters can get a structured guide for smooth and even growth in their projects.
Gauge Converter
Different yarns and needle sizes can affect stitch count and fabric tension. A gauge converter helps knitters adjust patterns to match their yarn choice, ensuring the final project maintains the correct dimensions.
Instead of manually recalculating stitches, this tool provides an easy way to convert patterns without affecting the design’s proportions.
Conclusion
A knitting decrease calculator takes the guesswork out of shaping your projects. Instead of manually counting stitches and spacing decreases, this tool provides a clear and accurate plan.
Evenly reducing stitches helps maintain smooth fabric and balanced shaping, making your knitting look more polished.
Manually placing decreases can be tricky, especially when working with complex patterns. Uneven decreases can cause pulling, loose sections, or distortions in the fabric. With a calculator, knitters can avoid these issues and focus on creating a well-structured piece.
This tool is helpful for both beginners and experienced knitters. It saves time, reduces mistakes, and ensures a professional-looking finish. Using a decrease calculator, you can knit confidently and enjoy the process without worrying about miscounting stitches.
Frequently Asked Questions
What Is a Knitting Decrease Calculator?
A knitting decrease calculator is a tool that helps space out stitch reductions evenly across a row or round. It ensures that decreases are placed correctly, preventing uneven fabric, bunching, or distortion in knitted projects.
How Does a Decrease Calculator Work?
The calculator takes two inputs: the total stitch count and the number of stitches to decrease. It then generates a pattern that evenly distributes the decreases, making it easier to follow while knitting.
Why Should I Use a Decrease Calculator Instead of Doing It Manually?
Manually placing decreases can be time-consuming and prone to errors, especially when numbers don’t divide evenly. A decrease calculator provides precise placements, helping knitters achieve smooth, professional-looking results without miscounting.
Can I Use This Calculator for Any Type of Knitting Project?
Yes, the decrease calculator is useful for shaping sleeves, waistlines, yokes, and circular knitting. It works for small and large projects, ensuring even stitch reductions regardless of size.
What Happens if My Decrease Number Does Not Divide Evenly Into My Stitch Count?
If the numbers don’t divide evenly, the calculator spaces the decreases in a way that maintains balance. This prevents certain areas from looking too tight or too loose compared to the rest of the fabric.
Will This Tool Help with Circular Knitting?
Yes, a decrease calculator is especially useful for circular knitting, as it ensures that decreases are placed symmetrically. This is important for shaping hats, seamless garments, or any round-based projects.
How Does This Tool Improve My Knitting Accuracy?
By following the instructions provided by the calculator, knitters can avoid common mistakes like uneven spacing, incorrect stitch counts, or fabric distortion. The tool helps maintain consistency throughout the project.


