

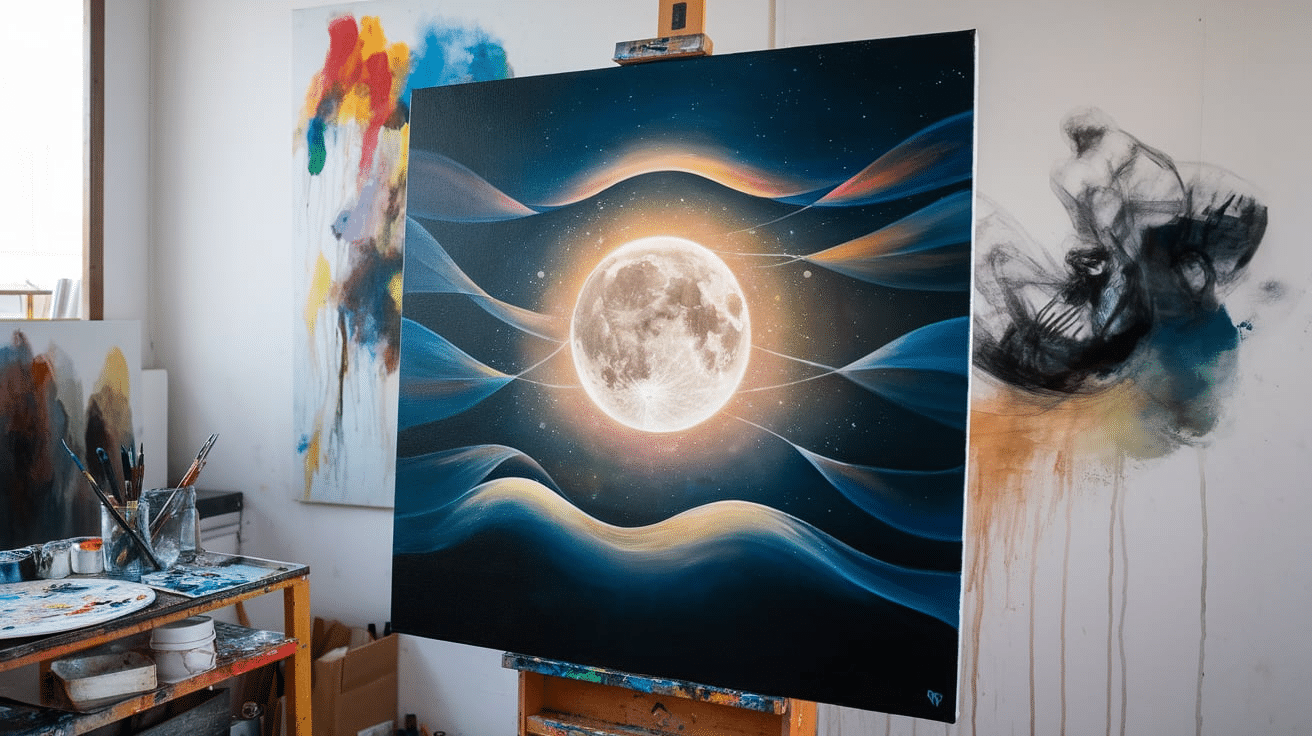
Paintbrush art is one of the most expressive and versatile forms of creativity. Whether painting on canvas, paper, wood, or even fabric, the right paintbrush techniques can turn a simple idea into a masterpiece.
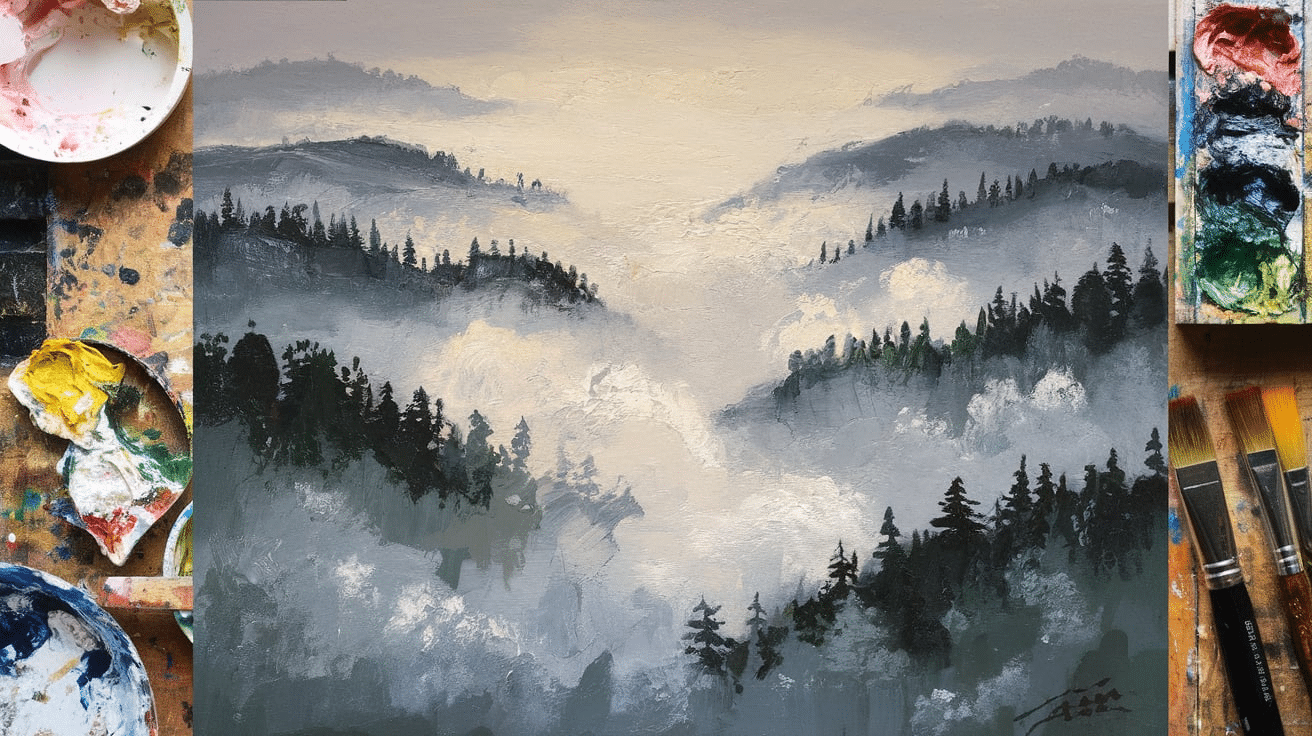
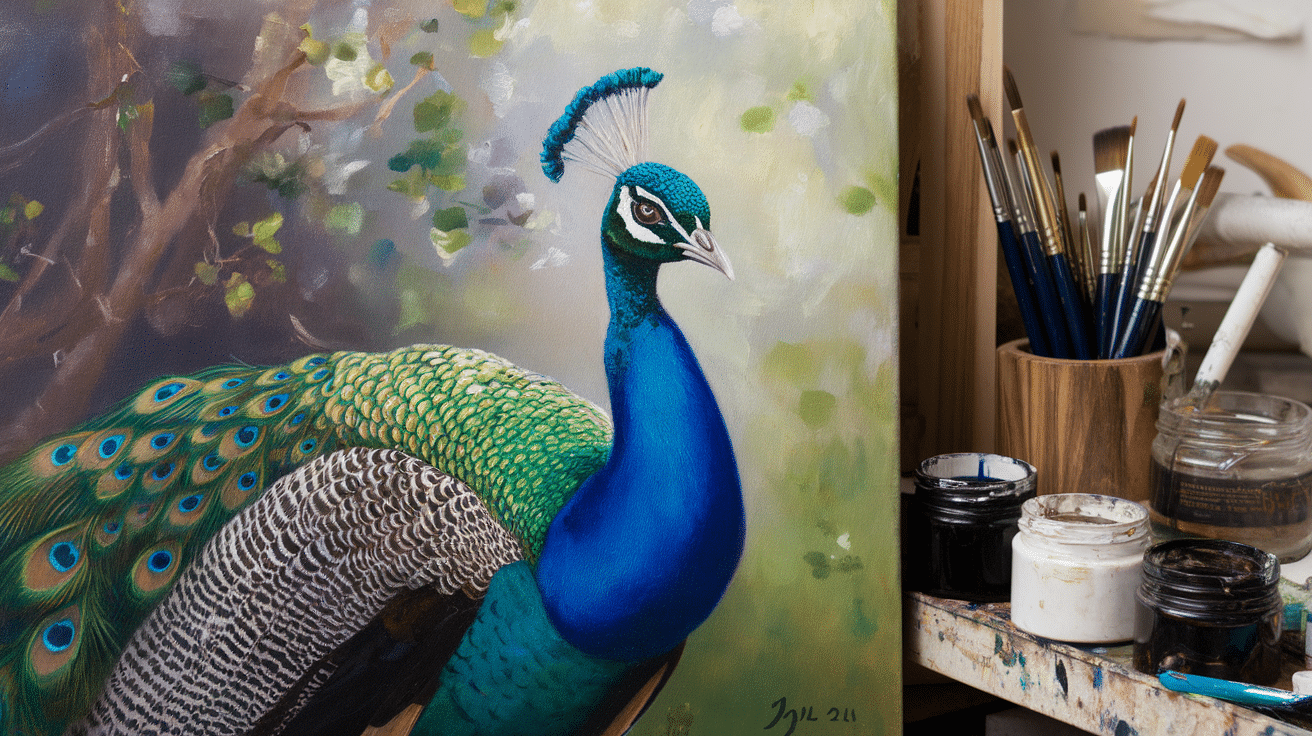
Using a paintbrush isn’t just about applying paint—it’s about controlling texture, movement, and depth in your artwork. Artists use different types of brushes, strokes, and techniques to achieve unique effects. A delicate round brush might create detailed flowers, while a fan brush adds texture to landscapes.
If you’re a beginner experimenting with your first set of brushes or an experienced painter looking to refine your skills, this guide will help you understand brush types, techniques, and creative uses for paintbrush art.
What is Paintbrush Art?
Paintbrush art refers to any artwork created using a paintbrush as the primary tool. It includes:
- Traditional paintings on canvas
- Murals and home décor
- Miniature and model painting
- Fabric and textile painting
- Custom-painted furniture and upcycled art
Different brushes and strokes create different effects. A smooth, blended background requires a soft brush, while bold, dramatic strokes need a flat or filbert brush. The paint type also plays a role—watercolors need soft, absorbent brushes, while acrylics and oils require firmer bristles for better control.
Understanding brush techniques is the key to improving your art, whether you’re creating abstract art, detailed portraits, or textured landscapes.
Types of Paintbrushes and Their Uses
Each type of paintbrush serves a different purpose, affecting how paint applies to a surface. Here are the most common paintbrush types and how they are used:
1. Round Brushes

Best for: Fine details, outlines, and controlled strokes
Works with: Watercolor, acrylic, and ink painting
- They have a pointed tip, making them perfect for thin and thick strokes.
- Light pressure creates thin lines, while more pressure results in thicker strokes.
- Used for detailed illustrations, floral painting, and smooth calligraphy.
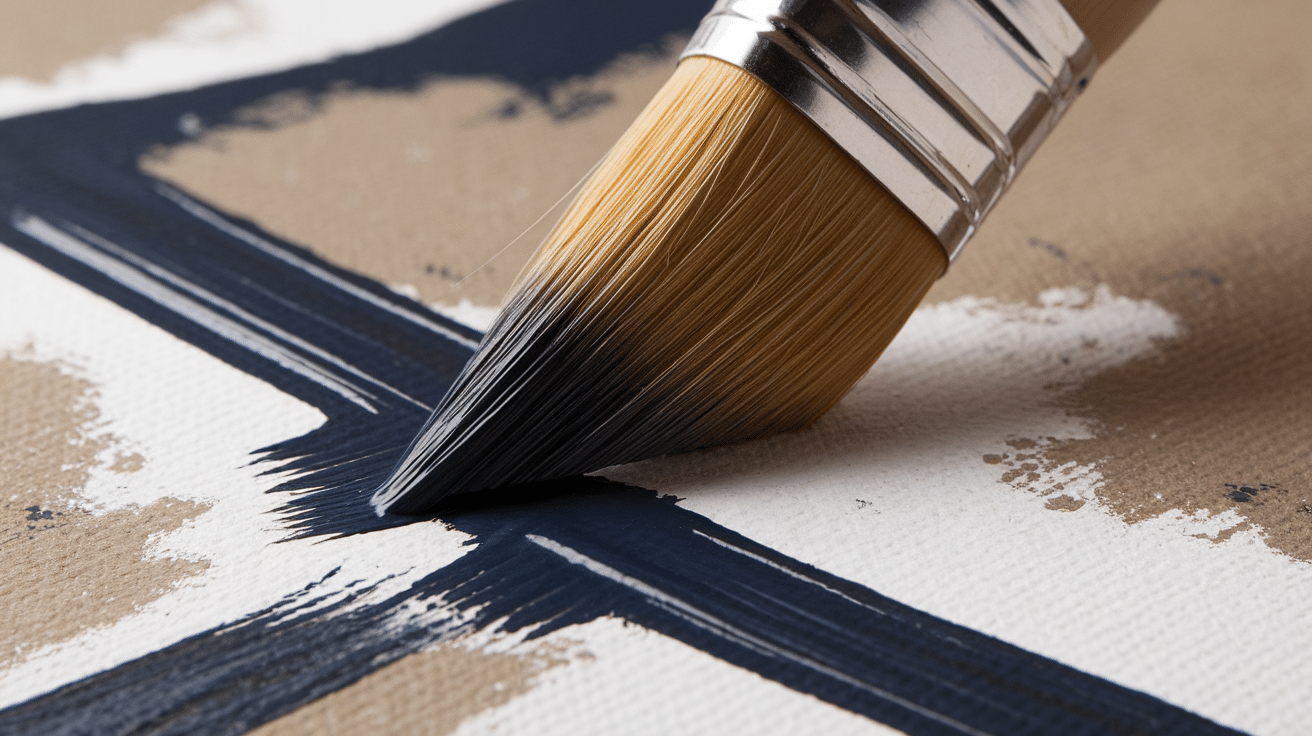
2. Flat Brushes
Best for: Broad strokes, filling large areas, and sharp edges
Works with: Acrylic, oil, and watercolor painting
- The wide, rectangular shape allows smooth, even coverage.
- Used for painting skies, landscapes, or geometric patterns.
- It can be turned on its side to create thin, precise lines.
3. Filbert Brushes
Best for: Blending soft curves and creating natural shapes
Works with: Oil and acrylic painting
- Rounded edges make soft, feathered strokes.
- Great for painting flowers, clouds, or smooth skin tones in portraits.
- It can be used to create subtle color transitions without harsh edges.
4. Fan Brushes
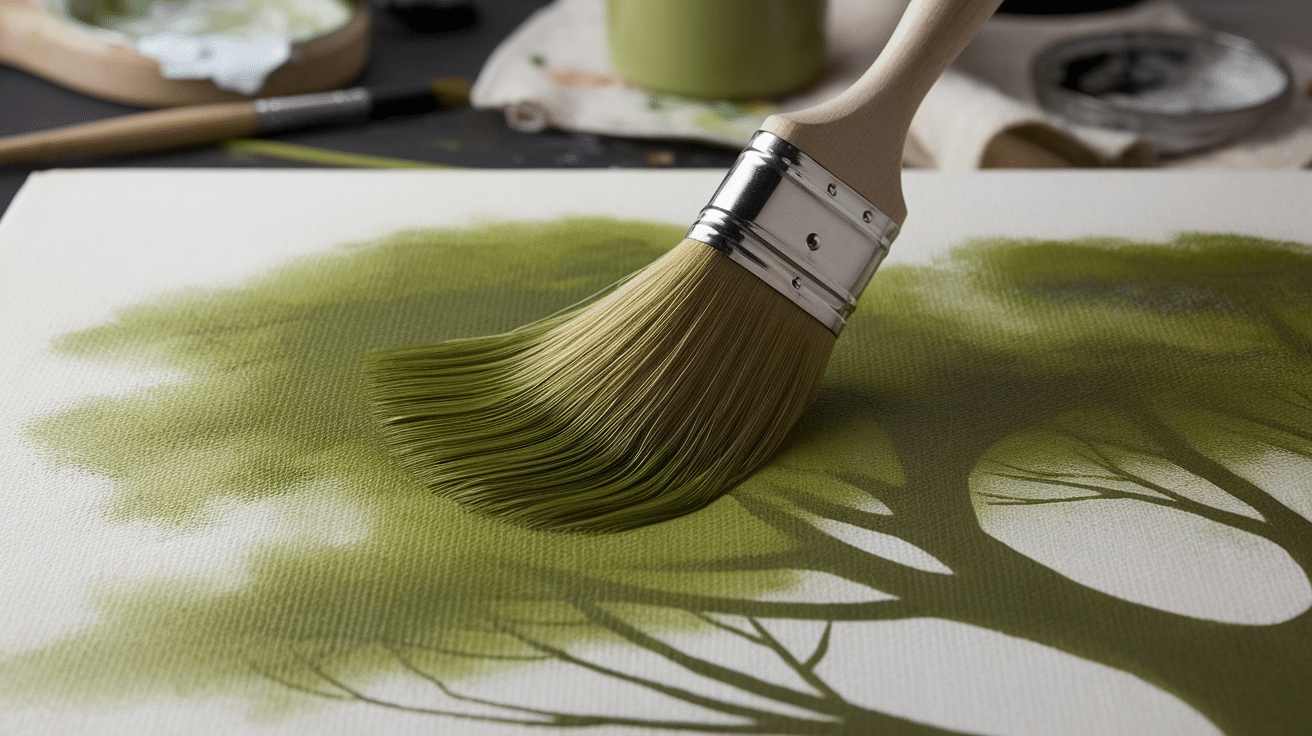
Best for: Blending and adding textures
Works with: Acrylic and oil painting
- Spread-out bristles create realistic textures in landscapes.
- Used for painting grass, leaves, fur, and wispy clouds.
- It can be lightly dabbed to blend colors smoothly.
5. Angle Brushes
Best for: Sharp edges, controlled lines, and corners
Works with: Acrylic, oil, and decorative painting
- The slanted bristles allow for precise strokes and clean lines.
- Used for creating movement in waves, hair, or dramatic shadows.
- Great for cutting in edges and adding controlled highlights.
6. Liner Brushes
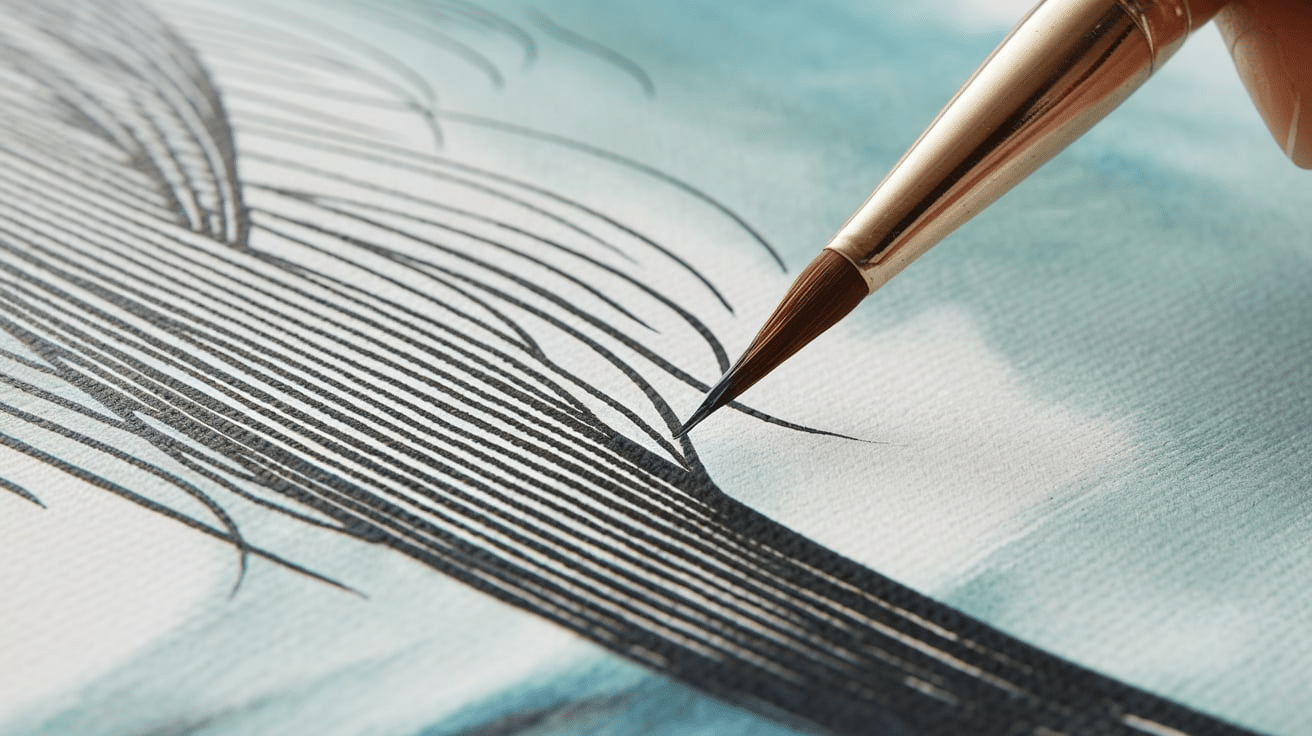
Best for: Fine lines, details, and script lettering
Works with: Watercolor, ink, and acrylic painting
- Extra-long bristles help create smooth, thin strokes.
- It is ideal for calligraphy, whiskers, delicate tree branches, and outlining.
- Works best with thinned-down paint or ink.
Using the right paintbrush helps bring your artistic vision to life. Experimenting with different brush types will help you find what works best for your style.
Must-Know Paintbrush Art Techniques
Mastering different paintbrush techniques allows artists to create a variety of effects in their work. The way a brush is held, the pressure applied, and the type of stroke used can significantly impact the final piece. Whether you are working with acrylics, oils, or watercolors, these techniques can help bring your artistic vision to life.
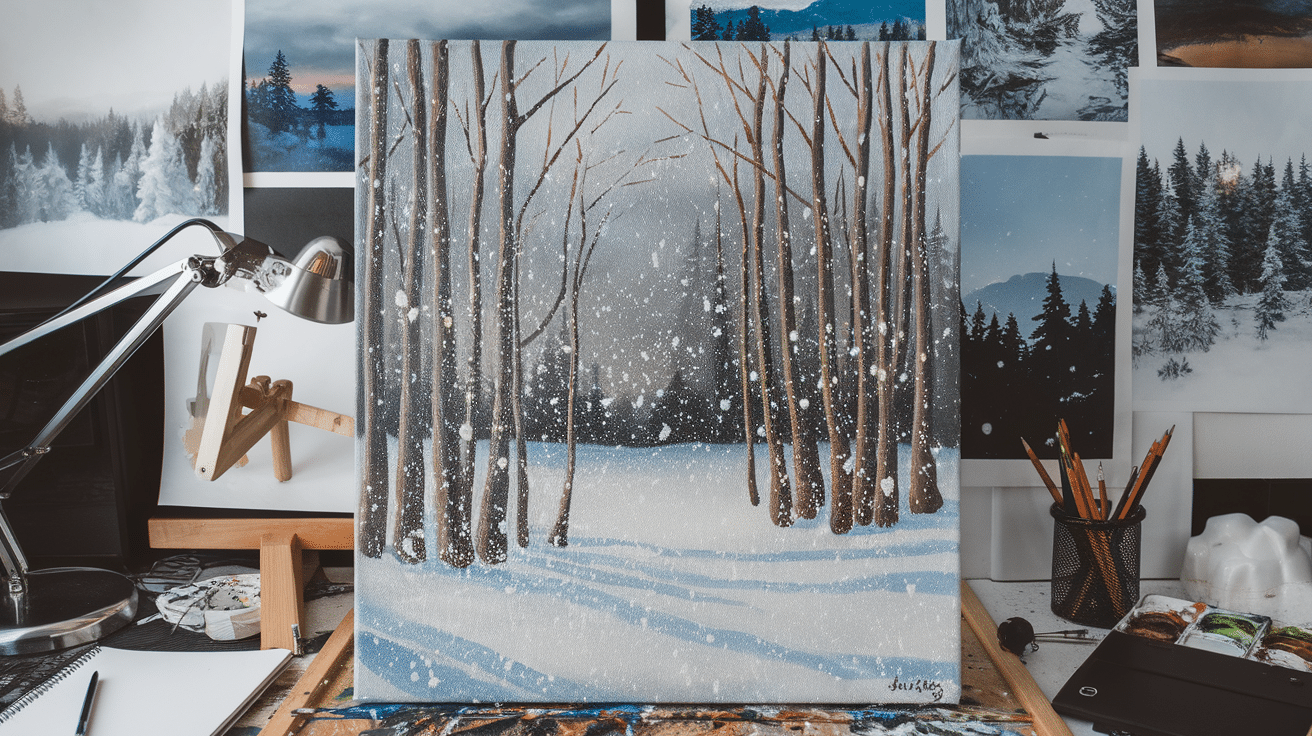
1. Dry Brush Technique
The dry brush technique is ideal for creating a textured, scratchy effect. In this method, very little paint is loaded onto the brush, and excess paint is wiped off before applying it to the surface. This results in a rough, uneven stroke that adds depth and movement to the painting.
This technique is commonly used for wood textures, rocky surfaces, and highlights in landscapes. It works best with thick paint like acrylic or oil since these allow for stronger, more defined strokes. Artists often use flat or fan brushes for this method, as their bristles create more pronounced textures.
2. Wet-on-Wet Technique
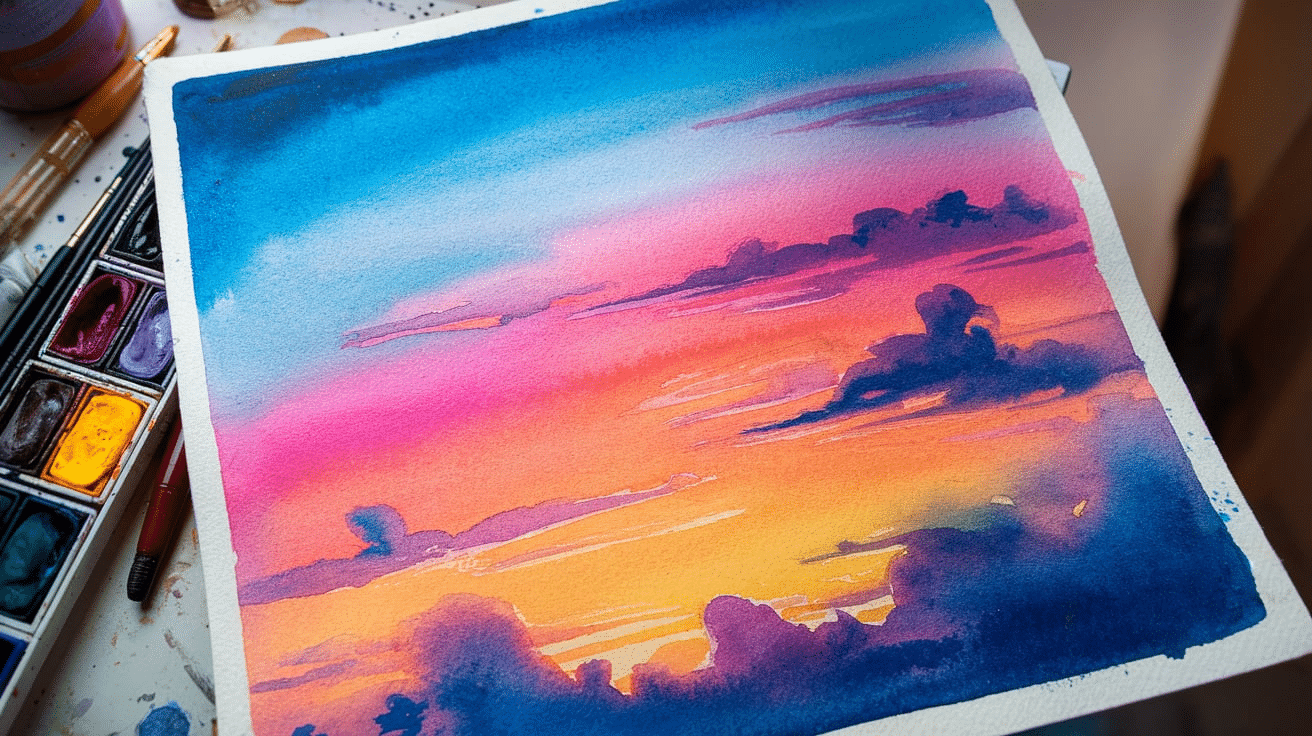
The wet-on-wet technique involves applying wet paint onto a wet surface, allowing colors to flow and blend naturally. This technique is most commonly used in watercolor painting but can also be adapted for oils and acrylics.
The soft, fluid effect created by this method makes it perfect for painting skies, clouds, and ocean waves. Because the paint spreads and merges with surrounding colors, it helps create smooth transitions and soft, dreamy textures. Beginners should practice controlling the amount of water or paint to avoid excessive bleeding of colors.
3. Stippling
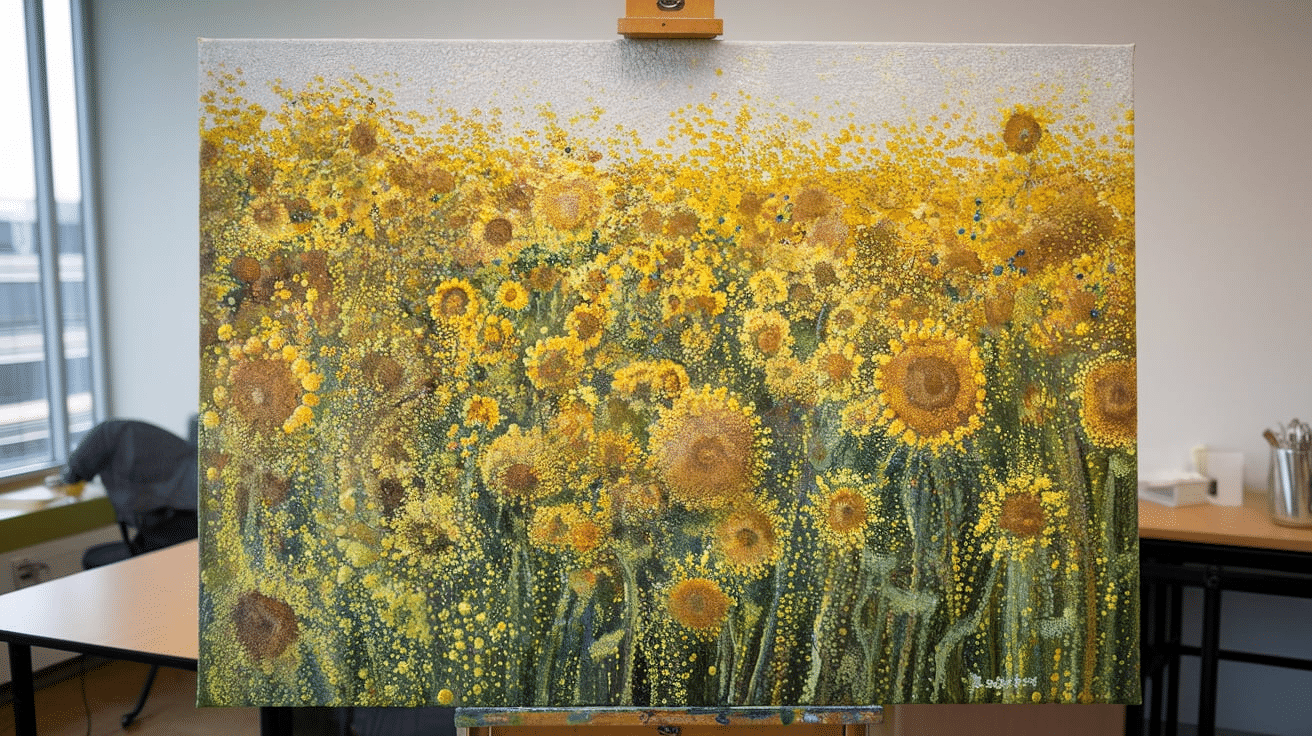
Stippling is a technique where small dots or dabs of paint are applied to the surface, creating texture, shading, and depth. This technique is used in both painting and drawing. Its used for adding texture, creating depth in portraits, and blending colors naturally.
A round brush or stiff-bristled brush is typically used for this technique. The size of the brush and the density of dots determine how light or dark an area appears.
4. Hatching and Cross-Hatching
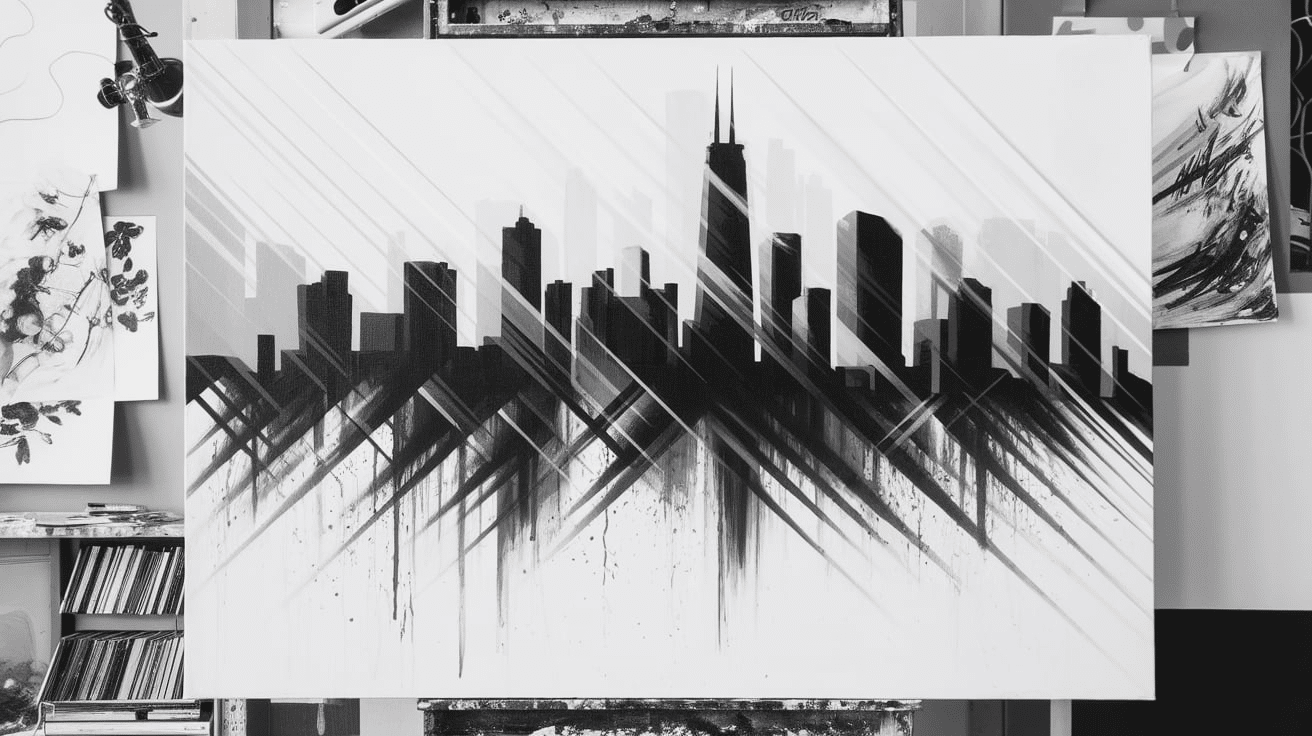
Hatching and cross-hatching are techniques where parallel or intersecting lines are used to create shading, depth, or texture. This method is more commonly used in pen-and-ink drawings, but it can also be applied with a paintbrush.
For hatching, thin lines are drawn close together to create shading, while cross-hatching involves layering these lines at an angle for deeper shadows. This technique works well for monochrome painting, sketch-style artwork, and adding texture to paintings.
5. Glazing
Glazing is a technique where thin, transparent layers of paint are applied over dry layers to create depth, luminosity, and smooth color transitions. It is widely used in oil and acrylic painting, especially in portraiture and still-life works.
This method allows artists to build up colors gradually, adding richness and complexity to the painting. To achieve the best results, artists use glazing medium or water to thin the paint before layering. The key is to allow each layer to fully dry before applying the next one to prevent unwanted color mixing.
6. Scumbling
Scumbling is similar to the dry brush technique but with more control over blending. In this method, a small amount of dry paint is lightly dragged over a dried layer, allowing the texture underneath to show through. This creates a misty, softened effect often used in clouds, fog, and aged textures.
Scumbling is commonly used in landscape paintings to add atmosphere and softened edges. Artists often use a filbert or soft round brush for this technique to ensure smooth application.
7. Feathering
Feathering is a blending technique that involves softening the edges of colors by lightly dragging the brush over them. It is commonly used in portrait painting to create natural skin tones and in watercolors for smooth gradients.
Soft round or filbert brush is used for smooth blending with light strokes Feathering requires a gentle touch and patience to ensure that colors merge naturally without looking forced.
8. Sgraffito
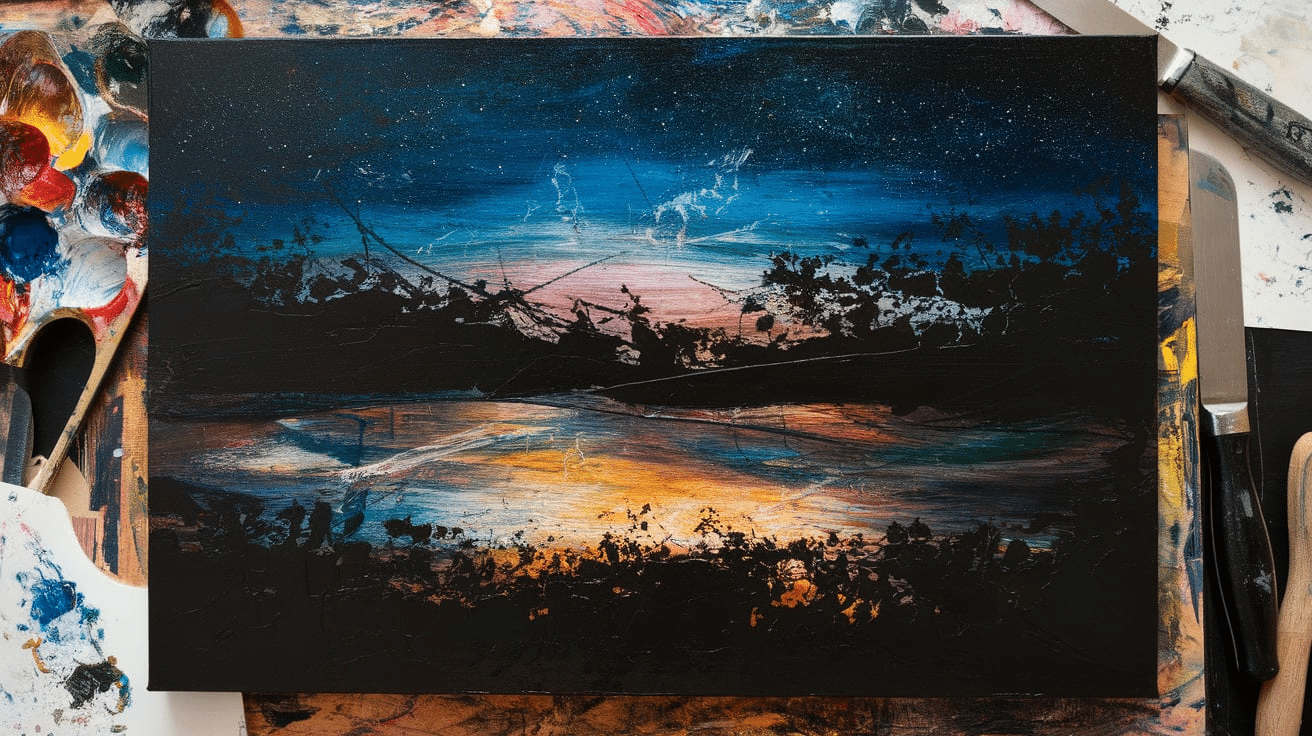
Sgraffito is a technique where layers of paint are scratched away to reveal the color underneath. This creates a textured, almost engraved effect, commonly used in abstract and mixed-media art.
Artists often use a palette knife, the back of a brush, or even a toothpick to scratch designs into the paint. This method works best when painting multiple layers of contrasting colors, as the scratched areas expose the underlying shades. This technique requires thicker paint layers, making it ideal for acrylic and oil painting rather than watercolors.
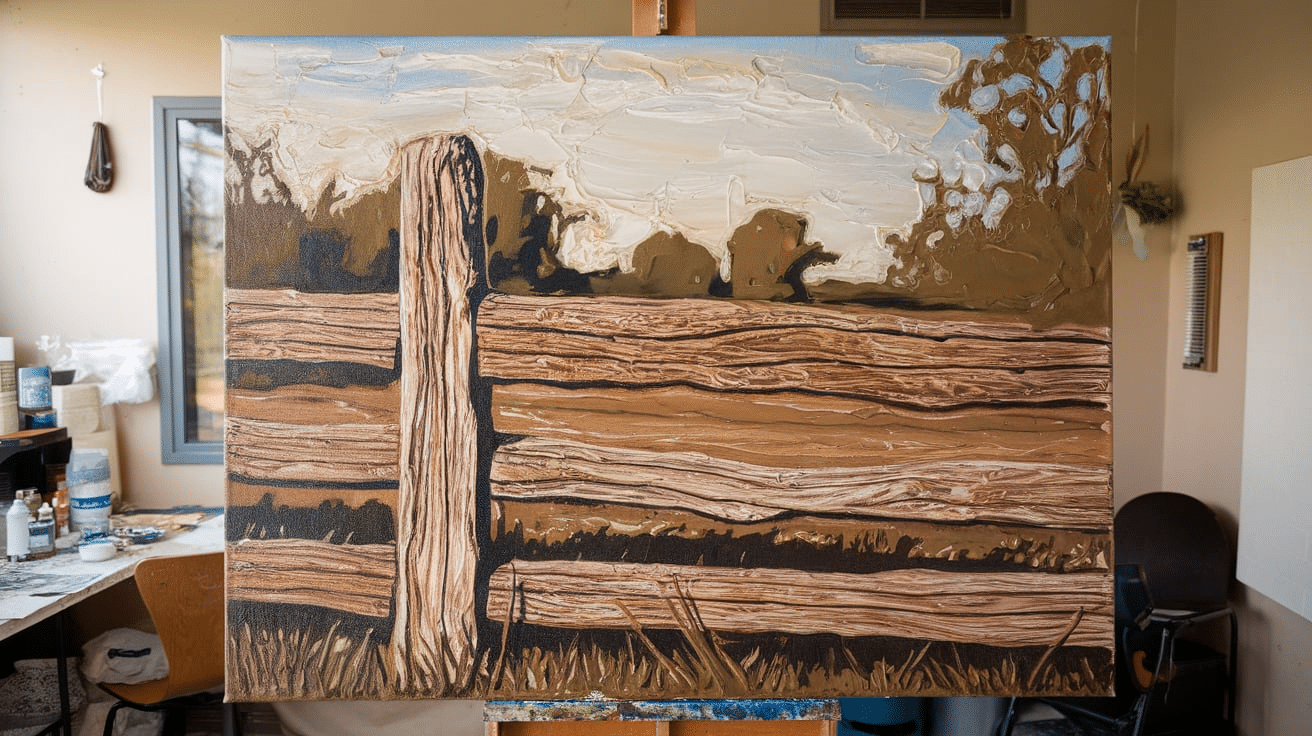
9. Impasto
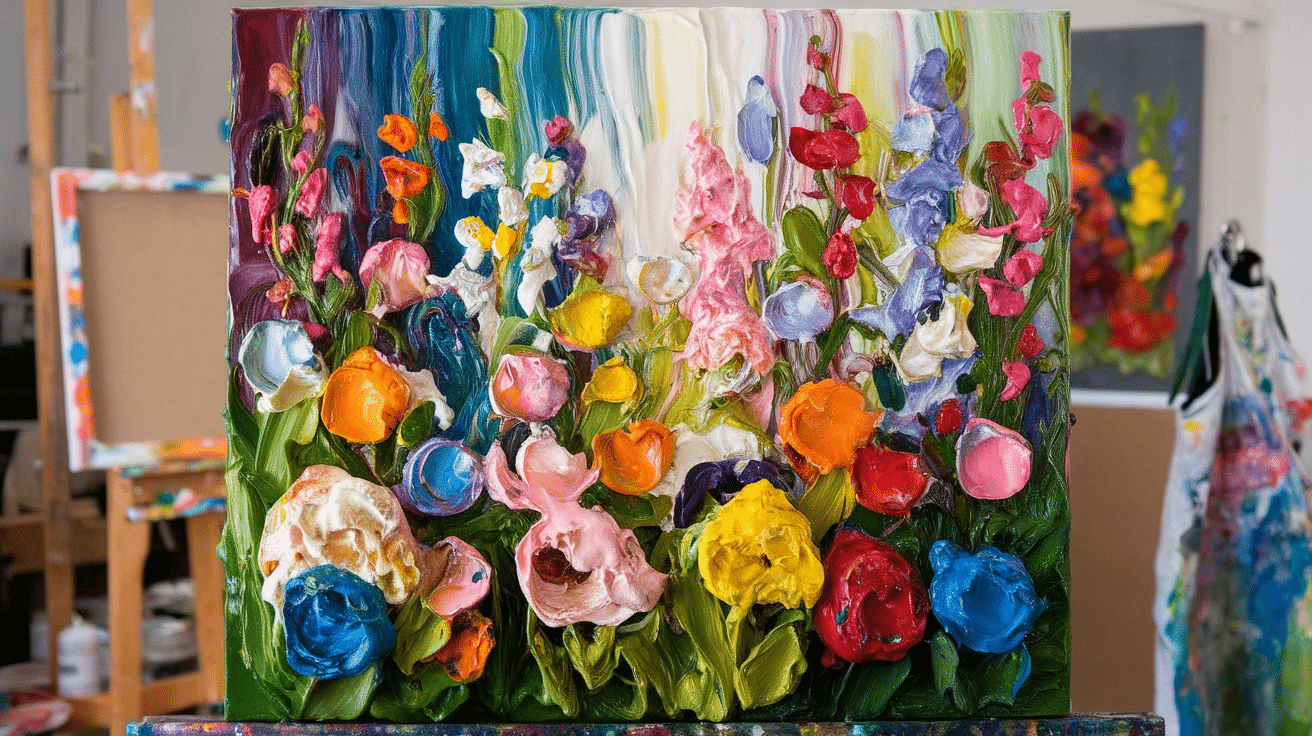
Impasto is a bold painting technique where thick layers of paint are applied using a brush or palette knife, creating raised textures and visible brushstrokes. This method gives paintings a three-dimensional effect, making it popular in expressionist and abstract art.
Artists like Vincent van Gogh used impasto to add depth and movement to their works. Thick acrylic or oil paint is best for impasto, as it retains its form and texture. Impasto paintings catch the light differently, making them visually dynamic and full of energy.
10. Splattering and Dripping
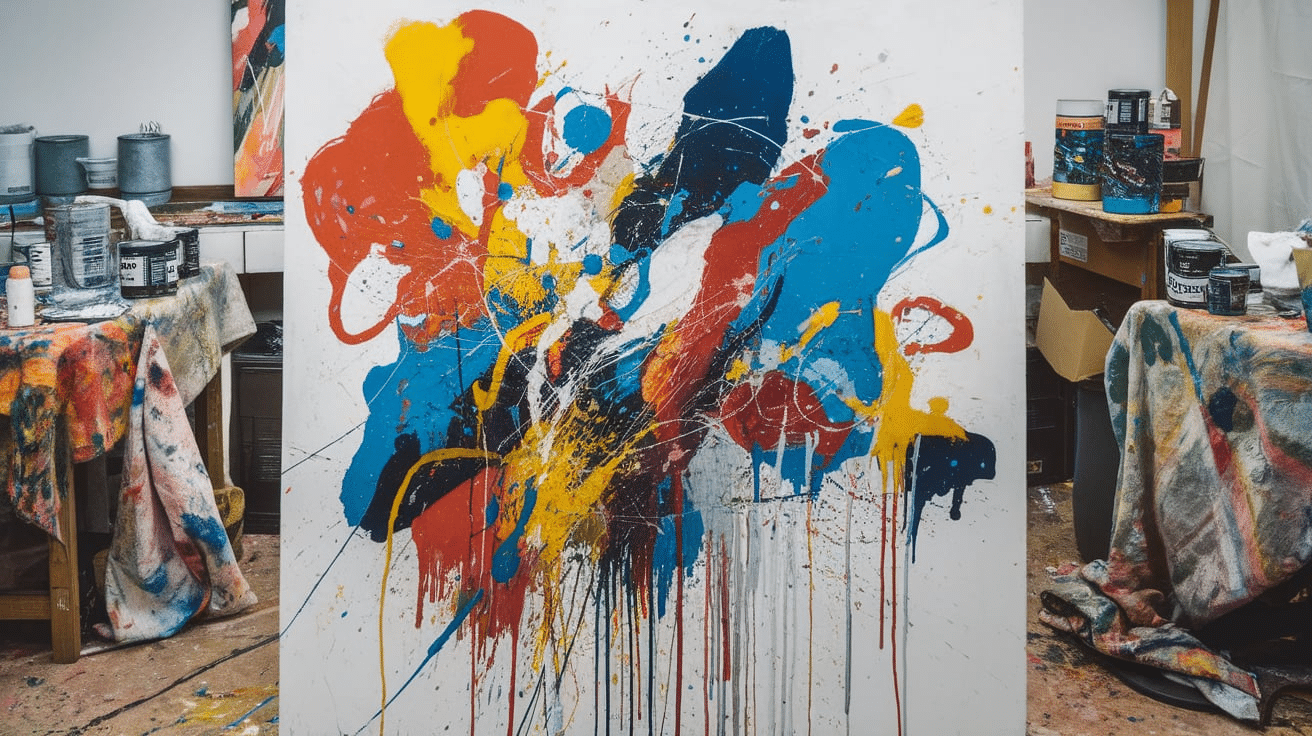
For a spontaneous, expressive effect, artists use the splattering and dripping technique by flicking or dripping paint onto the canvas. This technique is commonly associated with abstract expressionism, as seen in Jackson Pollock’s work.
Splattering works best with acrylic or watercolor paints, as they dry quickly and maintain the effect without smudging.
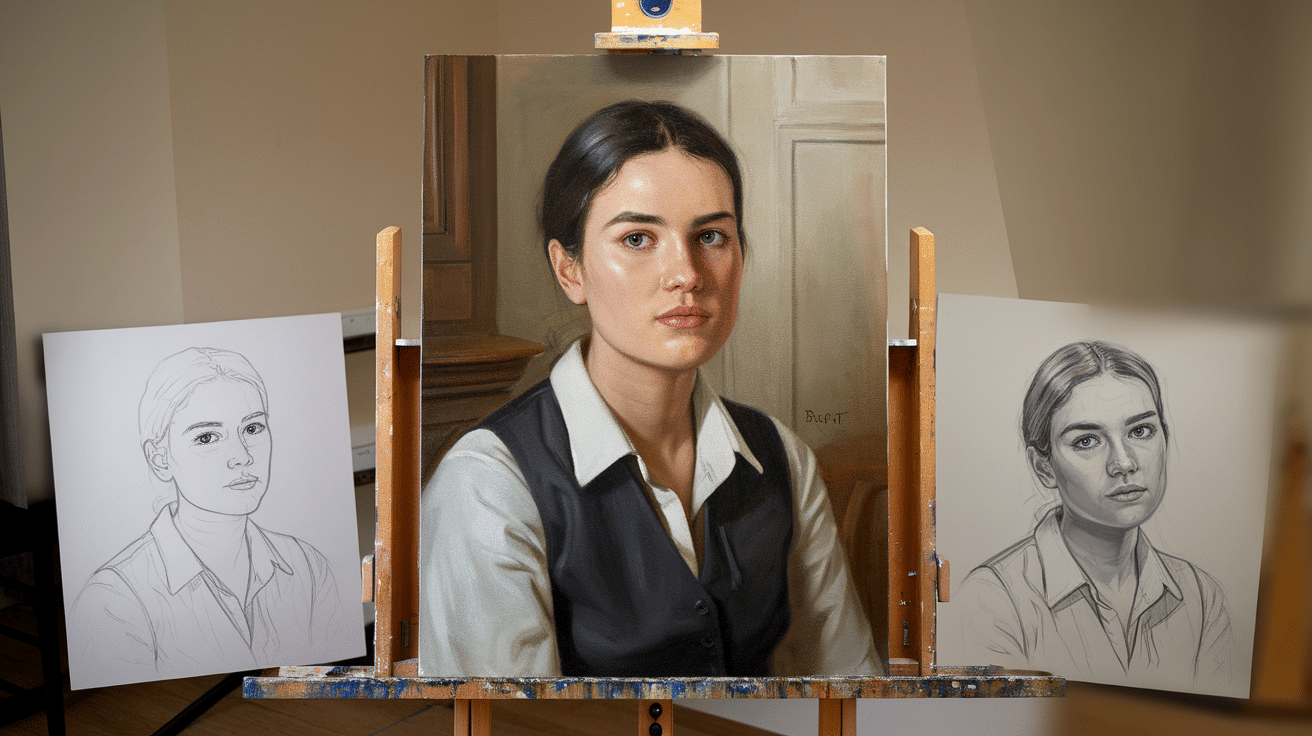
11. Underpainting
Underpainting is a foundational technique where a monochromatic layer of paint is applied before adding colors. This helps establish the composition, values, and depth of the artwork.
Traditionally used in oil painting, underpainting creates a guide for layering colors and improves overall contrast. Artists often use thin, diluted paint and a flat or round brush to sketch out forms before building up layers.
12. Chiaroscuro
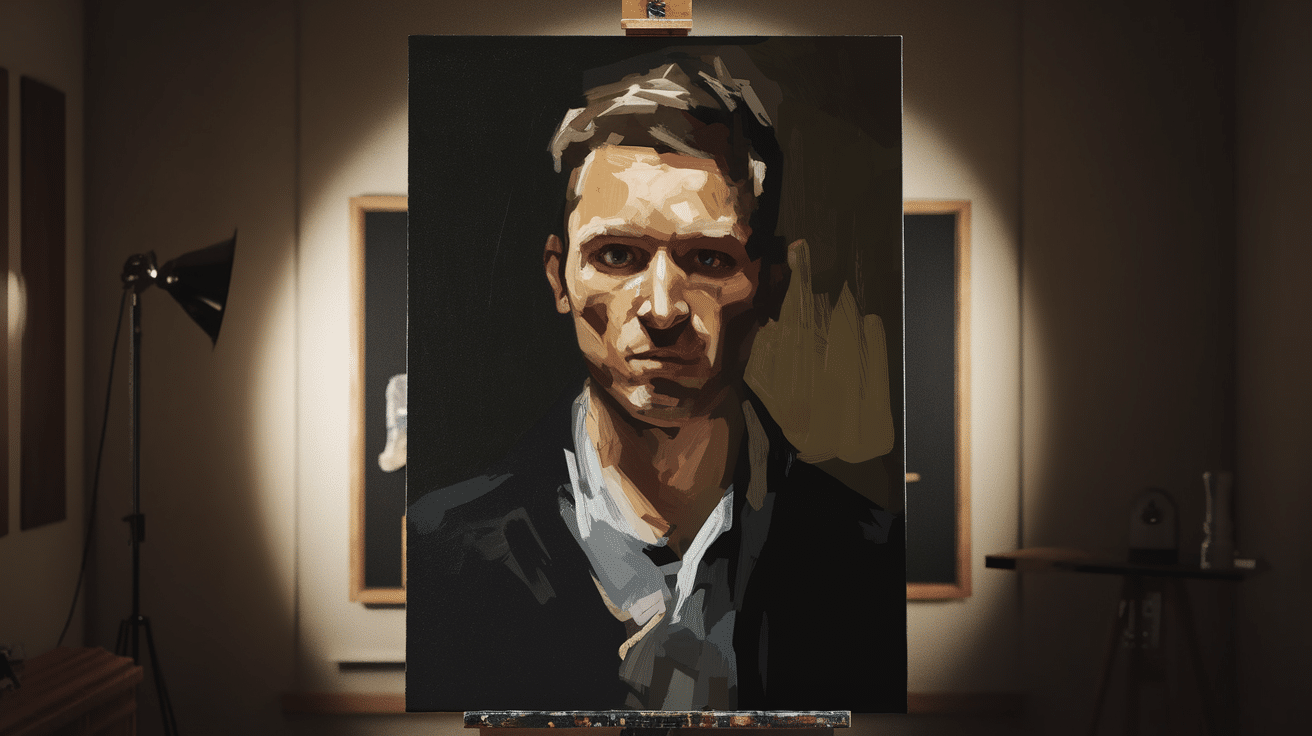
Chiaroscuro is a technique that focuses on strong contrasts between light and dark areas to create dramatic effects. Popularized during the Renaissance, this method enhances realism and adds a three-dimensional look to paintings.
Artists use soft round brushes to blend shadows and highlight smoothly, gradually increasing contrast to make the subject pop.
13. Dry Splattering
While splattering has been mentioned before, dry splattering is a more controlled method where thicker paint is flicked or tapped onto the canvas to create texture.
Artists use a stiff-bristled brush or toothbrush loaded with thick acrylic or oil paint to create small, raised droplets. This technique is great for adding rough textures, stone effects, or abstract details to paintings.
14. Veiling
Veiling is a soft glazing technique where thin, transparent layers of paint are gently brushed over dry areas to create a misty or hazy effect. This technique is commonly used in atmospheric landscapes, water reflections, and soft fabric folds in paintings.
Artists use a soft filbert or mop brush, working in thin, overlapping layers to create delicate transitions between colors.
15. Dragging or Pulling
This technique involves pulling a dry brush lightly across the canvas to create a streaky, unfinished look. Often used in backgrounds, abstract art, and aged textures, dragging helps create movement and depth with minimal effort. Flat or filbert brushes are ideal for this technique, as they can hold and release paint smoothly across the surface.
Each of these techniques offers unique ways to manipulate paint and enhance artwork. Experimenting with different brushes and strokes helps artists discover their personal style and signature effects.
Learning different paintbrush techniques allows artists to expand their skills and create diverse effects in their paintings. Whether you prefer soft blending, bold strokes, or fine details, mastering these methods will help improve your brush control and artistic expression.
Creative Ways to Use Paintbrush Art
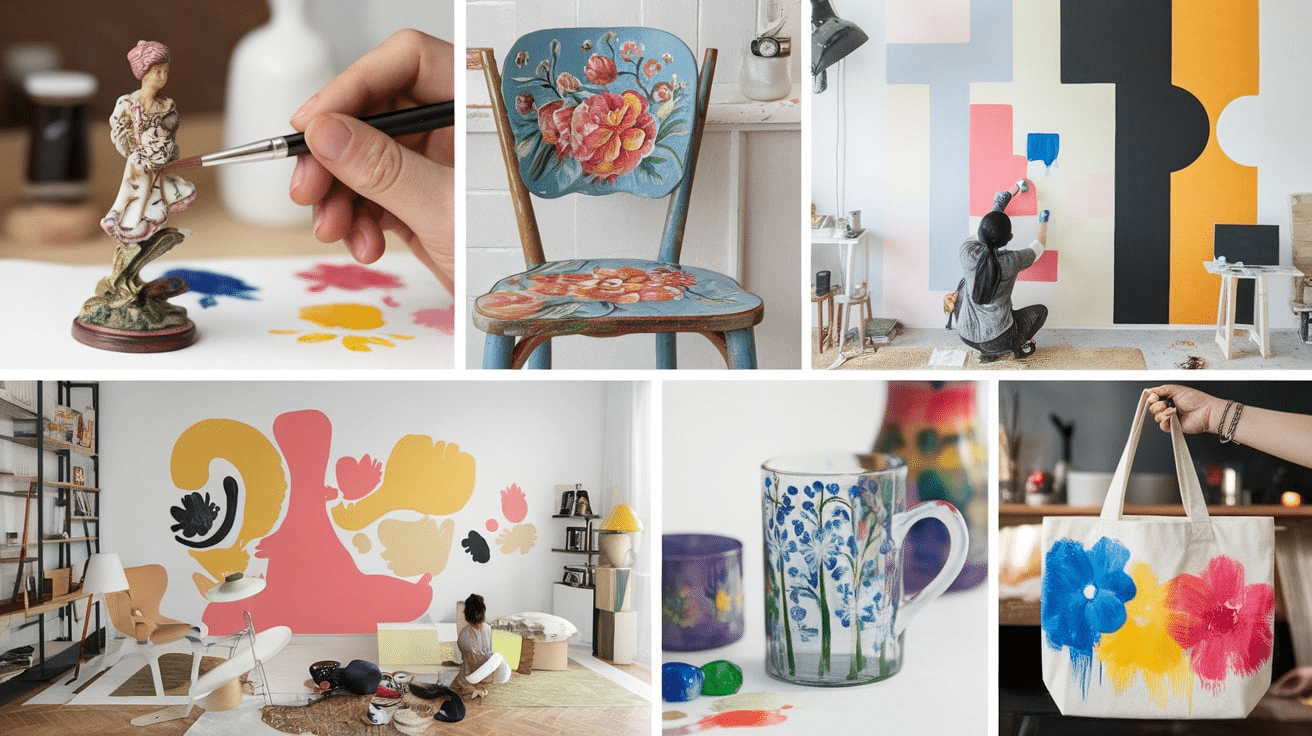
Paintbrush art isn’t limited to traditional canvas paintings. There are many creative ways to incorporate paintbrush techniques into home décor, fashion, crafts, and functional art. Here are some fun and inspiring ideas to expand your creativity beyond the canvas.
1. Miniature Painting
Miniature painting is the art of painting tiny details on small surfaces. It is popular in model-making, dollhouses, and tabletop gaming figurines. Artists use fine liner brushes for precision and work with acrylic or enamel paints for durability.
2. DIY Home Décor Projects
Paintbrush art can transform ordinary home items into custom décor pieces. Whether you’re adding floral designs to furniture, painting a mural on a wall, or creating hand-painted coasters, using different paintbrush techniques allows you to make your space more unique.
3. Upcycling with Paint
Instead of throwing away old objects, use paintbrush techniques to give them a new life. Painting on glass jars, fabric, or metal can create stylish and personalized items. Mason jars can be painted with acrylic or chalk paint for a rustic look. Old vases can be transformed into colorful art pieces with abstract designs.
4. Glass and Ceramic Painting
Specialized brushes and porcelain or glass paints allow for beautiful designs on mugs, plates, or windows. Artists often use liner brushes for detailed strokes and fan brushes for soft textures on glass. Use masking tape for clean, sharp lines, and bake ceramic-painted items to set the paint permanently.
5. Mixed Media and Collage Art
Paintbrush art can be combined with collage techniques, paper art, and textured elements to create unique mixed-media pieces. Many artists use palette knives, sponges, and brushes to layer paint in abstract or contemporary styles.
Using paintbrush art in new ways keeps creativity fresh and exciting. Whether on fabric, furniture, or glass, there are endless possibilities.
Popular Artists Known for Paintbrush Techniques
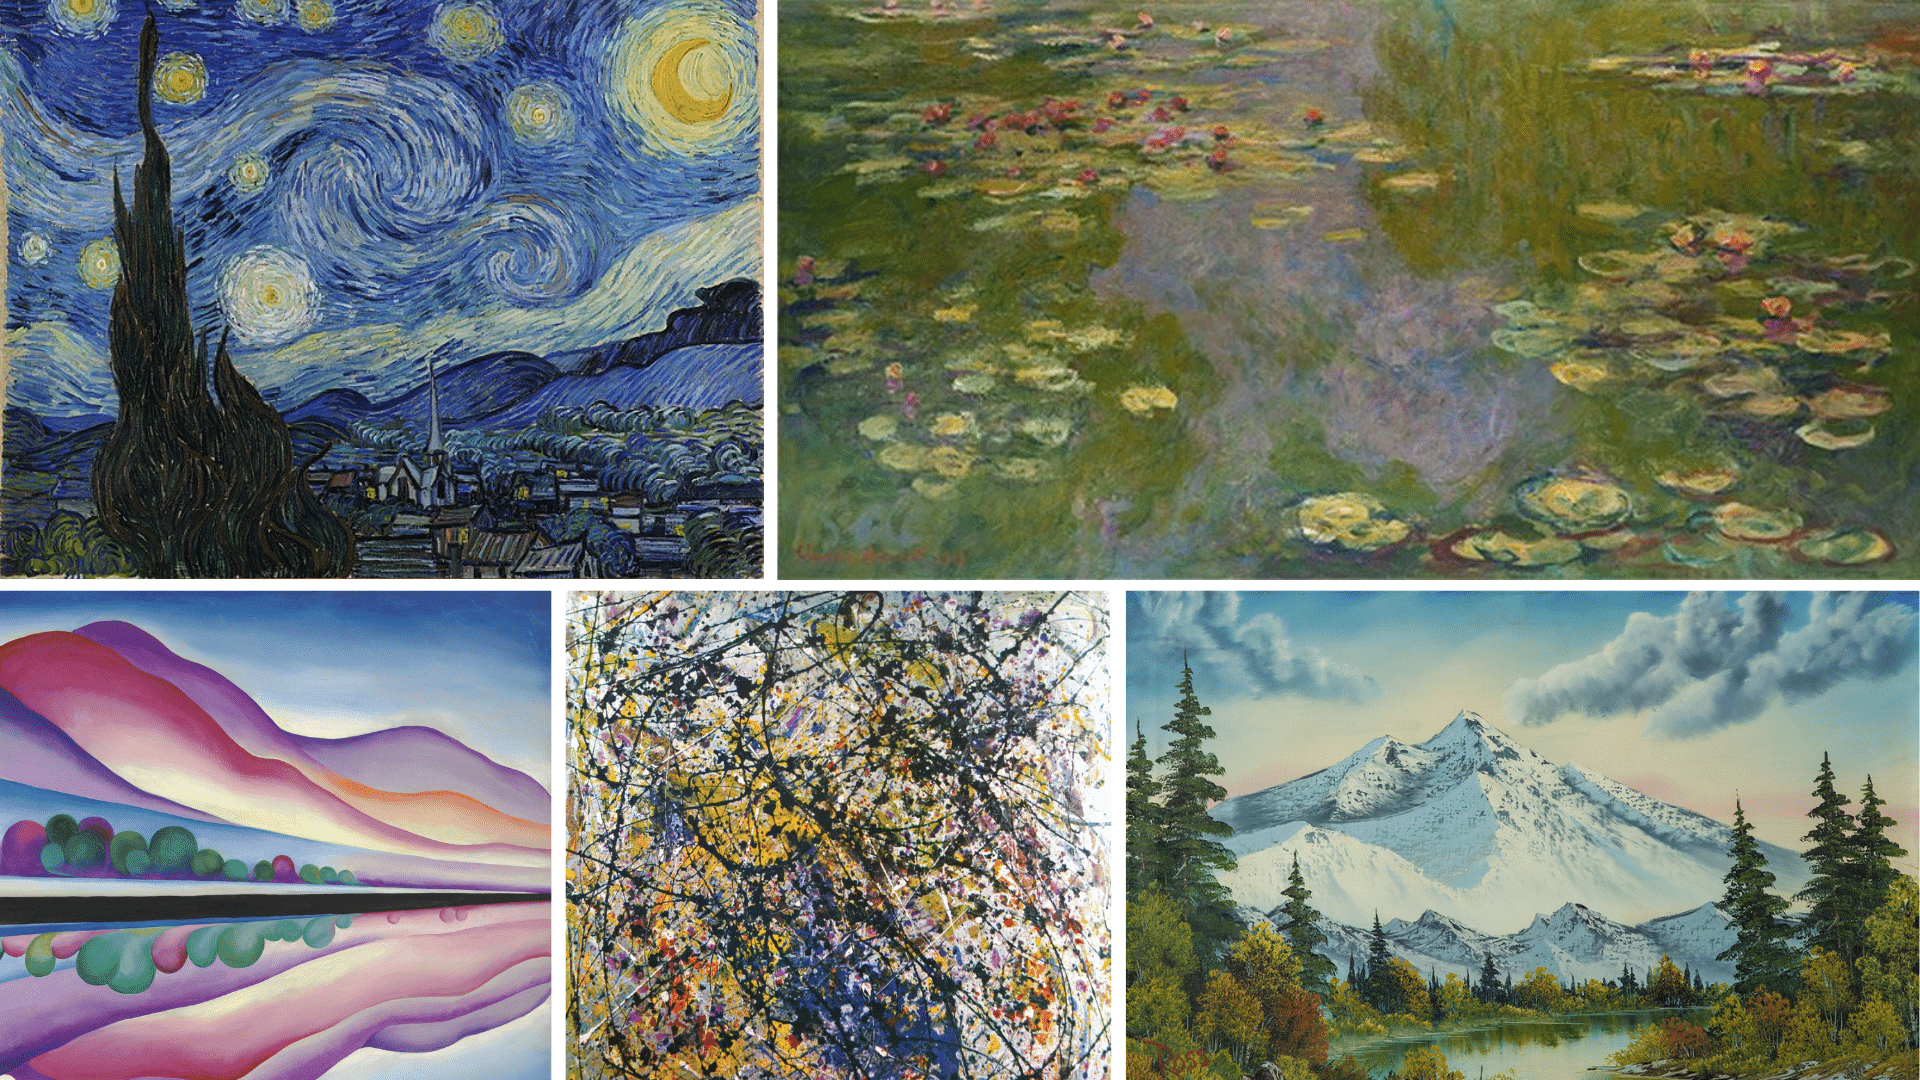
Many artists have perfected unique paintbrush techniques that have influenced art history. Studying their styles can help artists develop their own brushwork skills.
1. Vincent van Gogh (1853–1890): Van Gogh was known for his expressive, thick brushstrokes, which gave his paintings a textured, energetic quality. His famous works, like Starry Night and Sunflowers, used the impasto technique, applying thick layers of paint with bold, visible strokes.
2. Claude Monet (1840–1926): A master of Impressionism, Monet used soft, feathery brushstrokes to capture light and movement. His Water Lilies series shows his skill in blending wet-on-wet techniques to create serene landscapes.
3. Bob Ross (1942–1995): Bob Ross popularized the wet-on-wet technique on his TV show The Joy of Painting. He used fan brushes for trees, round brushes for clouds, and palette knives for mountains, teaching people that painting could be fun and accessible.
4. Jackson Pollock (1912–1956): Pollock is famous for abstract drip painting, where he splattered and dripped paint onto large canvases without touching them with a brush. His technique revolutionized modern art and inspired expressive, movement-based painting styles.
5. Georgia O’Keeffe (1887–1986): O’Keeffe used smooth, blended brushstrokes to create soft yet powerful floral and landscape paintings. Her close-up paintings of flowers show a mastery of color layering and controlled brushwork.
Each of these artists used paintbrushes in innovative ways that helped shape the world of art. Studying their techniques can help modern artists try out new styles.
Tips to Improve Your Paintbrush Art Skills
Becoming skilled at paintbrush art takes time, practice, and an understanding of how different brushes and techniques work together. Here are some tips to help you improve your skills:
1. Experiment with Different Brushes: Different brushes create different effects. Try using round brushes for fine details, fan brushes for textures, and flat brushes for bold strokes.
2. Use the Right Paint for the Right Surface: Watercolor brushes are soft and work best with watercolor paper. Acrylic brushes need to be firm for thick canvas painting. Oil paint brushes should be durable enough for long drying times.
3. Keep Your Brushes Clean: Dirty brushes can ruin paintings. Clean watercolor and acrylic brushes with water immediately after use. Oil paint brushes require cleaning with turpentine or mineral spirits.
4. Practice Brush Control: Try exercises like creating thin and thick lines by adjusting pressure, practicing different stroke techniques, and using single colors to paint.
5. Observe and Learn from Other Artists
Studying other artists’ techniques helps improve your skills. Watch painting tutorials, visit galleries, or analyze famous paintings to understand different brushstrokes and styles.
6. Don’t Be Afraid to Make Mistakes: Mistakes are part of the learning process. Every artist experiments and improves through practice. If a painting isn’t working, try new techniques or layer over mistakes to create something unexpected.
Improving your paintbrush art takes time, practice, and the right techniques. Keep experimenting with different brushes, strokes, and surfaces to refine your skills and develop your own artistic style.
Conclusion
Paintbrush art is a fun and expressive way to bring creativity to life. Whether you’re painting on canvas, wood, fabric, or even furniture, understanding different brushes and techniques helps you create beautiful and unique pieces. From dry brushing for texture to wet-on-wet blending for smooth transitions, each method adds depth and movement to your work.
By experimenting with various brushes, paints, and surfaces, you’ll find what works best for your style. Studying famous artists like Van Gogh, Monet, and O’Keeffe can also inspire new approaches to painting.
The key to improvement is practice and exploration. Try different strokes, mix colors, and embrace mistakes as part of the learning process. Whether you’re a beginner or an experienced artist, paintbrush art offers endless possibilities for creativity. So grab your brushes, experiment with new techniques, and enjoy the process of making art!
Frequently Asked Questions
What is the best paintbrush for beginners?
A round brush is great for beginners because it can create both fine details and broad strokes. Flat brushes are also useful for filling in larger areas and making clean edges.
Why do my paintbrush bristles keep spreading out?
This could be due to dried paint buildup or using too much pressure when painting. Clean your brushes thoroughly after each use and store them properly to maintain their shape.
How do I prevent brushstrokes from appearing in my painting?
Use a soft brush and apply thin, even layers of paint. Blending with a damp brush or using the wet-on-wet technique can help create smoother transitions.
How often should I replace my paintbrushes?
It depends on how often you paint. High-quality brushes can last several years with proper care, while lower-quality ones may need replacing every few months if used frequently.


