

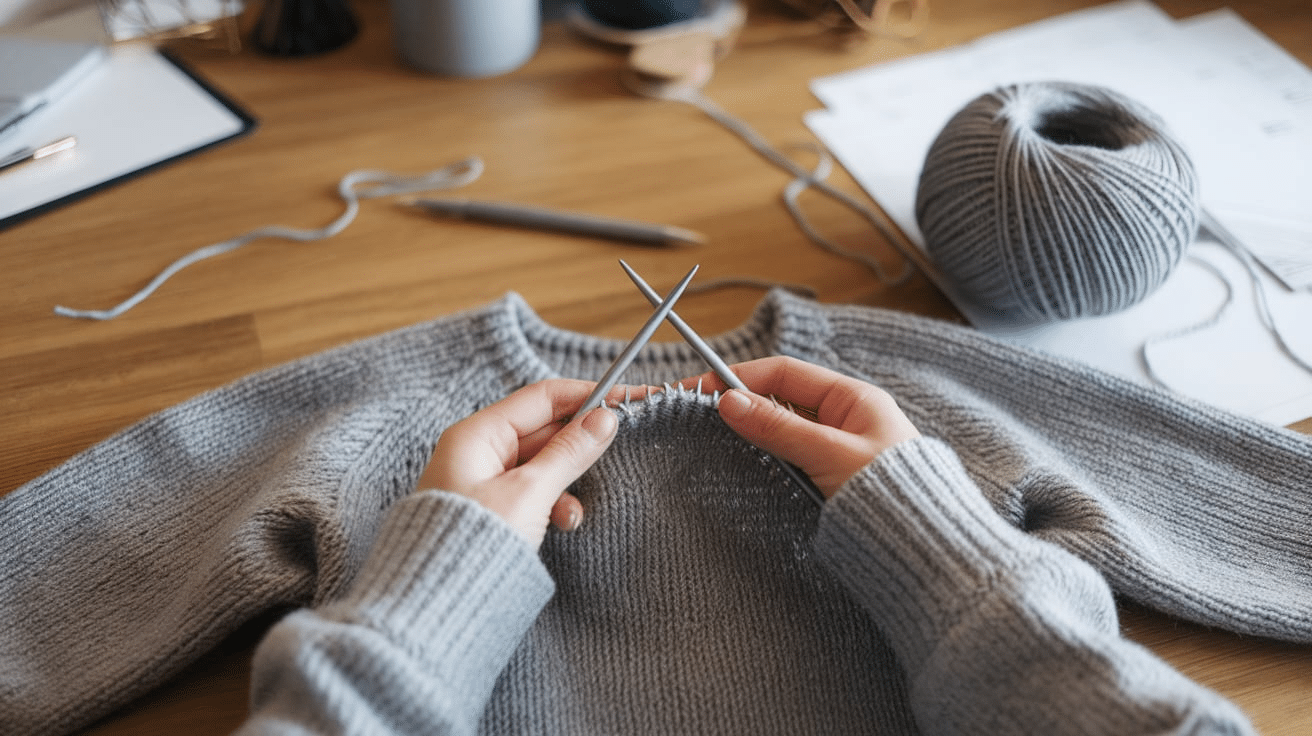
The Slip, Slip, Purl (SSP) decrease is a simple knitting technique that creates a left-slanting decrease on the purl side of your work. It’s perfect for when you want a neat and clean decrease that shows up on the wrong side of your project.
The SSP decrease is often used in patterns that call for decreases on the purl side, giving your project a professional finish. If you’re new to this technique, don’t worry—it’s easy to learn! Once you get the hang of it, you can add this simple technique to your knitting.
In this guide, I’ll explain the steps to mastering the SSP decrease and share some helpful tips. From your first stitches to advanced patterns, this technique helps every project look its best.
What is SSP Knitting?
SSP knitting stands for Slip, Slip, Purl. It’s a technique used to decrease stitches in your knitting, which means you make your piece narrower by removing stitches. The SSP decrease creates a left-slanting line on the purl side of your work.
To do an SSP, you first slip one stitch knitwise, then slip another stitch knitwise. After that, you move both stitches back to your left needle and purl them together through the back loops.
This decrease is useful when you want a neat, slanted decrease on the wrong side of your knitting, like in ribbing or lace patterns. It’s a handy technique to add to your knitting skills.
Why SSP Decrease is a Great Knitting Technique
The SSP decrease is a helpful technique for creating neat and professional-looking results in your knitting projects. Here’s why you might want to use it:
-
Creates a Neat Left-Slanting Decrease: The SSP decrease forms a clean, left-slanting line on the purl side of your work, which can be great for shaping your project or adding design elements.
-
Perfect for Purl Side Decreases: When working with patterns that require decreases on the wrong side, the SSP decrease is the ideal choice. It keeps your work looking neat without any bulky stitches.
-
Helps Maintain Consistency: Using the SSP decrease helps you maintain the overall look of your piece, ensuring your decreases don’t disrupt the flow of your stitches or design.
In short, the SSP decrease is a great technique for improving the appearance and flow of your knitting. It’s easy to learn and very useful in many knitting patterns.
Materials Needed for SSP Decrease
You don’t need anything too complicated to perform the SSP decrease—just a few basic tools and materials.
-
Knitting Needles: Any knitting needles will work for the SSP decrease. Just make sure they are the right size.
-
Yarn: Choose the yarn that fits your project. The SSP decrease works with any yarn, from thicker to finer weights.
-
Ruler or Stitch Marker: If you need help keeping track of your stitches or rows, use a ruler or stitch marker.
-
Tapestry Needle: After completing your project, a tapestry needle may be needed to weave in any loose ends.
That’s it! With these simple tools, you can use the SSP decrease in your knitting projects.
Step-by-Step Guide to the SSP Decrease
The SSP decrease is a simple but useful technique that helps you make your knitting projects look neat and professional.
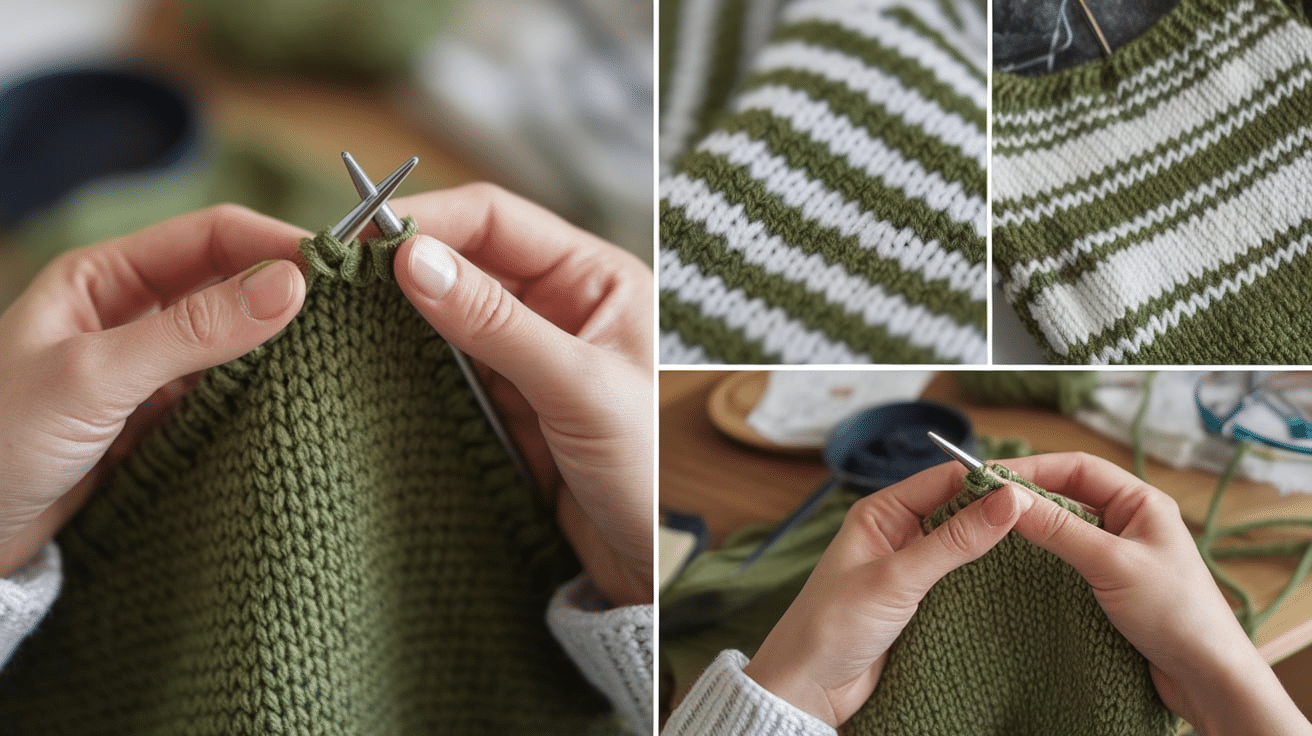
Step 1: Slip the First Stitch Knitwise
To begin, insert your right needle into the first stitch on the left needle as if you were going to knit it. Instead of knitting it, slip the stitch onto the right needle. This moves the stitch without changing its position. Do this slowly so the stitch doesn’t get lost.
Step 2: Slip the Second Stitch Knitwise
Next, repeat the same action for the second stitch. Insert your right needle into the next stitch on the left needle and slip it to the right needle. Again, do this as though you were knitting, but don’t actually knit the stitch. You’ll now have two stitches on the right needle.
Step 3: Place Both Stitches Back on the Left Needle
Once both stitches are on the right needle, carefully move them back onto your left needle. Make sure both stitches are placed on the left needle in the same direction as when they were originally knitted. This step is important because you’ll need both stitches to be in the right position to continue.
Step 4: Purl Two Together Through the Back Loops
Now, you’ll need to purl two stitches together through the back loops. Insert your right needle into the back loops of both stitches on the left needle. With your right needle in place, purl the two stitches together, just like you would purl two stitches normally. This will create the decrease and leave you with one stitch on your right needle.
Step 5: Check Your Work
After completing the decrease, check to make sure your stitches are even and the decrease is neat. The two stitches you slipped should form a smooth, left-slanting line on the wrong side of your work. If everything looks good, continue your project, repeating the SSP decrease where needed.
Check out this YouTube video by @VeryPinkKnits for better visual guidance.
By following these steps, you can easily add SSP decreases to your knitting projects, creating clean, slanted decreases on the purl side. With practice, this technique will become second nature!
Where to Use SSP Knitting?
The SSP decrease is a versatile technique that can be used in various types of knitting projects, especially when you want a neat, left-slanting decrease on the purl side of your work. Here’s a more detailed look at where you’ll typically find the SSP decrease being used:
1. In Ribbing Patterns
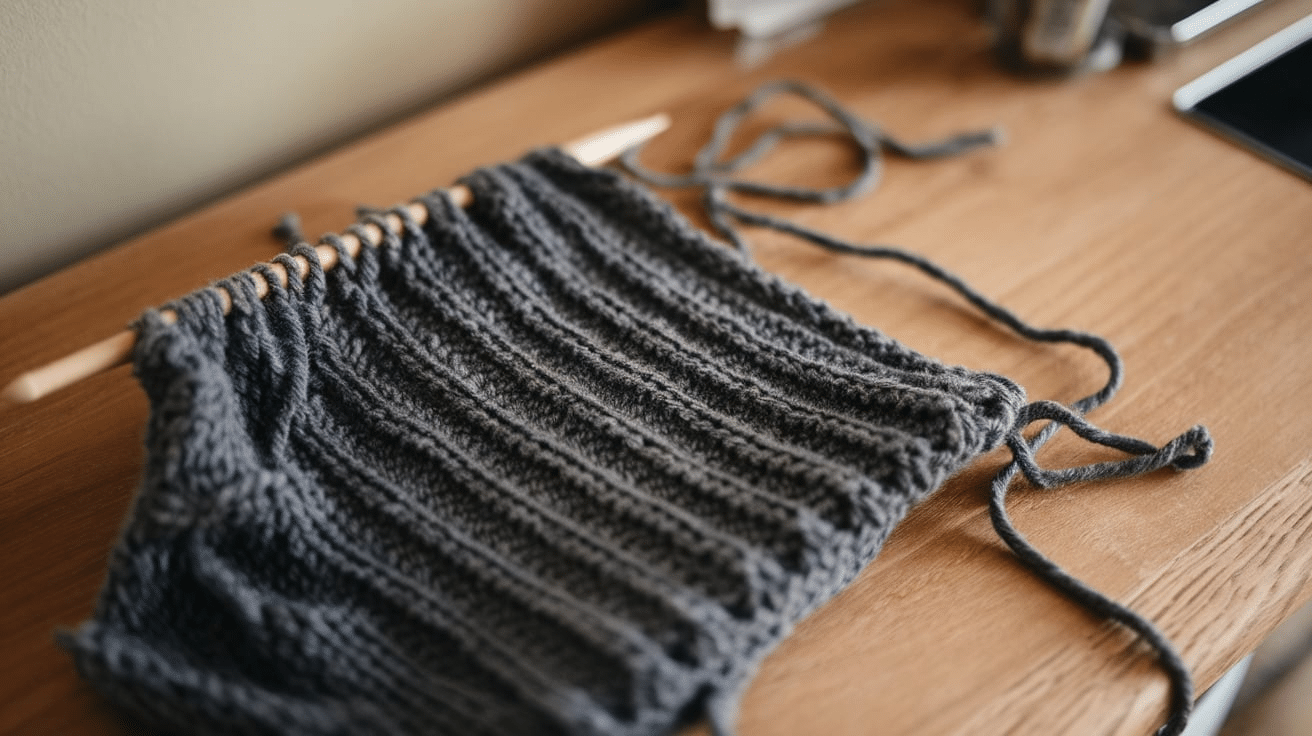
- Ribbing, with its alternating knit and purl stitches, is one of the most common places for the SSP decrease. Whether it’s in cuffs, hems, or around the neck of a sweater, ribbing often requires decreases to shape the fabric.
- SSP is particularly useful for decreases on the wrong side of the ribbing, keeping the texture neat and even while maintaining the flow of the stitch pattern. It ensures the decrease blends smoothly with the rest of the ribbed fabric.
2. In Lace Designs
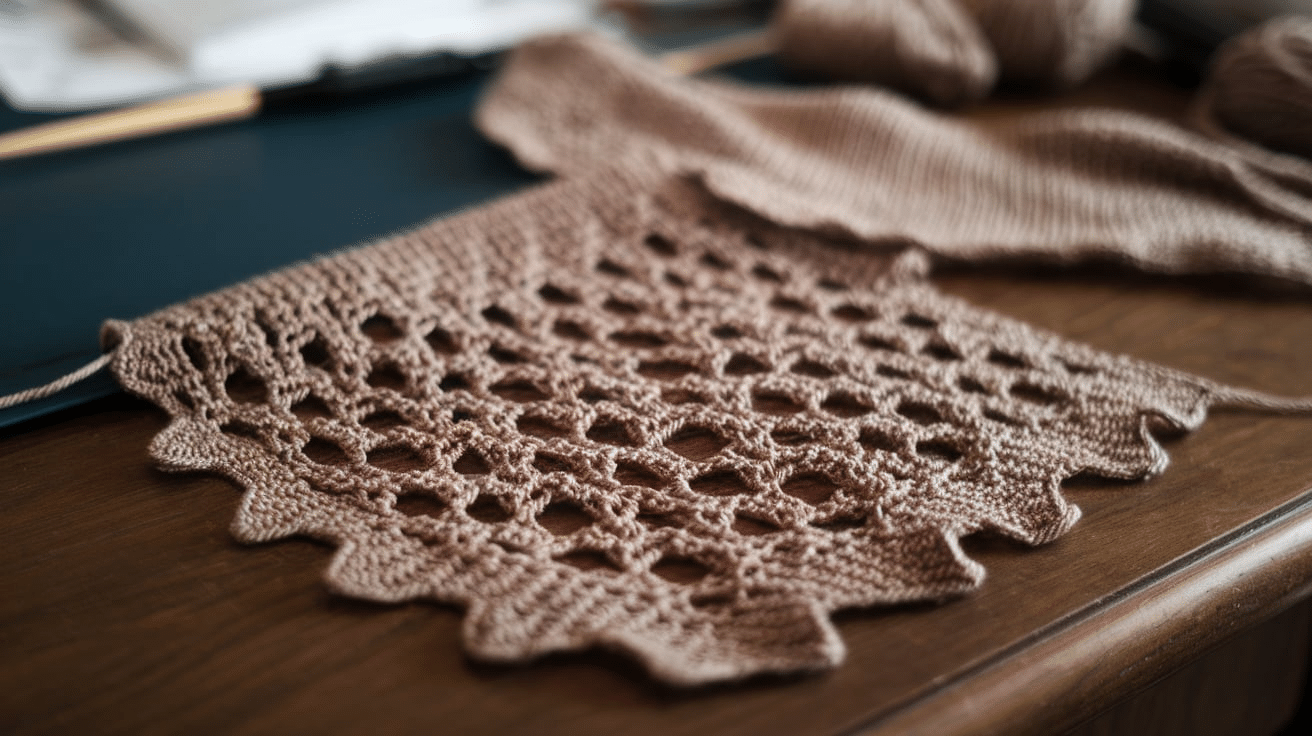
- In lace knitting, the SSP decrease is often used to shape and control delicate patterns. Lace patterns typically increase and decrease to create holes and shapes, and the SSP decrease helps keep the lines neat and tidy.
- Since lace often requires decreases on the purl side, SSP is the go-to choice for maintaining the delicate and smooth look of the design.
3. On the Wrong Side of Your Work
- The SSP decrease is especially useful when working on the wrong side of your project. When knitting the stockinette stitch, for example, decreases on the purl side create a smoother appearance, and SSP is perfect for this.
- It helps keep your fabric from getting bulky or messy, resulting in a more polished look when viewed from the wrong side. SSP gives your decreases a clean and professional finish.
4. In Shaped Garments
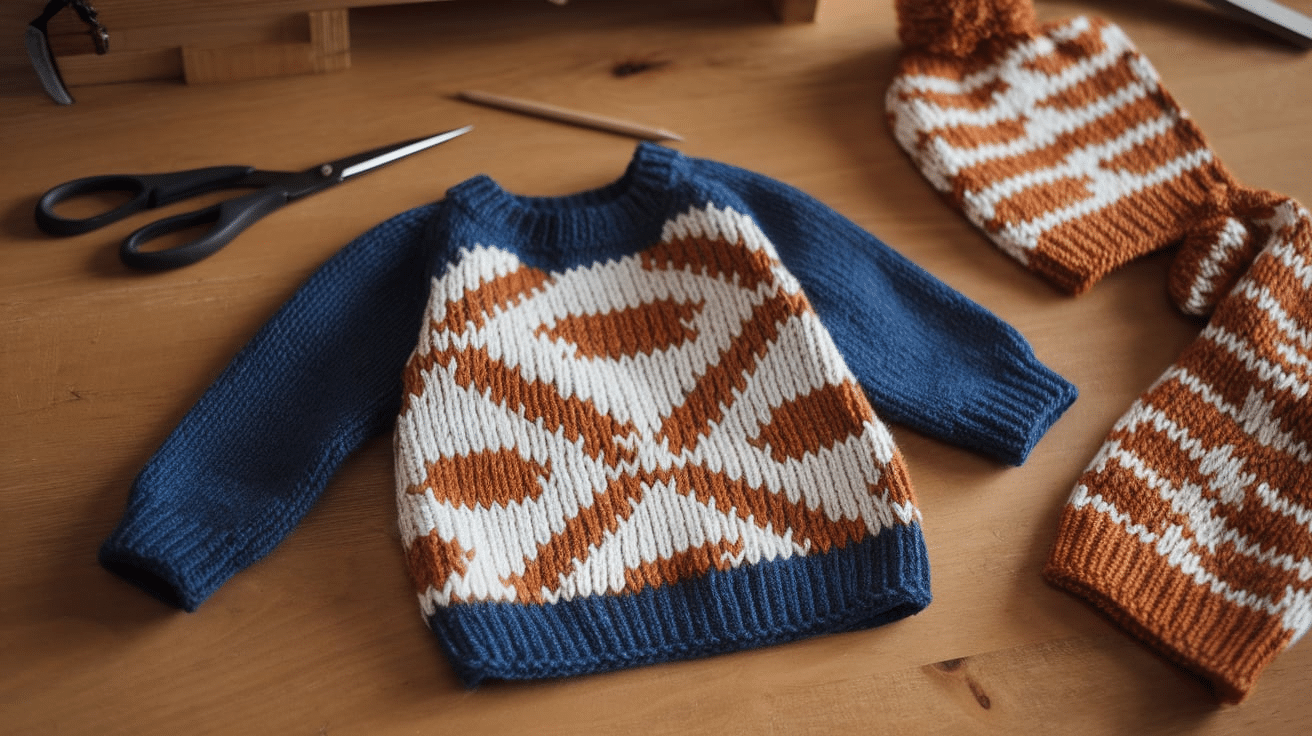
- In garments like sweaters or cardigans, decreases are often needed to shape the fabric, such as when decreasing for armholes or waist shaping.
- The SSP decrease works particularly well in these situations because it allows you to decrease on the purl side without disrupting the overall stitch pattern.
5. On Decorative Borders or Edges
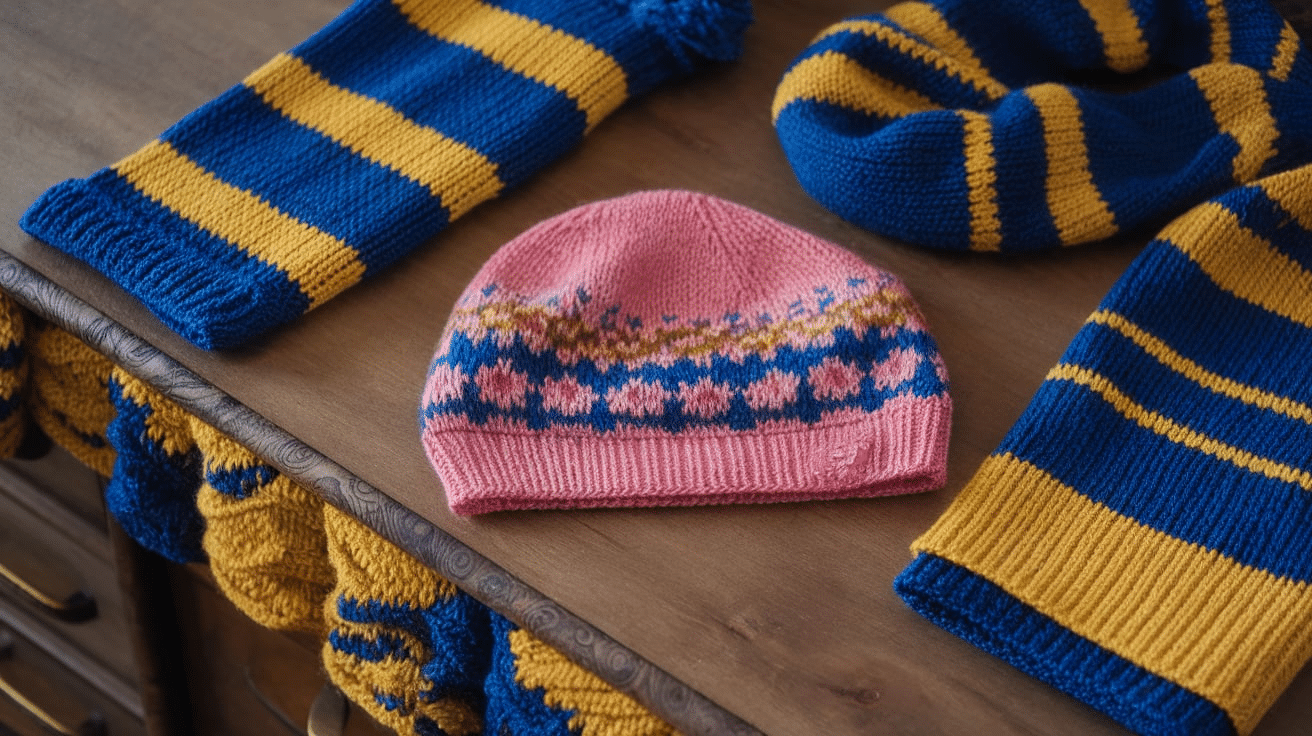
SSP can also be used to shape and decrease decorative elements or borders. If you’re adding decorative edging to a scarf or making a custom border for a blanket, using SSP can help shape the fabric while keeping everything neat.
In short, the SSP decrease is ideal for any knitting project where you need to decrease on the purl side. It keeps your fabric looking neat, consistent, and professional.
Helpful Tips for SSP Knitting
Here are a few simple tips to help you master the SSP decrease:
1. Keep Your Tension Even: Make sure your tension is consistent throughout the project. If your stitches are too tight, it can make the SSP decrease harder to work with, and if they’re too loose, it may not look as neat.
2. Practice with Scrap Yarn: If you’re new to the SSP decrease, try practicing with scrap yarn. It will help you get the hang of the technique before working on your main project.
3. Use a Sharp Needle: Using a needle with a sharp tip makes slipping stitches easier and helps you control your work better, especially when you need to slip the stitches cleanly for the SSP decrease.
4. Double-Check Your Stitches: Before you purl two together, double-check that both stitches are in the correct position on your left needle. This ensures the decrease looks neat.
These tips will help you create beautiful and clean SSP decreases in your projects. Happy knitting!
Conclusion
The SSP decrease is a simple but powerful technique that can help make your knitting projects look neat and professional. It’s especially useful for creating a smooth, left-slanting decrease on the purl side, which is important in many patterns like ribbing, lace, and shaped garments.
By following the easy steps and tips in this guide, you can master the SSP decrease and use it in all kinds of projects. With practice, you’ll find that it becomes a helpful tool in your knitting toolbox, giving your work a polished, clean finish.
So don’t be afraid to give it a try! Whether you’re knitting a sweater, scarf, or blanket, the SSP decrease will help make your knitting look even better. Take your time, keep practicing, and soon you’ll be adding this technique to all your knitting projects with confidence.
Frequently Asked Questions
Is SSP knitting hard to learn?
No, SSP is fairly easy to learn once you understand the steps. Practice with scrap yarn to get comfortable before adding it to your main projects.
Can I use SSP for all types of knitting?
Yes, you can use SSP in many types of knitting projects, including scarves, sweaters, blankets, and more. It works great for purl-side decreases!
What’s the difference between SSP decrease and SSK?
SSP creates a left-slanting decrease on the purl side, while SSK (Slip, Slip, Knit) creates a left-slanting decrease on the knit side. Each is used depending on which side you’re working on.
Do I need special tools for SSP?
No, you only need basic knitting tools: yarn, needles, and a ruler (optional) for guidance. A sharp needle helps make slipping the stitches easier.


