Archive for the 'Jen' Category
Wednesday, July 11th, 2007
I have been wanting to try this for a while- taking a cute fabric placemat and turning it into a purse. My first one must have been pretty successful since I sold it to a friend at the craft fair before the doors opened and it was so easy to make!
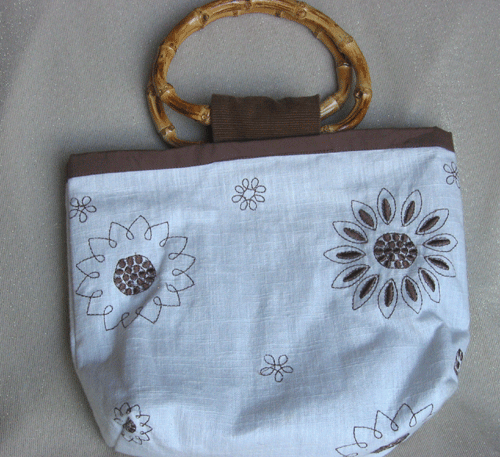
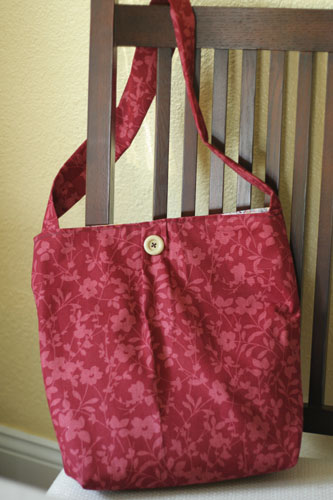
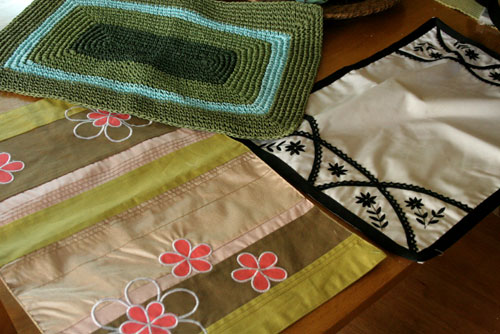
Shopping for a placemat is the first fun part. At most places you can buy them individually and usually for only a few dollars. I have even seen some cute placemats at the dollar store. The first one I made had a white background, brown trim, and brown flowers embroidered on it. All I did was turn it with right sides together and sew up the sides, gusset the bottom, and added handles. I had gotten several pairs of wooden and bamboo handles at the craft store for about $3. I found brown corduroy fabric to match and sewed a piece about 6″ long to the inside of the bag on the front and back, slipping the handle inside the corduroy piece and folding it over before sewing. The placemat was sturdy and had a solid brown fabric on the back so I did not need to add a lining. The only thing I wish I had done differently was to sew the handles a little closer to the bag or make a wider handle strap so the handles would not feel too loose in the strap.
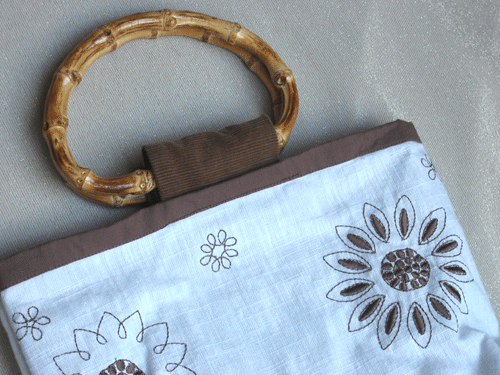
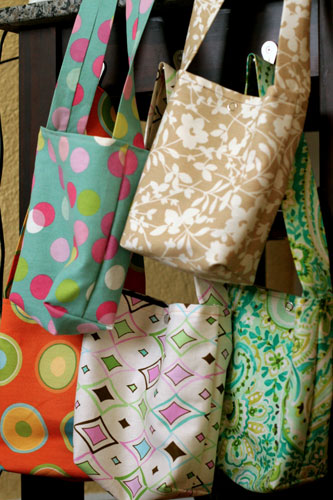
These are a few of the other placemats that I have bought to try out. I am working now on making a paper crocheted placemat into a purse, which I think will look great for summer. (After Heather’s tutorials I may even be able to do the crocheting myself one of these days too!) I will post it as soon as I am done!
Posted in Bags, Quick, Jen, Bargain-crafting, Now there's an idea, Sewing | 12 Comments »
Thursday, July 5th, 2007
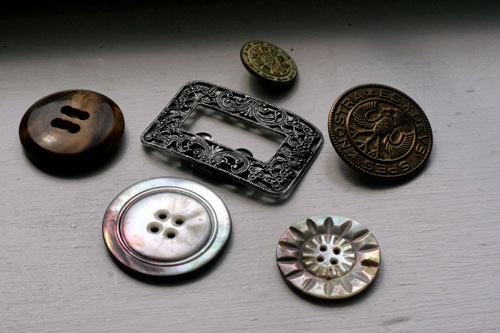
I just wanted to share with you some of my lucky finds at the antique stores lately. “Antiqueing” has pretty much become a hobby for my husband and me. He spends an hour scrounging in the basement looking at cabinets and tools while I make small talk with the shop owner, look for the resident kitty or fish with my son, or scour the jewelry counter! These are some of the vintage buttons and shoe buckles that I found recently to use on my bags. I love large buttons, and shell, mother of pearl, brass or wooden ones make great embellishment. Old strands of beads or plastic belts are also great finds for making earrings.
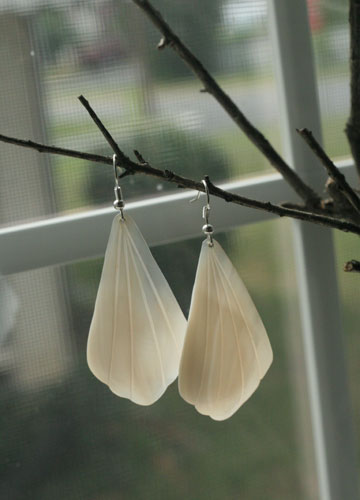
I fell in love with these shell earrings I found at a shop this week that I go to only about once a year. One earring hook was missing and the other definitely needed to be replaced but I would replace any hooks if buying used jewelry. This helps to brighten up the piece as well. This find was timely since my son broke an ornament and I felt bad not buying anything. (What a good excuse!)
Often I have gotten a bag of vintage beads or buttons for ~$2, and for that there are usually some treasures inside. Now that I am in with all the owners downtown the ladies will save out bags of buttons for me (and give me a great price!) Finding actual treasures may be a challenge but the character and uniqueness they come with may be worth it!
Posted in Beading/Jewelry, Jen, Bargain-crafting, Recycled | 5 Comments »
Wednesday, June 20th, 2007
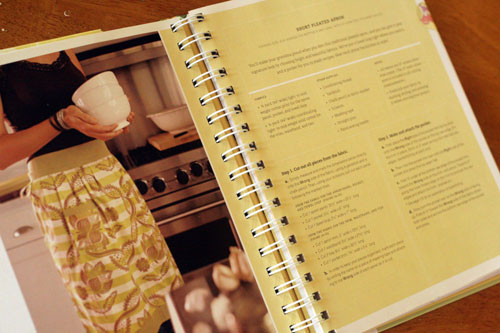
I fell in love with a pattern for an old-fashioned apron from Amy Butler’s “In Stitches” book. But let me tell you it was not as easy as it looks. What I thought was going to be a hour project turned into one that lasted on and off from late afternoon to midnight! But I am very pleased with what I learned and with the outcome. I am only an intermediate sewer and have never followed a pattern from start to finish so that was my first accomplishment. But I also learned to: fold the trim over evenly with the fabric to get the most height out of my trim, measure my pleats (instead of sewing random ones), and do this tricky wrong sided sewing that overturned to show a finished waistband. So check out it out if you are interested in sharpening these skills. The book’s directions and diagrams were pretty clear and I can’t wait to make another, which should go much faster!
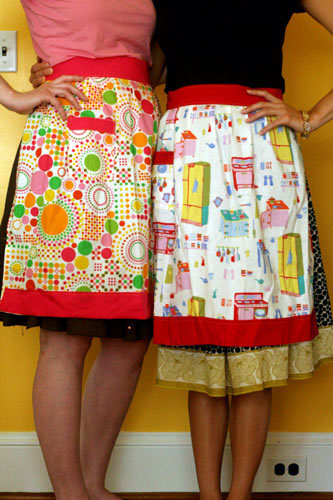
My cousin Roxannah (who is a novice at sewing but still turned out a rockin’ apron) and I were pretty tired but excited about the finished product that we twirled around to show off! Please notice the towel loop above the pocket and the pleated front!
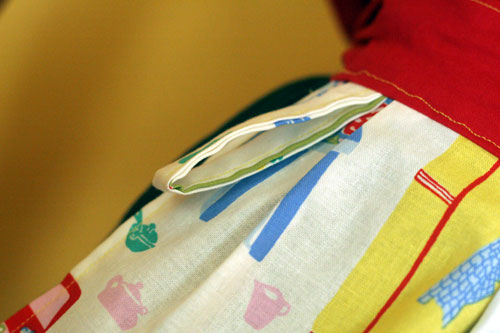
Notice, please, we spent all night sewing these aprons! Then woke up early to bake for breakfast of course! Grandma would be so proud!
Posted in Kitchen, Jen, Show & Tell, Sewing | 22 Comments »
Thursday, June 14th, 2007
For our sweet Joy’s birthday I wanted to give her something that fit with her knitting addiction but for Joy anything plain just won’t do. So I was anxious to try out adding bling with fabric glue.
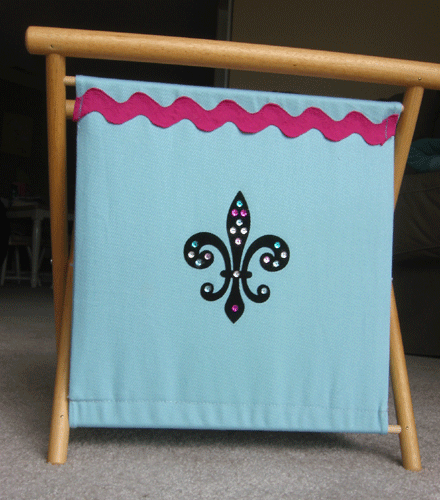
At the craft store I loaded up on huge pink rick-rack, multi-colored sequins, a velvety iron-on fleur d’ lis patch and fabric glue. I added on the patch and was glad to be able to add to the border of this knitting basket without having to take the basket and its lining apart. I simply turned under the ends of the ric-rack and sewed it vertically, then glued it, on the front and back. Then the fun part- arranging the sequin color order over the black patch. The only problem with the fabric glue was that it was a little stringy when you lifted it away from the fabric, just like using a glue gun. But when the sequins were all in place I just scraped away any excess dry glue with a pin.
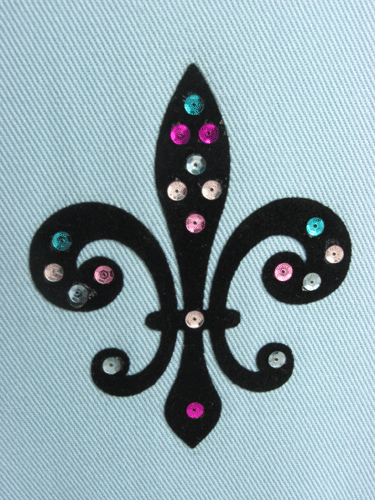
It was done in no time and I am looking around now at what else I can glue bling to! The first project will be to decorate the tan knitting basket I bought for myself, then maybe to add color to floral bags I have made on the flowers, then the cat bowl, and my husbands’ briefcase…
Posted in Quick, Jen, Bargain-crafting, Now there's an idea | 4 Comments »
Friday, June 8th, 2007
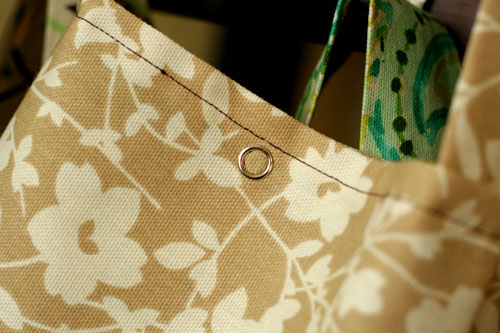
I have been excitedly working on a project recently, and for a good cause - a friends’ wedding. She asked me to make a small handbag like I had posted previously for each of the girls in her bridal party that she would fill with gifts. The bride shopped with me at the fabric store and we picked out a main fabric and lining to suit each of her close friends. We only needed a 1/4 yard of each, so this turned out to be a pretty inexpensive gift per person. I added a pocket for the first time and snaps that are easily hammered into place. I hope they enjoy them- the time on my part and the careful selection of the fabric on the bride’s part.
After shopping for fabric she and I also came back to my house and made different earrings for each of the bridesmaids to match their dresses. I love feeling like a vital part of someone’s special day!
So my encouragement this week is that your craft can also be a good excuse to spend time with people. Too easily we craft nerds can hide in our studio or craft corner and shut the world out so we can “work” but it can also be a fun opportunity to teach someone about your passion or talk while you craft. Don’t be afraid to let people into your creative world! Also, get creative with what can be made for bridesmaids gifts. My sewing isn’t totally professional but I think my little bags were a practical, cute idea for these gifts. Do you have any alternative gift ideas to share?
Posted in Jen, Bags, Bargain-crafting, Now there's an idea, Show & Tell, Sewing | 11 Comments »
Monday, May 21st, 2007
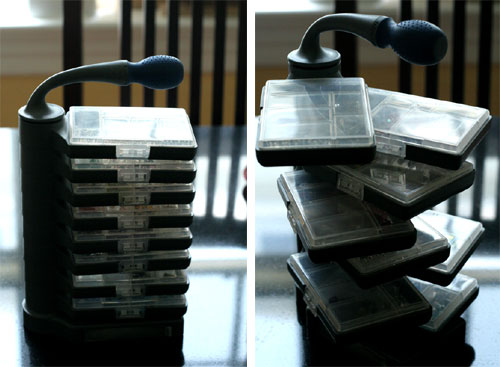
Many of the organizational tools that I have keeping my craft space sane have been swiped from my husband’s woodshop. This first organizer is perfect for beads/headpins/clasps for jewelry beading. For only $10 from a home improvement store, it came full of bolts and screws, which my husband cleaned out, and left me plenty of space for my beads. It is great because each of the clear trays is divided for different size beads and comes out of the gray holder so I can pass them around the table and lay them out when friends are over making jewelry. As you can see at the top is a screw driver handle that comes out and the screw driver heads are in a pull out tray at the bottom. My favorite parts about this are that I can securely carry my beads wherever I go and it narrowly stores them on my shelf. I use it all the time!
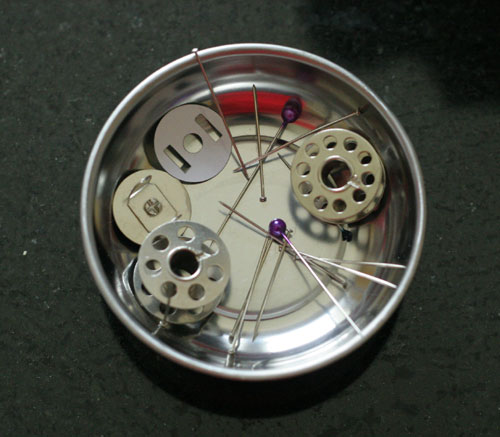
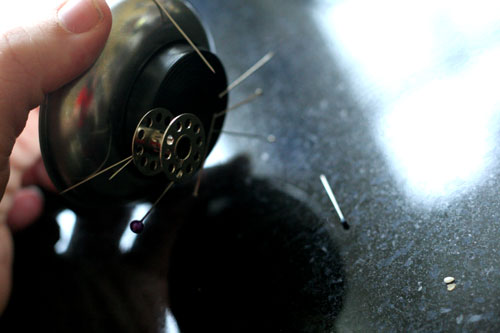
Below are mini magnetic dishes, about 3″ across. My husband brought me home a box of 4 of these dishes from a tool store. They are wide which is great to toss my pins in as I sew without having to precisely stick them in a pin cushion. The black bottom is also magnetic so you can even hang it vertically from a metal cabinet. My favorite part about this is that since the bottom is magnetic if you drop pins on the floor you can just hold this wide magnet over it and gather them up. I hate picking up pins! (I hate nail maintenance more!)
I have toyed with the idea of making an animal or shaped stuffie to set the dish in for decoration, but haven’t yet. Any ideas?
P.S. Check out his shop while thinking about your craft organizational needs. I know my husband is proud when he sees me putting his ideas to good use.
Posted in Studio, Beading/Jewelry, Jen, Now there's an idea, In Other Craft Rooms | 5 Comments »
Monday, May 14th, 2007
I previously posted about going nuts with the no-sew bond to make my bags stiffer, and thus was eager to try the roll hanging next to it on the rack at the fabric store: iron-on vinyl. My first attempt was on a bag for a swap partner who likes to carry her groceries home in her own bags.
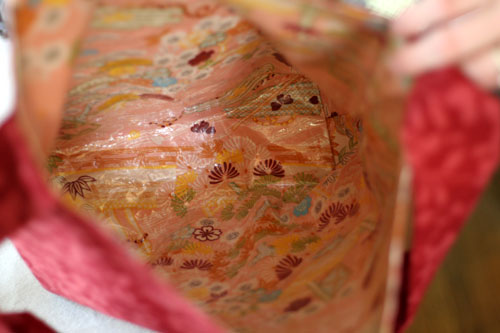
I ironed the vinyl to the entire piece I had cut out for a large bag lining, then sewed the bag together. I thought it might be good for carrying home cold groceries so the moisture wouldn’t soak through the fabric bag. (Let me know swap buddy if you have found this to be a good idea.) This might work well also for lining diaper bags since I know I have spent much time cleaning up spilled juice or a busted hand sanitizer bottle from the bottom of the bag. It is easy to iron on and the result is waterproof and very shiny!
I thought I had a brilliant idea to make diaper changing pads; cut a square, iron on my vinyl and serge the ends, but the vinyl cannot be machine washed, so obviously that won’t work. But I must find something else! What have you used iron-on vinyl for? Any ideas that have worked well for you or things I could try? (I have 2 yards of it left!!)
Posted in Bags, Help, Jen, Now there's an idea, Baby | 12 Comments »
Thursday, April 26th, 2007
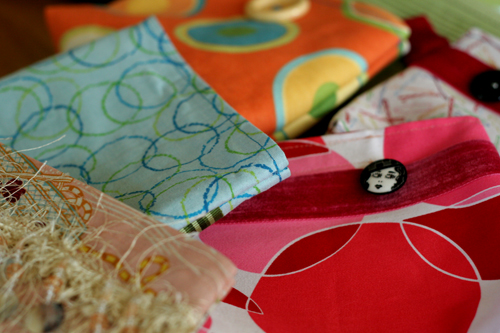
I made about a dozen of these little bags for the Craft fair. I have had fun choosing the fabrics, embellishments, and buttons and they are so quick to whip up! They are great for makeup bags or I like to put my phone, keys, and cash in it and then put it in my larger diaper bag. I cut a pattern out of a cereal box. It measured: the narrow end/ top = 6 1/2″, the wider bottom = 8 1/2″, height = 6″.
I wanted to make these bags stiff (as I asked about in a previous bag post) so I bought no-sew bond, cut it out using the pattern, and ironed it to the lining. Then you peel away the paper and iron it to the outside fabric. At this point I decide if I want to attatch a stripe of ribbon or trim. Use can use the no-sew bond to attatch this also or sew across the trim with the sewing machine. I also added in a short strap on some of the bags.
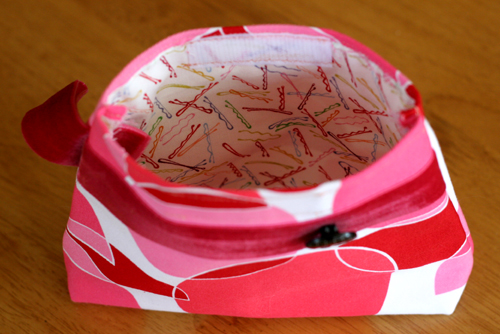
Then I cut a piece of velcro about 2″ long, folded over a 1/2″ hem, centered the velcro strip and sewed 2 lines, one across the top and botton of the velcro across the width of the bag. This works well too if you want to attatch the trim along the bottom seam for the velcro. Then I turn the bag wrong side out and sew up the sides. I cheat; I sew through the no-sew bond since my fabrics were not very thick. I like the stiffness it gives the fabric. Then I make a gussetted bottom by making a triangle horizontally at the each corner about 1″ down from the edge and sewing across this triangle horizontally. (sorry this is a little hard to describe in words)
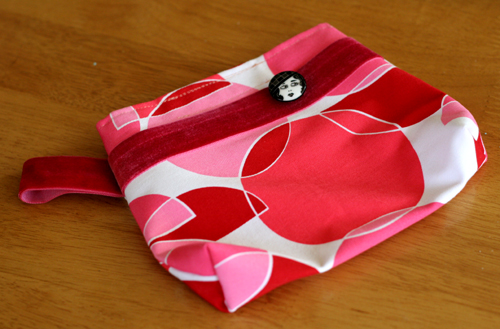
Such a quick and easy gift or I love having a girly bag inside my big, plain diaper bag!
Posted in Bags, Jen, Tutorials, Sewing | 38 Comments »
Wednesday, April 18th, 2007
My boy has trouble keeping his pants pulled up. Well, since he is only 15 months old I am not too worried about it yet, but I would like him to be able to wear the box of new pants he has before it is too hot for pants. He is 15 mo. but barely wears 12 mo. pants because he is a skinny little guy. Even the half-elastic waistband is often not enough so I borrowed this idea usually found in clothing for fast-growing elementary and pre-teens: the inner adjustable button.
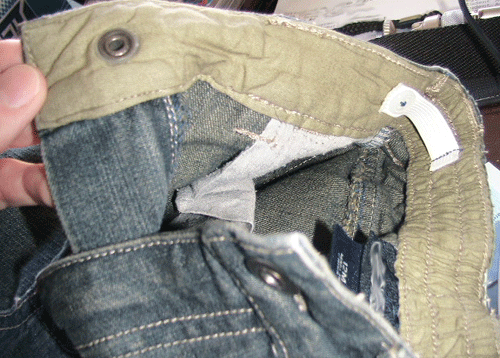
All you need is: elastic, 2 small buttons, a seam ripper, and sewing machine or needle.
1. I cut 2 pieces of 1/2″ elastic about 2″ long. (adjust to the amount you need garment taken in)
2. I used the seam ripper to cut a slit to fit my button toward the end of each elastic piece. (this was easier than using the button holer, if it frays a little it will be okay.)
3. Line up how much you want the elastic drawn in and sew button into pants.
4. With button through your elastic hole, pull elastic to desired place and sew vertically over opposite elastic end. I did not make it adjustable with more than one button but you easily could.
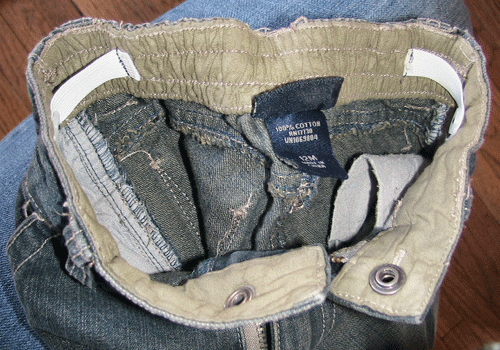
This literally took me about 5 minutes and I think will save me some money if I don’t have to skip a season with his pants. Any other tips for fitting thinner kids in their clothes?
Posted in Jen, Quick, Clothing, Baby, Tutorials, Sewing | 12 Comments »
Thursday, April 5th, 2007
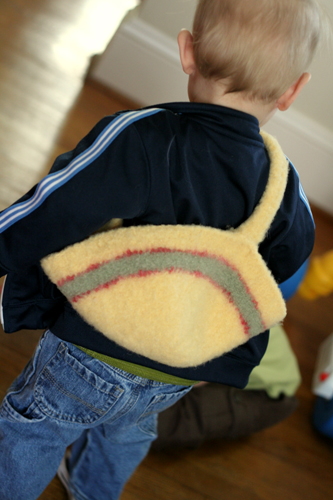
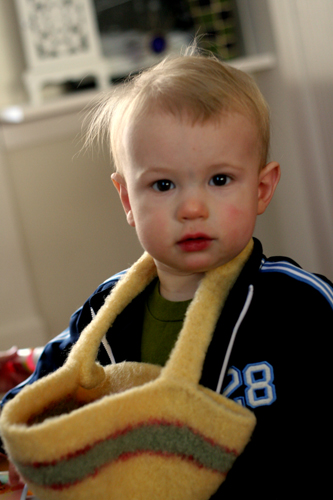
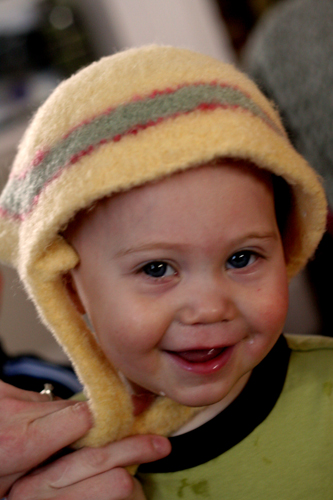
I was really excited to share with the world my first felted Easter basket. The first of many baskets designed by me that every mom would have to have for their child. But instead I ended up with this: a floppy bag with no shape, that does not curve in, that does not look like a basket! I should not have been as frustrated as I was considering I did not use a pattern, by say, those who have actually successfully made a basket. So Candace and I decided to try and come up with some other uses to salvage this attempt, most involving our favorite models (and me…). Here’s what we came up with:
The mini messenger bag-
A taco holder, to keep your lap clean-
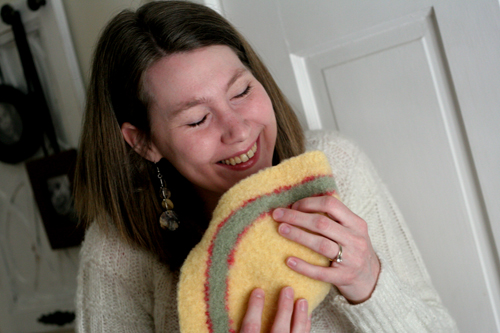
A trough for snacks-
The Easter bonnet- (yes, Candace you can borrow it Sunday, alright!)
The toddler arm sling-
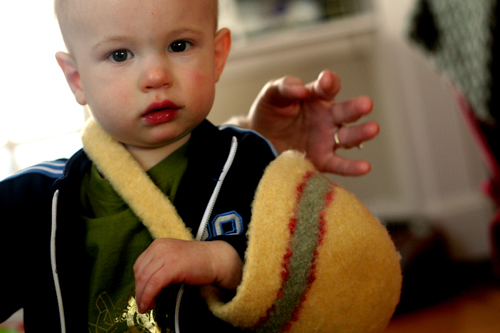
What do you think? Have I cornered a new market with any of these?
Better luck next year!
Posted in Easter, Oops, Jen, Felting, Knitting | 13 Comments »


