genericviagra

buy cheap cialis pill online lloyds pharmacy viagra cheapest without prescription farmacia online alprostadil

viagra no prescription required

cheap without prescription Cialis Super Active online meds where can i buy viagra cheap without prescription brand viagra online sildenafil online

canadian discount pharmacy

cheap without prescription Generic Levitra purchase tadalafil amoxicillin no prescription cheap without prescription pill online buy cheap generic viagra

yohimbe

Generic Viagra buy cheap cheap cialis impotence treatment cheapest without prescription buy viagra online stamina rx

buy prescriptions

buy cheap Viagra Super Active sildenafil citrate tablets soma pharmacy buy online cheap pharmacy cialis online

next day cialis

Zithromax cheap without prescription viagra sale online abortion pill online cheapest without prescription brooks pharmacy no prescription required

online pharma

buy cheap Viagra Soft viagra price comparison can i buy viagra online buy online order kamagra net pharmacy

viagra herbal

cheap without prescription Xenical discount viagra online lowest price viagra cheapest without prescription get viagra prescription online doctor

cialis generic

Levitra cheapest without prescription canadian rx canadian viagra online buy cheap canadian prescription drugs buy amoxil

Crafty Daisies Book Club: “Lotta Prints” October 22

September 10th, 2008 by Simone

babc-book-club2.jpg

1. paper doll dress bookmark, 2. Match Stick Holder Bottom, 3. Paint Chip Bookmarks, 4. Match Stick Holder

Wow, thanks for all your discussions and submissions for the last book club. For descriptions of some of the projects go visit the Crafty Daisies Book Club Flickr group. If you’ve since tackled other projects from the Big-Ass Book of Crafts, please continue to add them to the group.

The next Crafty Daisies book club will discuss Lotta Jansdotter’s book Lotta Prints: How to Print with Anything, from Potatoes to Linoleum, ISBN 081186037X, ISBN13 978081186037.

lotta-prints.jpg

Thank you to Sarah and Josh for suggesting this book. We will meet in six weeks on Wednesday, October 22.

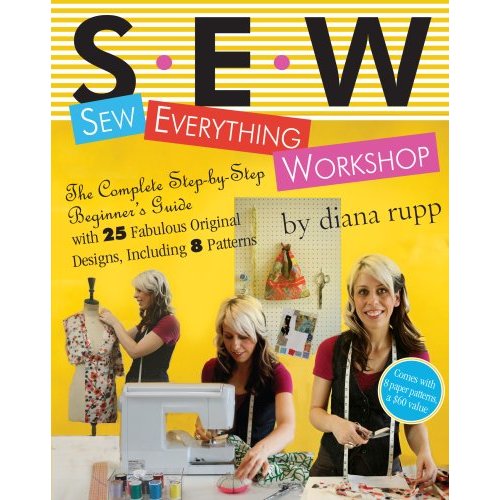
If you need to plan ahead, the book for our third meeting will be Sew Everything Workshop by Diana Rupp, ISBN-10: 0761139737, ISBN-13: 978-0761139737 and will meet on Wednesday, December 3.
seweverything.jpg

For those of you new to the book club, here are the mechanics of our discussions:

How it Works

Every 4-6 weeks we “discuss” a craft book as follows:

  • Make one project out of the book that is due for the next book club meet-up
  • Explain why you chose that project
  • Discuss the clarity of the instructions, the layout of the book, the illustrations, other projects in the book, and whether you liked the book or not
  • Suggest one book for the next book club

You can submit your discussion either as a comment the day of the book club meet-up or by email (craftydaisies(at)gmail(dot)com). If you have pictures of your projects that you would like to share, email them to me or submit them to the Crafty Daisies Book Club Flickr group.

Finding the Book

As with any book club, this is not an endorsement of the featured book (of the ten or so books I read for my fiction book club I only liked three). If you already own the book under discussion, great, take a picture of your project and send me an email. If you think you want to join this endeavor, here are some ways to shop around for the book:

  • See if a friend already owns it and lets you borrow the book
  • Check with your local library (mine had three copies of this month’s book across the borough)
  • Compare prices (I bought this month’s book at list price, but have since seen it significantly cheaper online)

In other words, I don’t want you to get mad at me in case you buy the book and take an extreme dislike to it.


Book Club Meeting: Big Ass Book of Crafts

September 3rd, 2008 by Simone

 babc-book-club.jpg

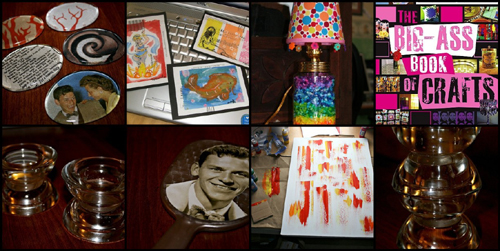
1. Glass Paper Weights, 2. Subscription Card Artwork, 3. Mason Jar Lamp, 4. Big-Ass Book of Crafts Cover, 5. Candle Holders, 6. Frankie Mirror, 7. Drag Art. Pg. 6, 8. Candle holder

Where to begin? The Big Ass Book of Crafts by Mark Montano is certainly big with 377 pages and a corresponding weight.

Organization

The projects are divided into 21 categories by type of object, in other words, desk top decorations are collected under Bored at My Desk, Let Me Entertain You discusses place mats, napkins, refrigerator magnets, and coasters, you get the picture. Each category is color-coded. I like that feature because it does help you orient yourself within this vast sea of projects, which brings me to the layout.

Layout

I experienced the layout to be somewhat in my face. A look at the cover gives you an idea of what to expect inside, namely a barrage of colors, pictures, and text. These are arranged on the page in a fashion that does have some method to its madness, but is difficult to follow when you are just casually leafing through the book. Then again, I’m sleep deprived.

I would recommend setting an hour aside, picking up your drink/snack of choice, and slowly going through the book with some post-its to bookmark your favorite projects. Minor pet peeve: Not every page has a page number; and sometimes it’s not even every other page. I need my page numbers, otherwise I get lost and bad things happen when I get lost. . .

Projects

As with any large collection of projects there are some that appeal to me more than others. For instance, I shy away from anything that involves saws or power tools, but love playing with glue and paper. Also, some of the projects may be familiar (searching Flickr for “pencil roll” renders 1390 results), but sometimes it is nice to have instructions for a project in a format other than stapled 8 1/2 X 11 pieces of paper.

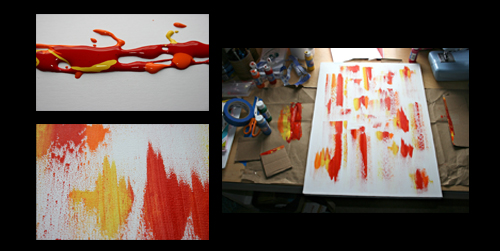
Generally, the instructions were pretty clear. Whitney of sewtrashy.com can certainly attest to that because she truly tested this book. Regarding her Drag Art project (p.6) she writes:

whitney-collage-copy.jpg

I had such a hard time picking just one project from this book. There were a lot I would still like to try, but this one stuck out for its simplicity. It seemed to have some potential. Also, it was super-duper easy! Just throw some paint down and drag your cardboard through it. Instructions were clear. I’m pleased with how mine turned out, although I will continue to push this method in the future. I don’t like painting with a brush, so this suited me quite well!

The only thing I did differently than the instructions in the book: I put my paint down on another surface and dabbed the cardboard in it BEFORE dragging it on the canvas. I wanted a little cleaner look than in the book.

Would love to see your attempts! Give it a try, super easy, and a quick result. You are bound to have the minimal supplies lying around to try this project. I did!

In addition, Whitney also made glass candle holders inspired by the three-tiered tray (p. 207), paperweights based on the glass chip magnets (p. 219) and a Frank Sinatra mirror influenced by the Japanese hand mirror (p. 230). She used whatever materials she happened to have on hand and substituted Mod Podge for some of the specified glues. You should definitely check out her detailed project descriptions in the book club Flickr pool.

I think that’s what I liked best about the book: You are encouraged to use the crafts and instructions as inspirations for very personal projects.

simone-collage.jpg

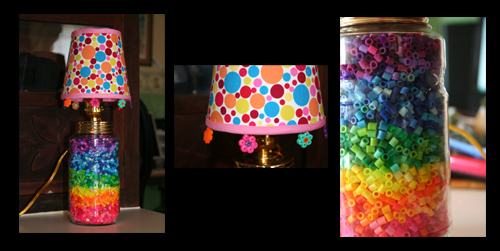
For my project I chose the marble mason jar lamp (p. 76). After perusing local hardware stores for the necessary lamp wiring equipment, I cheated and ordered an already assembled mason jar lamp kit. Then I snuck into my daughter’s room to “borrow” some marbles (“Mom, what are you doing with my marbles and where are you going with my nightlight bulb?”) and this is where I ran into trouble with my 5-minute project. You need more than 160 marbles to fill a mason jar and the lamp kit blew out the low wattage bulb. To restore the family peace, my daughter and I spent a few team-building hours sorting perler beads into rainbow colors to fill the jar and making the little flowers adorning the lampshade.

If I were to make this type of lamp again, I would add a lamp harp to the fixture that could support a slightly larger shade. In the meantime, I’m thinking of other designs like a jar filled with nuts and bolts and a classy black shade, or a jar filled with buttons and a lampshade decoupaged with old patterns.

What was your experience with the book?

Suggestions for the next book club so far are:


Book Club Meeting on September 3rd

August 30th, 2008 by Simone

 wordle.jpg

Just a heads-up that the book club will “meet” to discuss the Big Bad Ass Book of Crafts on Sept 3rd. If you are one of the Flickr people (whoa, there’s already 20 of you), I will use whatever images you add to the group pool for mosaics on the blog page. Alternatively, you can also email me your pictures at craftydaisies(at)gmail(dot)com. If you can’t make that deadline, I’ll probably put together another mosaic to post later in the week; so don’t fret.

Also, if you already wrote a critique discussing the book, either post it as a discussion in the Flickr pool, or with your picture description, or email it to craftydaisies (at) gmail (dot) com. I will include your discussion in the main blog article. If it’s not done by the 3rd, you can always add it in the comment section.

Things that should be in your critique:
* Make one project out of the book that is due for the next book club meet-up
* Explain why you chose that project
* Discuss the clarity of the instructions, the layout of the book, the illustrations, other projects in the book, and whether you liked the book or not
* Suggest one book for the next book club

If you weren’t able to participate in this round, but have a book you’d like to suggest for discussion, please submit the title and author. If we have a clear majority for one book, we’ll discuss that. If there isn’t one specific preference, I will randomly select the book taking into consideration acquisition costs and availability.

Further, if you have any feedback regarding the administration of the book club, please let me know. This is our first round and any suggestions to improve this “gathering” are welcome.

By the way, thank you to Lisa of U-handbag for spreading the news about the Wordle, which created the cloud above.


Zippered Pouch Tutorial, or If You Take A Pokemon to School…

August 27th, 2008 by Simone

img_9843_500.jpg

As you may have noticed by now, we are a Pokemon household. So when my daughter’s teacher specified a zippered, soft pencil case as part of the school supply list, we obviously couldn’t just buy one. What do you think about our cooperative effort?

Materials

To make this pencil case you need:

img_9825_300.jpg

For the applique:

  • an Image
  • Transfer Paper
  • White Fabric
  • Fusible Web
  • Fabric Markers

For the pouch:

  • 2 10″x 6″ pieces of fabric, I used denim remnants from another upcycling project
  • a Zipper
  • optional: 2 9″x 5″ pieces of heavyweight fusible interfacing, 2 10″x6″ pieces of lining fabric.

Because the denim felt a little floppy, I used fusible interfacing to give it more body and added a lining.

Creating the Applique

img_9824_300.jpg

To do it the right way, i.e. not the way I ended up doing it, cut the fusible web to approximately the size of the applique you want to make. Iron it to the left side of the white fabric. Leave the second backing of the fusible web on for now. Then transfer your image to the right side of the fabric and color it with fabric markers. Cut out your applique and set it aside.

Preparing the Fabric

 img_9828_300.jpg

If you are using fusible interfacing, follow the manufacturers instructions and iron it onto the left sides of the outer shell fabric.

img_9830_300.jpg

Turn the fabric around. Remove the paper backing from your applique and iron it onto the right side of the fabric. Using the zigzag setting on your sewing machine, stitch all around the image. I set the width to 0.5 and the length to 2, but play around with it until you get the effect you like.

Inserting the Zipper

img_9838_300.jpg

If you are not using a lining, switch to your zipper foot, align the right side of the zipper with the right side of the top of one of the fabric pieces and sew it together on the left side. Repeat this with the other side of the zipper and the second piece of fabric. If your zipper is longer than your fabric, just let the bottom end stick out. On the right side of the fabric sew a top stitch along both sides of the zipper.

If you are using a lining and have never done this before, take a look at Lisa’s Sewing zippers in bags tutorial at U-Handblog starting with Step 4. She has great instructions and is my crafting hero.

Here it goes:

 img_9832_300-copy.jpg

As Lisa puts it, you make a sandwich. This is the order when the right side of your outer fabric faces up: right side up outer fabric–wrong side up zipper–wrong side up lining.  (My picture ended up being the reverse of Lisa’s, so if you are looking at both tutorials, you are thoroughly confused by now.) Put the sandwich together and sew along the top edge through the lining, zipper, and outer shell fabric. If you unfold the whole thing, it should look like this:

img_9835_small.jpg

Repeat with the other side.

Sew a top stitch alongside the zipper on the right side of the outer fabric through the fabric, zipper and lining. Repeat on the other side.

Putting It All Together

Very Important: Open the zipper at least halfway.

If you are not using a lining, put the right sides of the fabric together and on the left side of the fabric, sew the sides and the bottom of the pouch together. If you wish, you can square the bottom of the pouch using these instructions. Turn the whole thing right side out. Phew, you are done.

 img_9839-300.jpg

If you are using a lining, remember to open the zipper at least halfway. Put the right sides of the lining together and the right sides of the outer fabric. Pin the whole contraption together and leave an opening at the bottom of the lining. Start at the beginning of the opening in the lining and sew all around the side of the lining, outer fabric, other side of the lining, ending at the other end of the opening in the lining. Again, if you want to square the bottom of the fabric and lining, you can do that now following these instructions.

Then, turn the whole thing right side out through the opening in the lining. (By the way, if you didn’t keep the zipper open, you are now saying some not so very nice words.) With everything turned right side out, close the opening in the lining, stuff the lining inside the pouch, close the zipper, and you are done. Yay!


School Lunches

August 20th, 2008 by Simone

img_9785_500.jpg

I’ve discovered a craft that is new to me, comes with all kinds of tools; because in the end it’s all about the toys; and is very pertinent to the beginning of the new school year, in short: the Bento Box.

It all started when I was looking for a Pokemon lunch box for my daughter. There are only about three things she likes to eat and one of them is rice. I thought that if I could make her lunch experience a little more fun, she’d actually eat her lunch and so on and so forth.  In the course of this quest I was surfing the Web and stumbled upon this:

Piplup Bento

Two Piplups and they are so cute. I showed this picture to my friend Megumi. Her comment was:”When do people get up in the morning to make this?!” (Dear Reader: Meg doth protest too much. She has a timer on her rice cooker and makes a proper bento box for her son’s school lunch.) She then forwarded me a link to this blog in which a mother chronicles her bento creations that she prepares for her seventeen-year-old son. According to my friend, this boy has begged his mother to restrain her need to express herself artistically as part of his lunch break. He even went so far as to call her loving creations abusive. This is her hysterical English response to his accusation.

In any event, I’m hooked. My daughter is now the proud owner of a two-tier bento box. I have since invested in little pig-shaped sauce containers for her soy sauce, heart- and flower-shaped rice shapers and silicon baking cups that separate the different foods from another. I’ve acquired the Nori, or seaweed, for dramatic decorating purposes, but I still need to feel inspired before I try that. Until then, I will peruse Flickr for ideas.

1. Opera House and Sydney Harbour, 2. Children’s Day bento lunch for preschooler, 3. Parasite pals, 4. Lunch, 5. Hello kitty & panda bento, 6. Charaben – my first time, 7. Sakura bento2, 8. DSCN3466, 9. three bears bento, 10. Halloween bento, 11. 2 rats bento, 12. Pluto Close-up, 13. Jack Skellington Lunch, 14. Kodama, 15. Cat Bento, 16. Brown Bear Bento

If you are inspired to look into the art of bento, check out these blogs:


Book Club: The Big-Ass Book of Crafts

August 13th, 2008 by Simone

 book_club-_banner.jpg

So I thought we could have a virtual book club since I seem to have developed this craft book addiction.

How it Works

Every 4-6 weeks we “discuss” a craft book as follows:

  • Make one project out of the book that is due for the next book club meet-up
  • Explain why you chose that project
  • Discuss the clarity of the instructions, the layout of the book, the illustrations, other projects in the book, and whether you liked the book or not
  • Suggest one book for the next book club

You can submit your discussion either as a comment the day of the book club meet-up or by email (craftydaisies(at)gmail(dot)com). If you have pictures of your projects that you would like to share, email them to me or submit them to the Crafty Daisies Book Club Flickr group.

Finding the Book

As with any book club, this is not an endorsement of the featured book (of the ten or so books I read for my fiction book club I only liked three). If you already own the book under discussion, great, take a picture of your project and send me an email. If you think you want to join this endeavor, here are some ways to shop around for the book:

  • See if a friend already owns it and lets you borrow the book
  • Check with your local library (mine had three copies of this month’s book across the borough)
  • Compare prices (I bought this month’s book at list price, but have since seen it significantly cheaper online)

In other words, I don’t want you to get mad at me in case you buy the book and take an extreme dislike to it.

First Meet-Up: 9/3/08

So, after all this preamble this is this month’s book:

big-ass-book-of-crafts.jpg

The Big-Ass Book of Crafts by Mark Montano, ISBN-13:978-1-4169-3785-2, ISBN-10: 1-4169-3785-4. I selected it to kick off the club because it has a lot of different projects, it weighs in at 2 lbs 6 oz, and I figured it would appeal to a broad group of people.

The Crafty Daisies Book Club will virtually meet on

Wednesday, September 3rd

I’m looking forward to all of your discussions.


Last Day on the Cape

August 8th, 2008 by Simone

img_0447edit.jpg

First of all, I owe a huge apology to My Big Mouth at mucky-fingers.blogspot.com. She generously gave me the Brilliante Weblog award. I think I had too many tabs open and got my blogs mixed up. At My Big Mouth you can find all kinds of interesting little tidbits covering the crafty life in California. The author has a penchant for vintage things and currently is discovering the fine art of cake decorating.

Today is my last full day on Cape Cod and it looks like it will actually be a beach day. My husband’s family gets together every year on Cape Cod. We generally average 22 people at dinner.  For these reunions I always pack a project bag with supplies for early morning crafting. My intent is to distract the kids from the seductive television set in the next room with a fun and creative alternative.

img_0439.jpg

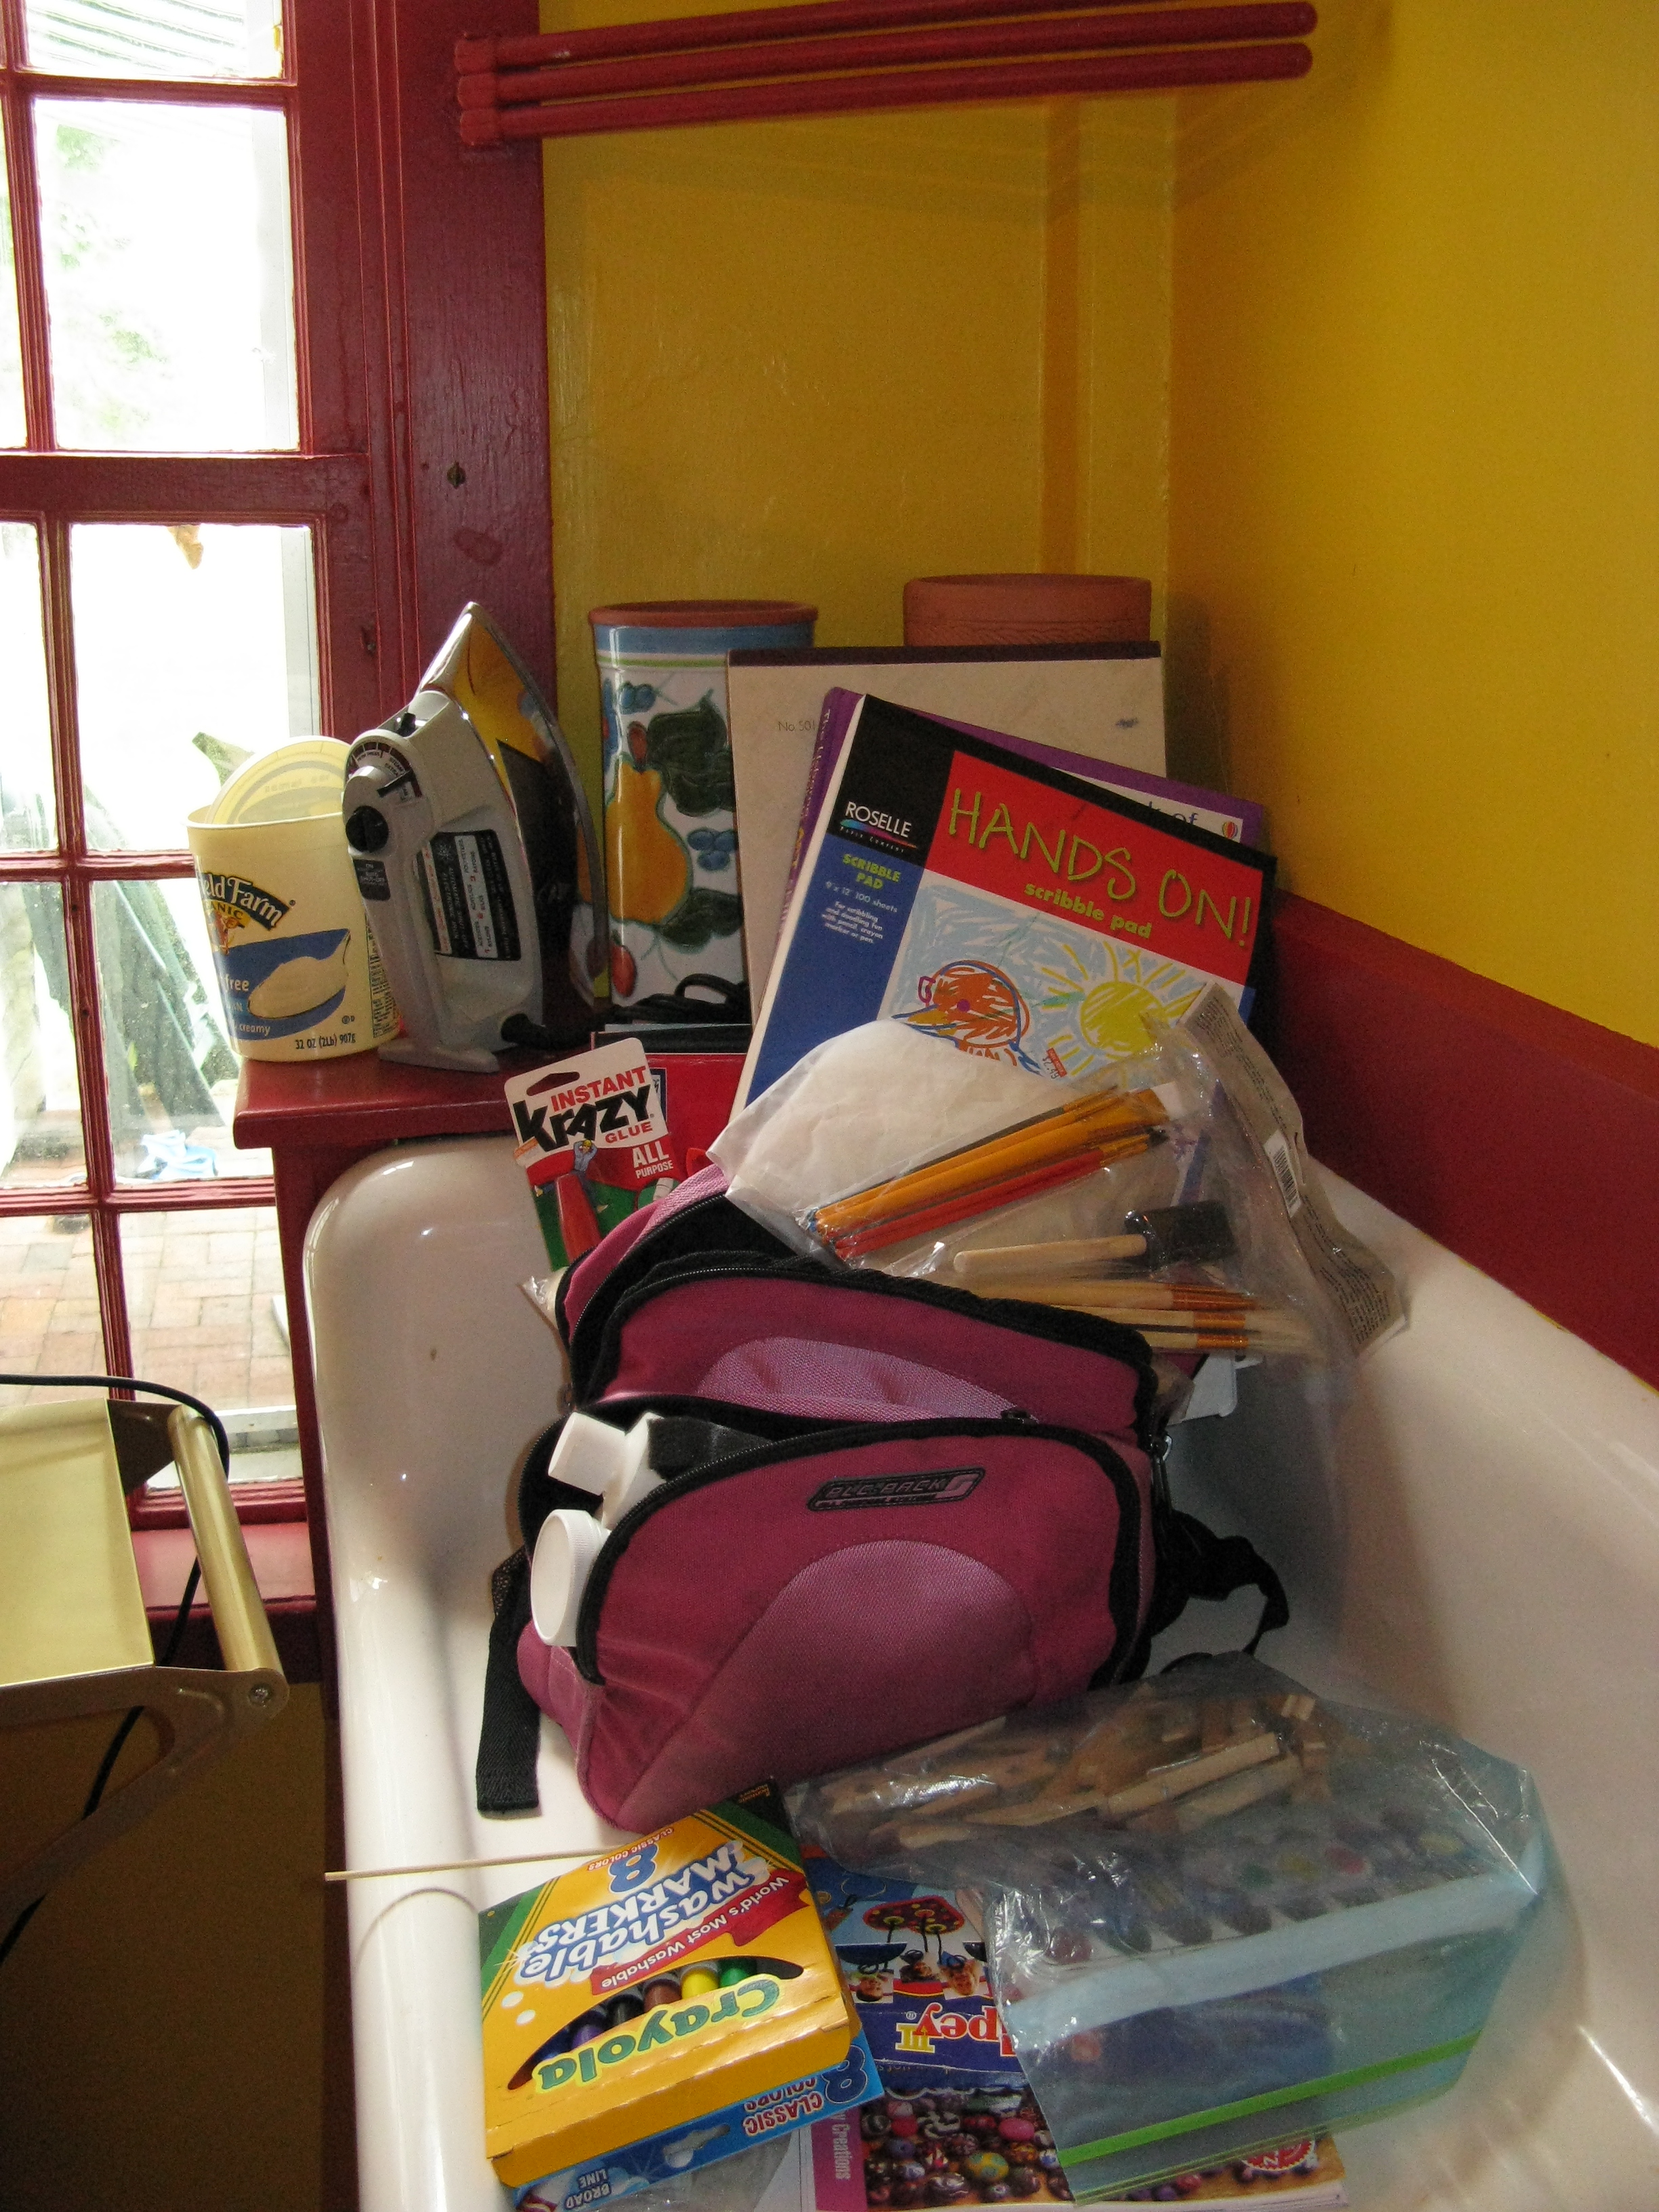
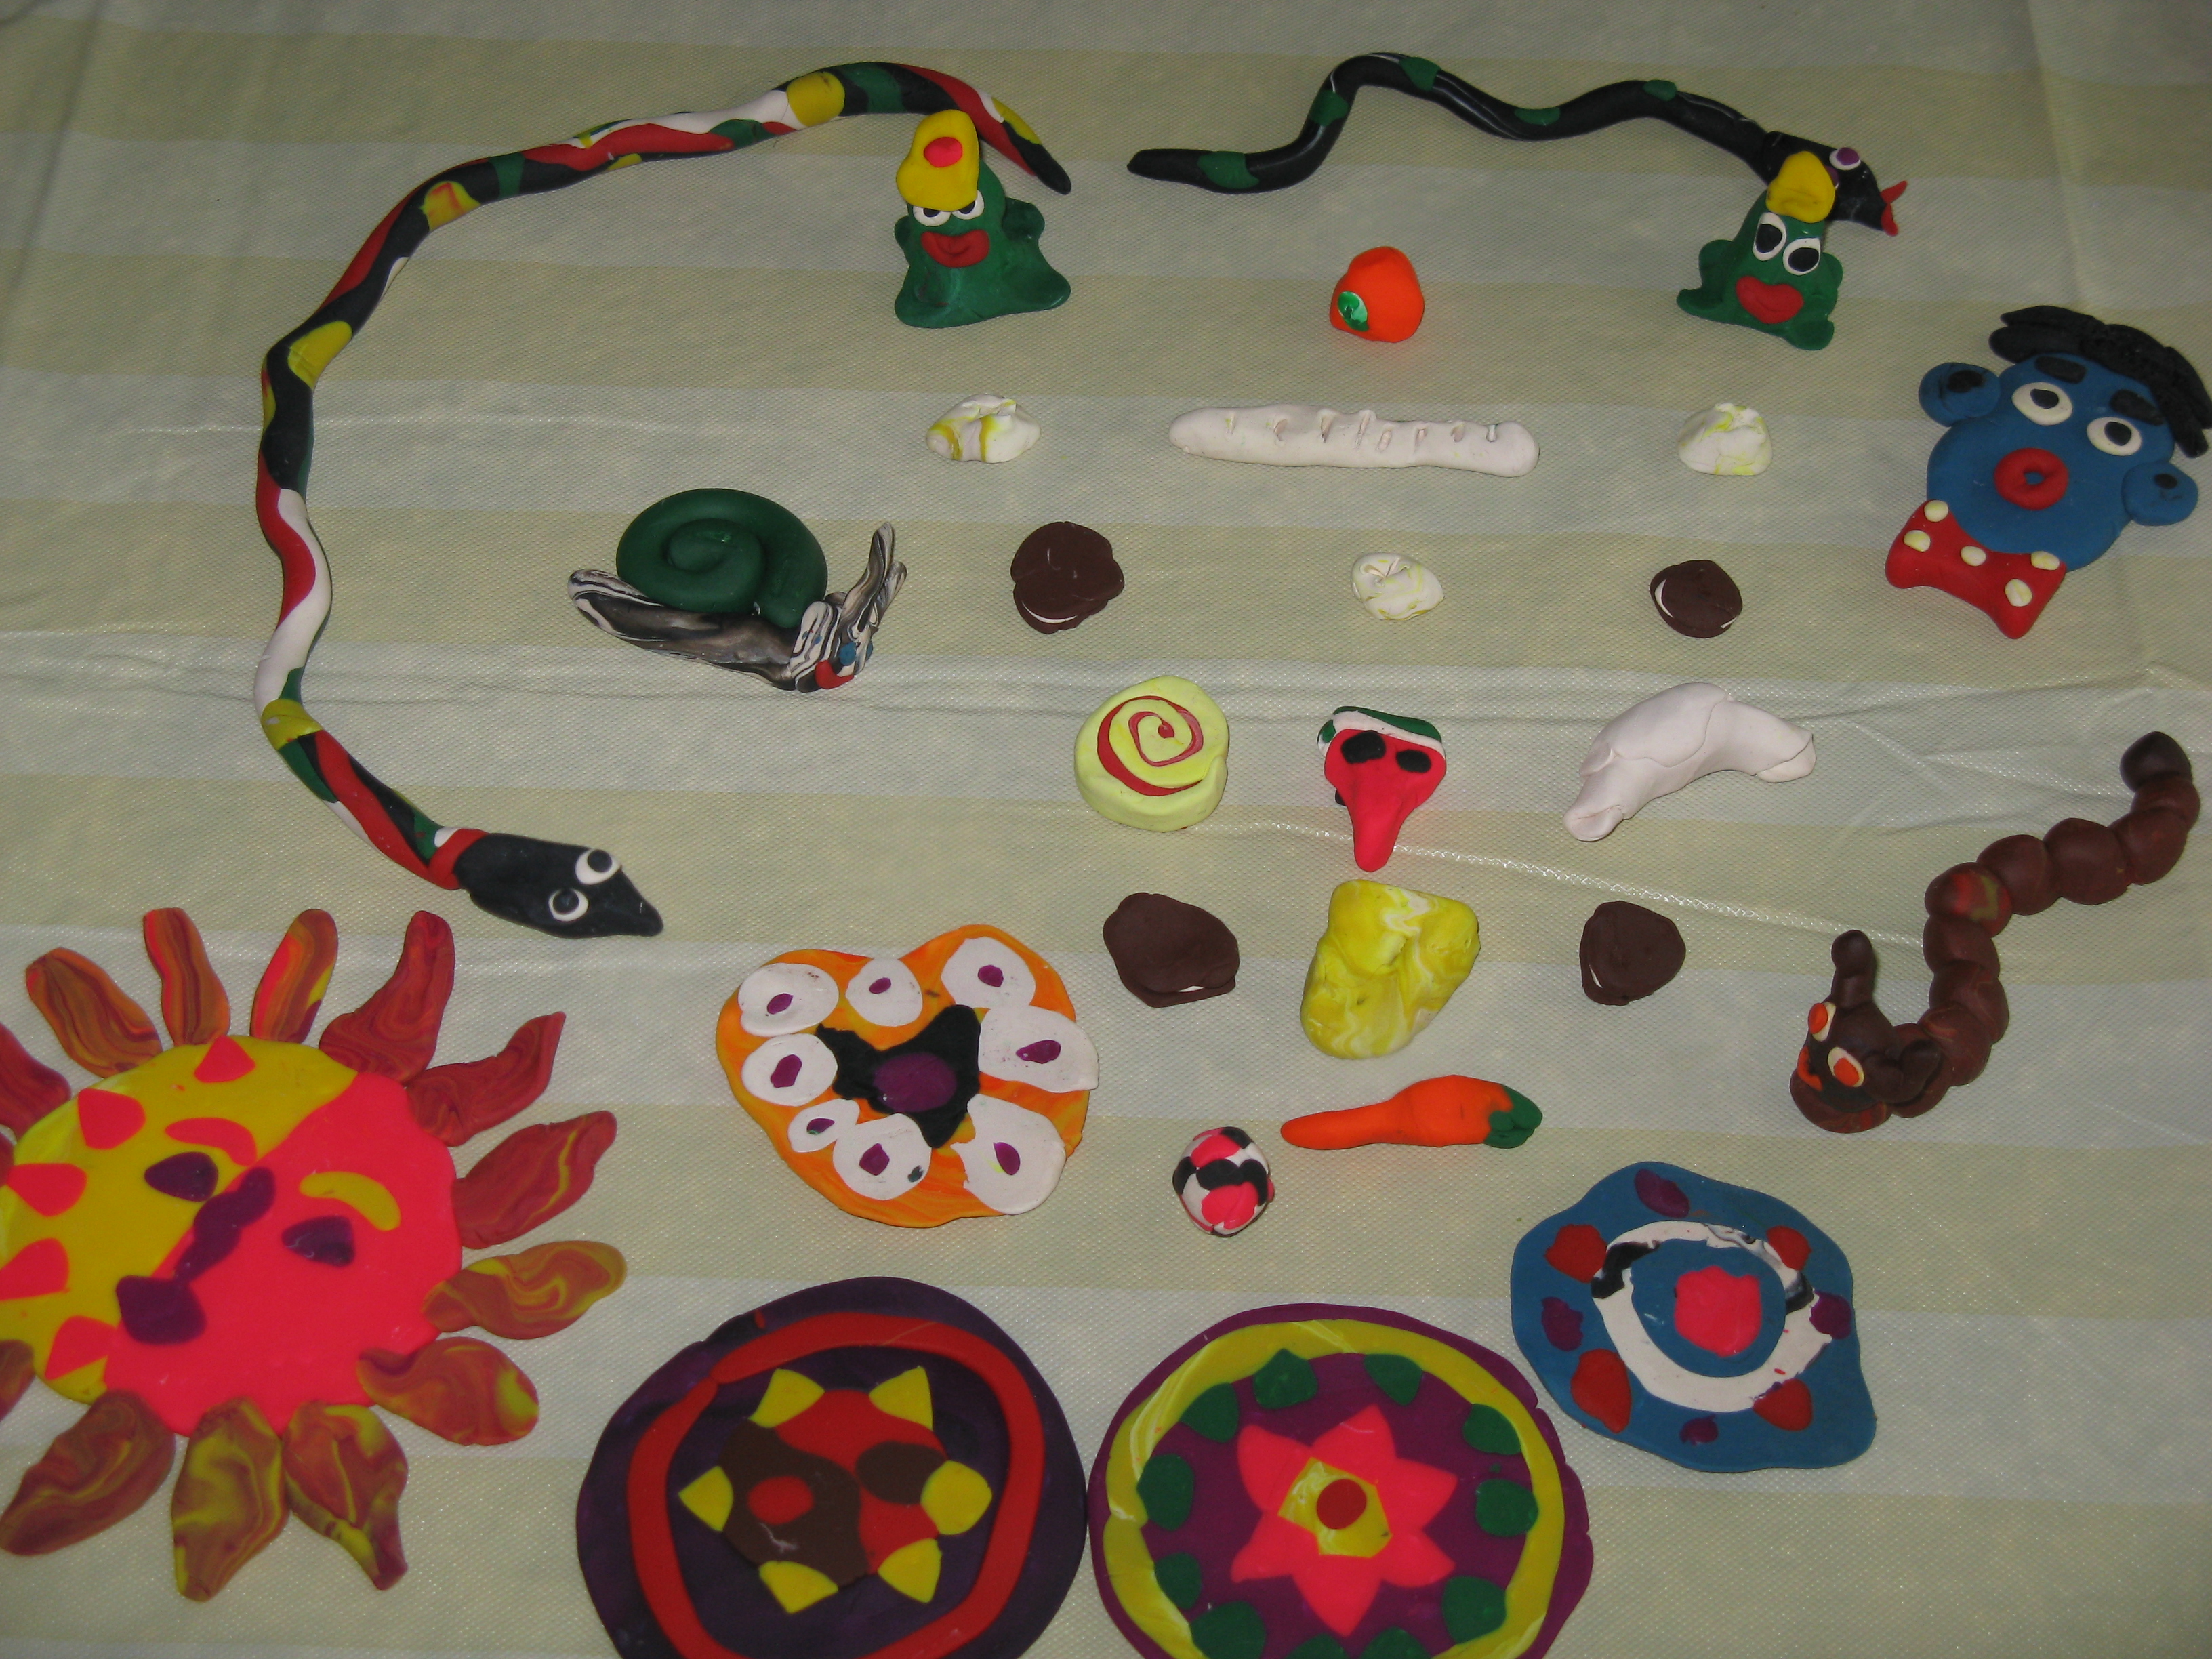
This year the bag was filled with: watercolors, markers, pencils, acrylics, oil pastels, crayons, drawing paper, construction paper, one sheet of watercolor paper, Mod Podge, Sculpey, Ed Emberley’s Drawing Book, the Usborne Book of Art Skills, clothespins, tape and other sundry things. And here are some of our works:

Invasion of the Sculpey Creatures and their accessories

img_0422.jpg

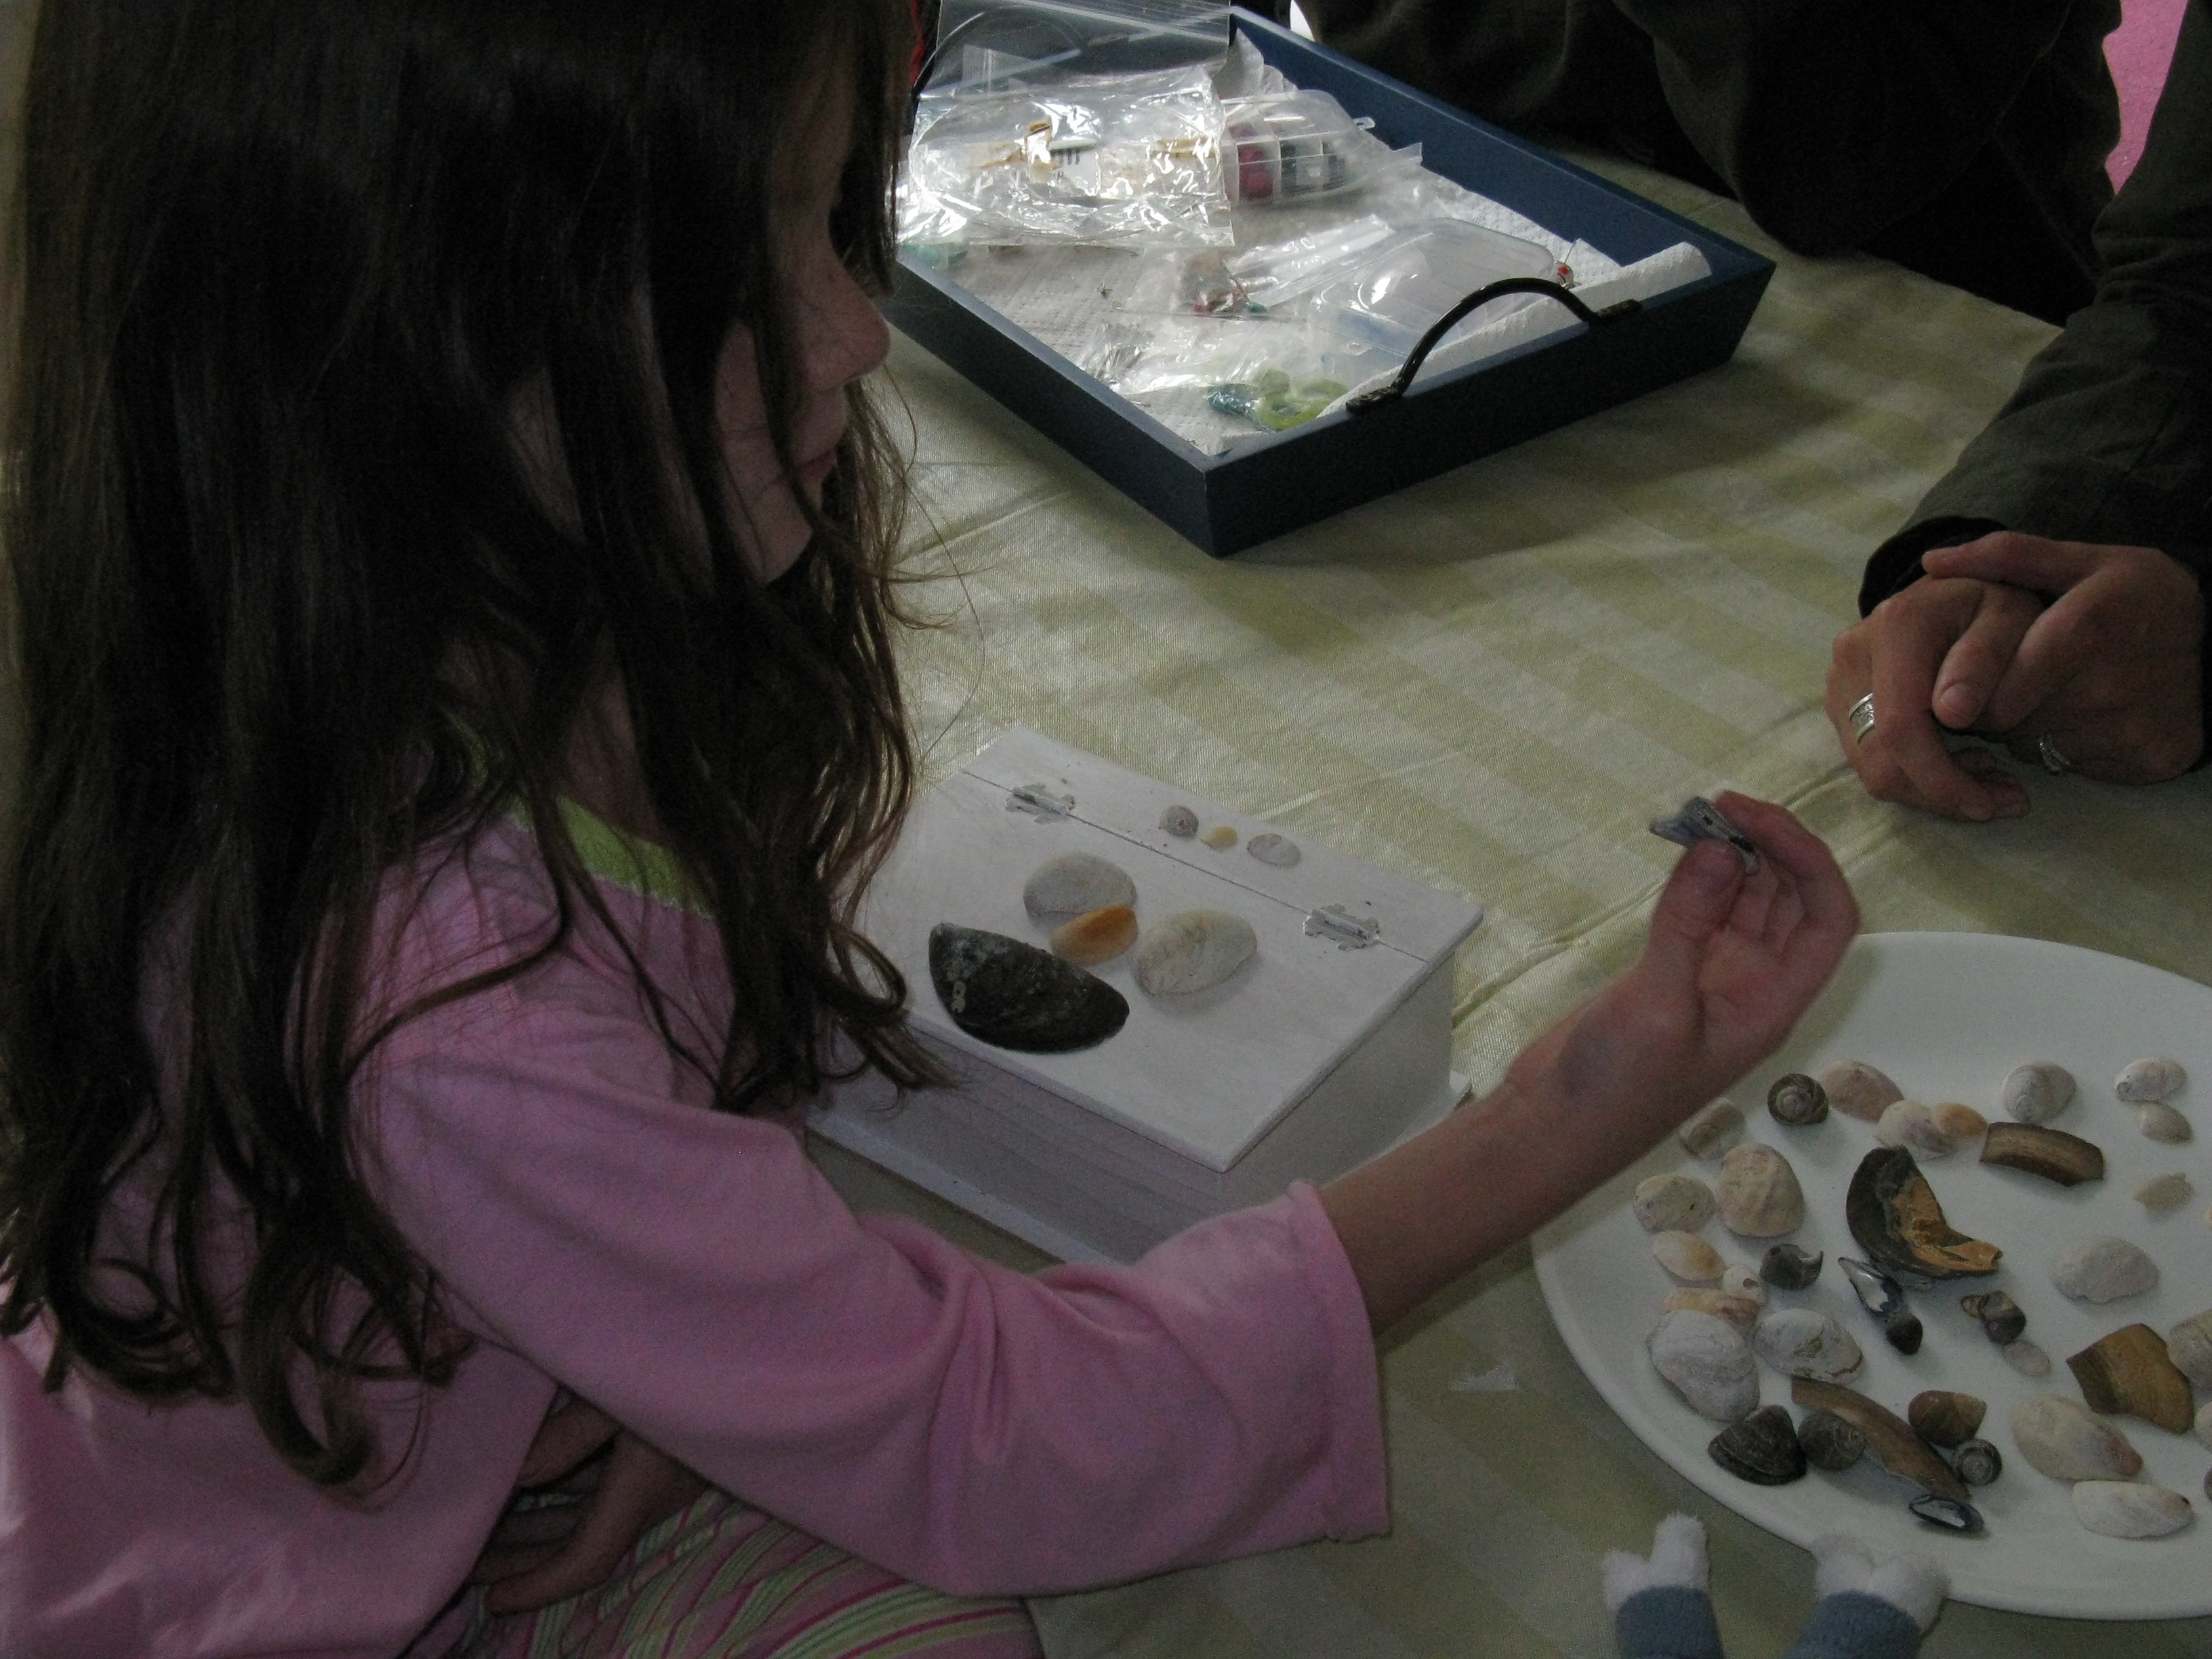
A shell box to store the creatures

img_0419.jpg

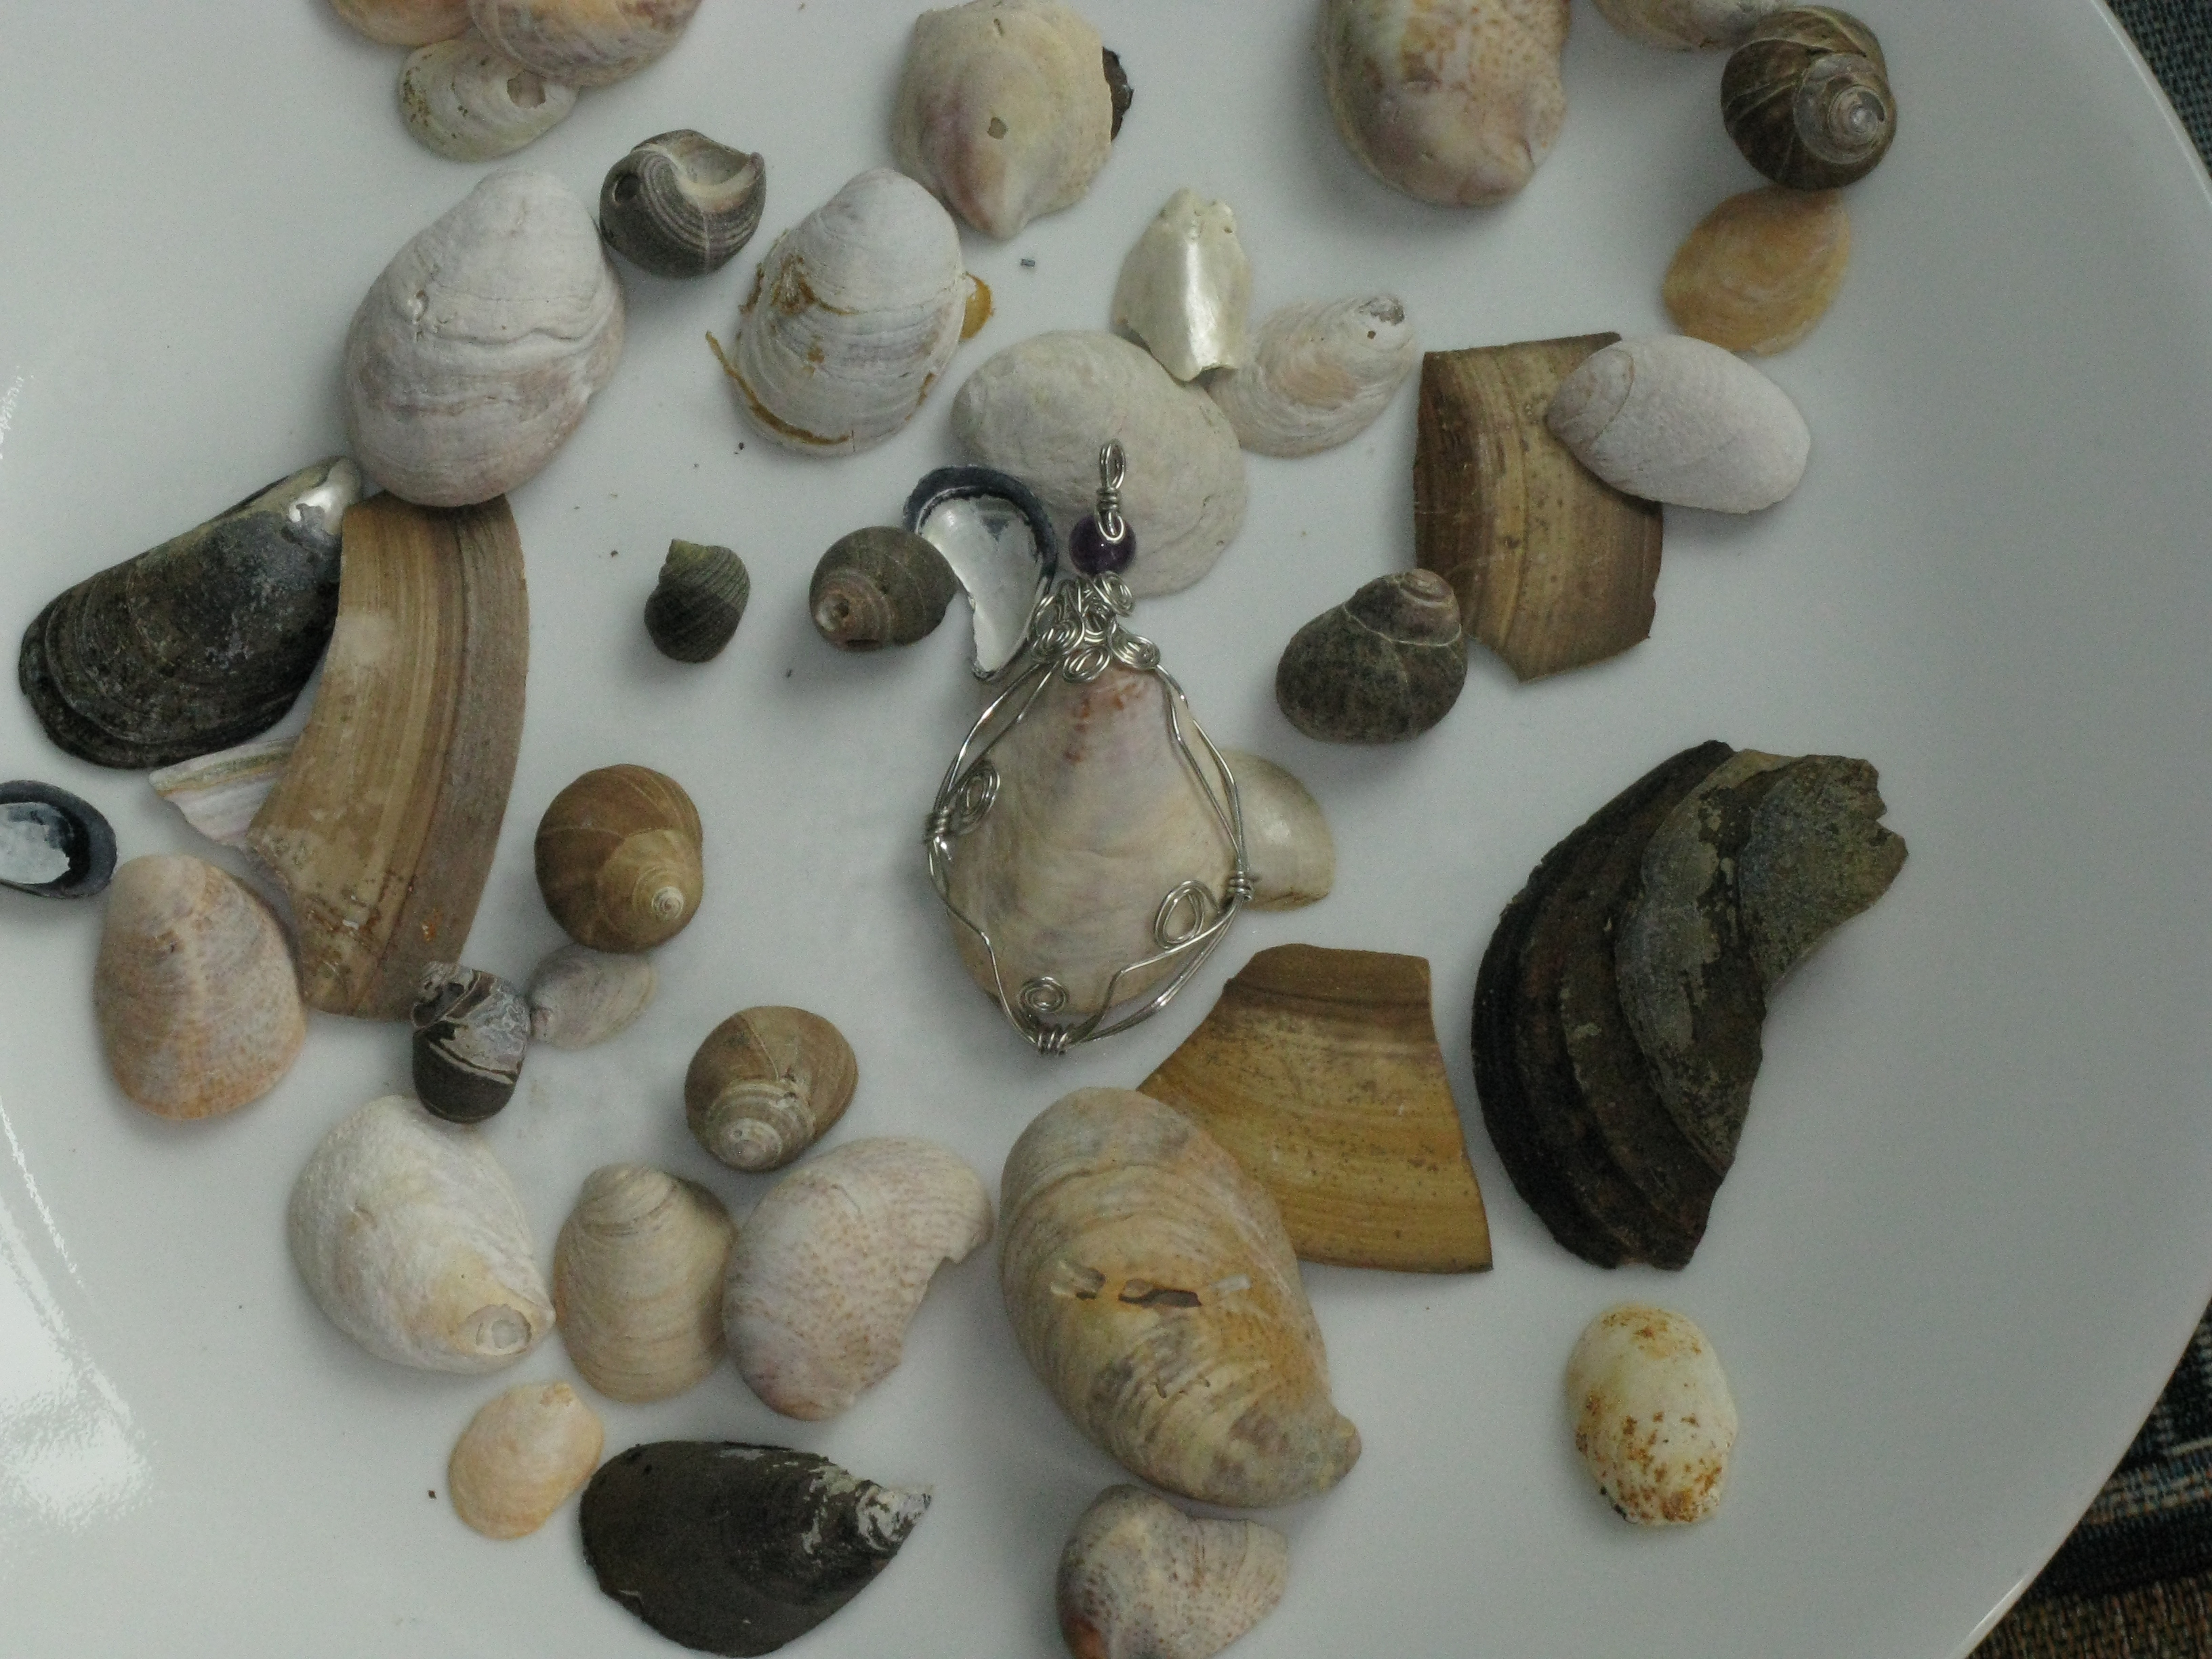
A shell pendant featuring this year’s beach find. To capture a shell, use the technique described here.

img_0438.jpg

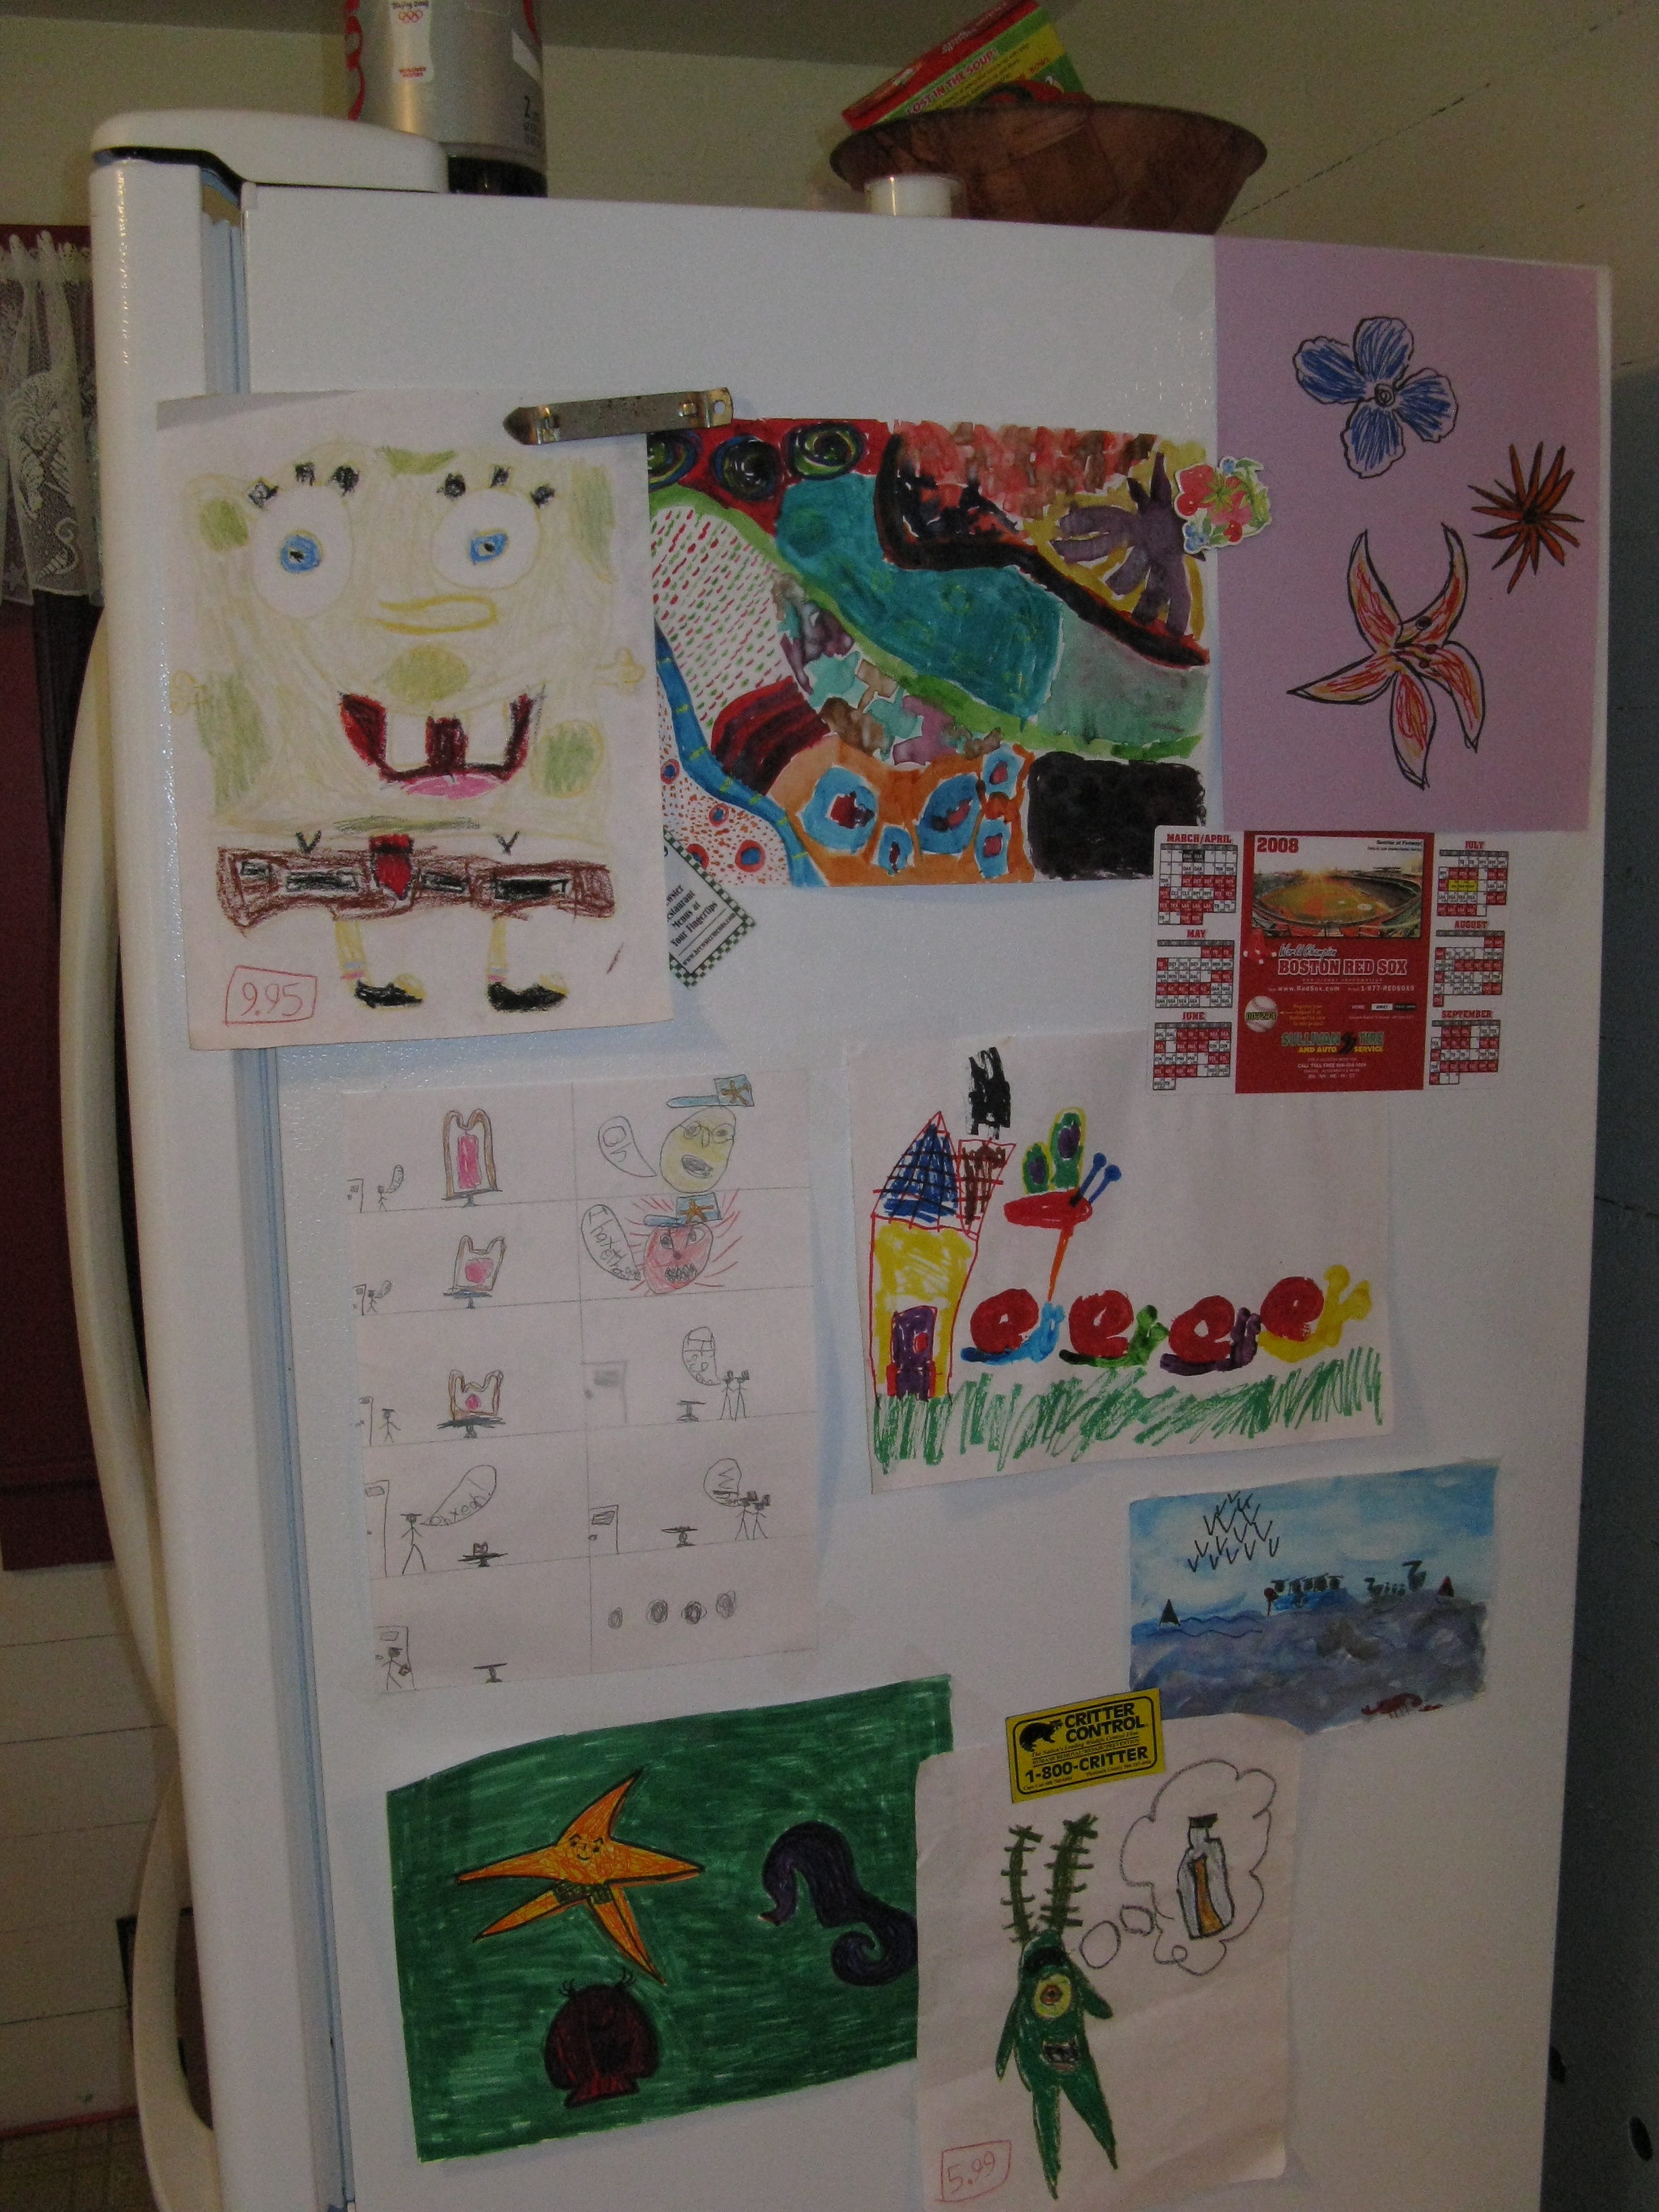
Our gallery

img_0440.jpg

I’m definitely not ready to return yet. . .


Award Time

July 31st, 2008 by Simone

award.jpg

Barbara of Mainely Stitching bestowed the Brilliante Weblog award on the Daisies. She is an expat from Maine who has settled in the Netherlands with her family. Go visit her site and check out her awesome cross-stitch work and interesting kid-friendly craft ideas.

The acceptance of this award is contingent on some requirements. You have to:

1. Put the logo on your blog.
2. Add a link to the person who awarded you.
3. Nominate at least 7 other blogs.
4. Add links to those blogs on yours.
5. Leave a message for your nominees on their blog

And here are my nominees:

gratzindustries.blogspot.com
Alan and Wendi of Gratz Industries are the authors of a blog that covers topics as diverse as a Project Runway Barbie design competition, comic books, craft tutorials, and solstice projects.

blazedanielle.wordpress.com
Blaze Danielle is “a Tree Climber, Dress Wearer, Tea Drinker, Berry Picker, Story Teller, Flower Presser, Picture Taker, Porch Swinger, Seed Planter, Puddle Jumper, and Art Maker. She loves windowsills, swimming holes, and old maps. You will most always find her picnicking on a grassy knoll.” Her blog filled with her beautiful illustrations is as serene as her description.

www.ihanna.nu/blog
Hanna from Sweden maintains a wonderful blog full of creative ideas and interesting observations. Most recently she’s been hard at work helping her friend organize her wedding complete with cake, favors, decorations, and wedding photography.

myzoebug.blogspot.com
Amy of My Zoe Bug writes about her daily adventures. She is a papercrafter, knitter, etsy shop owner, tutorial writer and all around interesting blogger.

craftyways.wordpress.com
Under a Tree is a blog from Japan. The author is a fantastic beader and a member of the Thoughtful Friday Flickr group. Check out her projects and Friday observations.

tomandjasmine.wordpress.com
Bobbi-lee of Tom and Jasmine is one of my favorite new bloggers. An illustrator and graphic designer, she recently submitted a wonderful story booklet tutorial to Crafty Daisies. Visit her blog for free, beautiful scrapbook papers, interesting craft projects, and links to fun projects.

whatthehay.wordpress.com
What the Hay is a blog by a self-proclaimed “small town farm kid living in the bigger noisier” world. While this blog has recently been on hiatus (life does tend to take over sometimes), I’ve been informed that new postings will be up in the next weeks. Until then do check out past projects and tutorials such as the Altoid Box Needle Holder, and the environmentally friendly rag sponge.

Now, what I would really like to know is who originated this particular award in the first place. Any ideas?


How to Make and Use a Floor Loom

July 23rd, 2008 by Simone

Bree of hotteaapparel.blogspot.com is today’s guest contributor with this amazing loom. So simple, so cool. This is a great way to reuse end-of-season t-shirts to make a comfy bathroom rug to greet fall.

When I was a teenager I’d spend two weeks of each summer at Swedish Language camp. My absolute favorite arts and crafts activity was weaving on a beautiful floor loom. I’ve longed to weave rugs ever since, but the price tag on such looms is prohibitive. I came across a book in the library that inspired me to make my own, simpler loom: Twined Rag Rugs: Tradition in the Making by Bobbie Irwin.

To make the same loom, you will need:

4 flat corner irons (metal in the shape of an L with holes) and screws
2 pieces of lumber (I used 1″ x 2″) 4 feet long
2 pieces of lumber measuring 28-1/4″ long
52 screws (no longer than 3/4″) for the warp
Drill and bits
Tape measure or ruler
Strong string, twine, or yarn (I used heavy-weight nylon upholstery thread)

I was lucky to move into a home with a pile of leftover lumber and found a nice long piece of 1×2 lumber (which actually measures 1-1/2″x3/4″) which I cut into two 4-foot lengths using a simple hack saw. You can cut your own lumber with any number of different saws (please use appropriate safety precautions when using tools) OR you can ask the lumber/hardware store if they can make the cuts for you. I then cut a piece of leftover trim from a vanity (which was basically another 1×2) into 28-1/4″ length and happened to have another 1×2 of that size available. Once you have your four pieces of lumber, you can put together the frame.

Place the two long boards on the ground parallel to each other. Fit the two shorter boards inside the longer boards; one at the top, one at the bottom. Place the corner irons at each of the four corners and mark the holes. Remove the brackets and pre-drill the holes with a small drill bit before screwing on the brackets. Also, make sure the screws do not drill all the way through the lumber. You don’t want sharp points sticking out of your loom.

Your loom is beginning to take shape now and you should be able to pick it up and carry it in one piece. It may shift a bit out of square when you move it around, but as long as it’s holding together well, it’s fine.

Flip the loom over so that the brackets are on the floor/ground. (Note: this is an upgrade from the loom I made – as you can tell, I placed the screws on the same side as the corner iron and had to use one of the corner iron screws for my warp.) You are going to pre-drill holes for the screws that will hold your warp (the parallel strings that you will be weaving into). You will use 26 screws at both the top and bottom of the loom (the top and bottom are the shorter boards). I recommend cutting a piece of scrap paper that is the length of the shorter boards (28 inches is fine) to make a template for your screw locations. You may have to tape some newspaper together to get the length. Starting from about 1/8″ from the edge of the paper, make a dot every 1-1/16″ (or just barely past the 1″ mark on the ruler) until you have 26 dots. This should give you a nice even spacing for your screws. Tape the ends of the paper on the top of the loom and pre-drill your holes right through the paper into the wood. Remove your template and tape it on the bottom of loom and repeat. The one trick is to make sure you aren’t drilling into a screw from your corner iron on the back. Check to make sure and if it IS lining up with the L-bracket screw, move only that pre-drill dot just enough to avoid the screw. Ideally this won’t be a problem.

Now you can screw in your 52 screws, but don’t screw them in all the way. Leave them sticking out about 1/4″ because these are your pegs for wrapping the warp.

You are now done drilling! Hooray, the loom is finished. Bring it to a comfortable working spot. Mine is leaning up against my fireplace because it’s in the living room and we’re not currently using the fireplace. I do recommend leaning it up against a wall where you can sit in front of it either on the floor or in a chair.

To get started making your first rug, you will need to thread the warp. The warp will be your string of choice. You will need quite a length for this, so keep the string in a ball and unwind as you go. First, tie the end of the string to the left-most screw on the bottom. Then bring the string up to the left-most screw on the top. Keep the string taut and bring it up and over that first screw and over the second screw and down to loom to the second screw on the bottom. Bring it under the second screw and under the third screw and up to the third screw on top. Keep the string taut at all times. You should see the pattern now and continue this until you have come to the final screw. Tie off your string on the final screw. Your warp is done!

The warp string will be used when you are finished weaving to tie the wefts tight. For this reason, you do not want to start weaving at the very bottom of the loom or you won’t have enough string to tie off. So, to make sure I didn’t end up with the weft (the fabric you use to weave in and out of the warp) at the bottom, I cut out some pieces of cardboard (from a cereal box or tissue box – anything you might have lying around) that were about 3″ wide. I weaved these through the warp at the very bottom of the loom. This is a place holder to make sure your weaving doesn’t slip down to the bottom of the loom.

Now you are ready to begin making a rug from scrap fabric. You can use any type of fabric, but keep it consistent. If you want to use jersey knit, continue using jersey knit for the whole rug. If you are using cotton quilting fabric, keep using that type of fabric. Have fun with this part and think of other cool options to weave with like plastic bags, rubber tire tubes, ribbon, etc. Cut strips of material as long as possible and at a consistent width. Thinner pieces will require more weaving for a finished product, thicker pieces will weave up faster and make a thicker rug.

You have a choice now in how to weave your rug. You can use a plain weaving, a simple under-over-under-over technique, which will result in a loosely woven rug (but is the best choice if you are using stiff material like rubber or thick leather) or you can make tighter weave (and thicker rug) using the twining method. Twining requires that you use two strands simultaneously and criss-cross them between each warp string (like twisting twine). I have chosen to use jersey fabrics with the twining method (which you can see in the photos).

Happy weaving!


Travel Musings

July 18th, 2008 by Simone

 img_0200.jpg

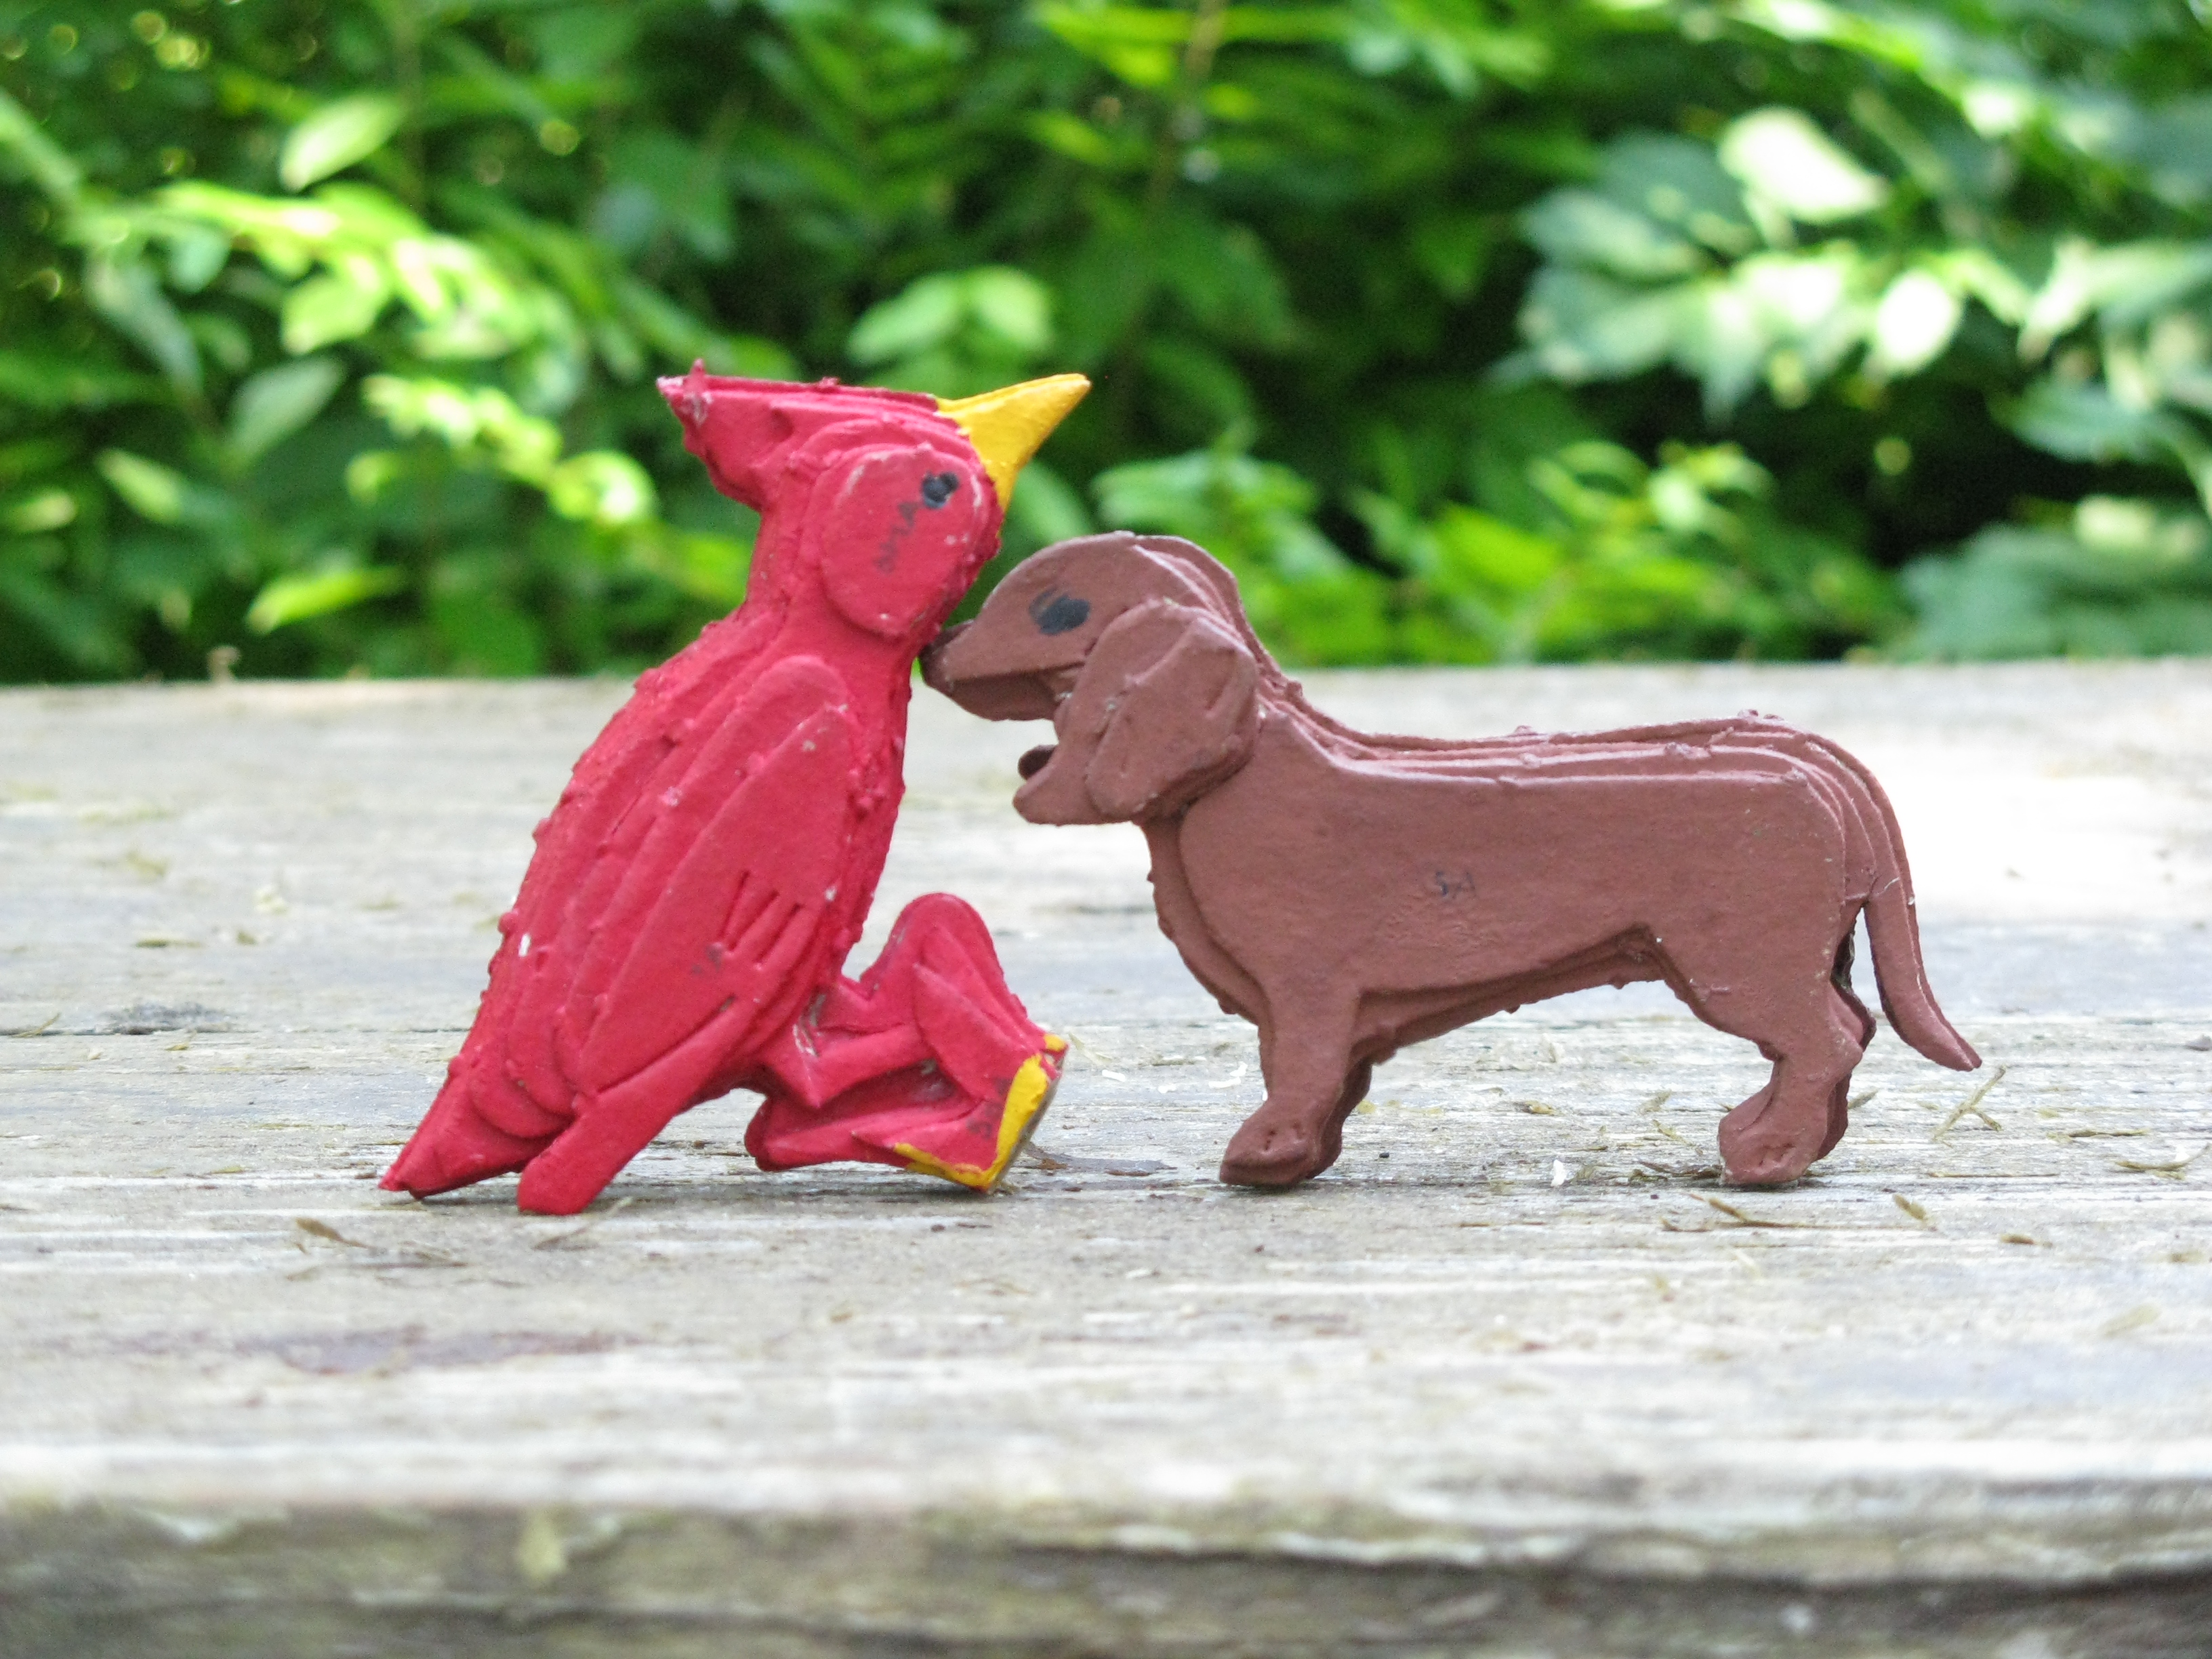
I am in Missouri right now. My grandmother passed away in the Spring and the clan has gathered to sort through her treasures. My grandmother was an avid collector of many interesting things and a constant presence at the local auctions. I’m sure she’s having a grand time listening to all the laughter and stories in her house right now.

Here are some impressions of my stay. The cardinal and the puppy above are made out of cardboard. Did my uncles make them when they were boy scouts? Were they part of a kit?

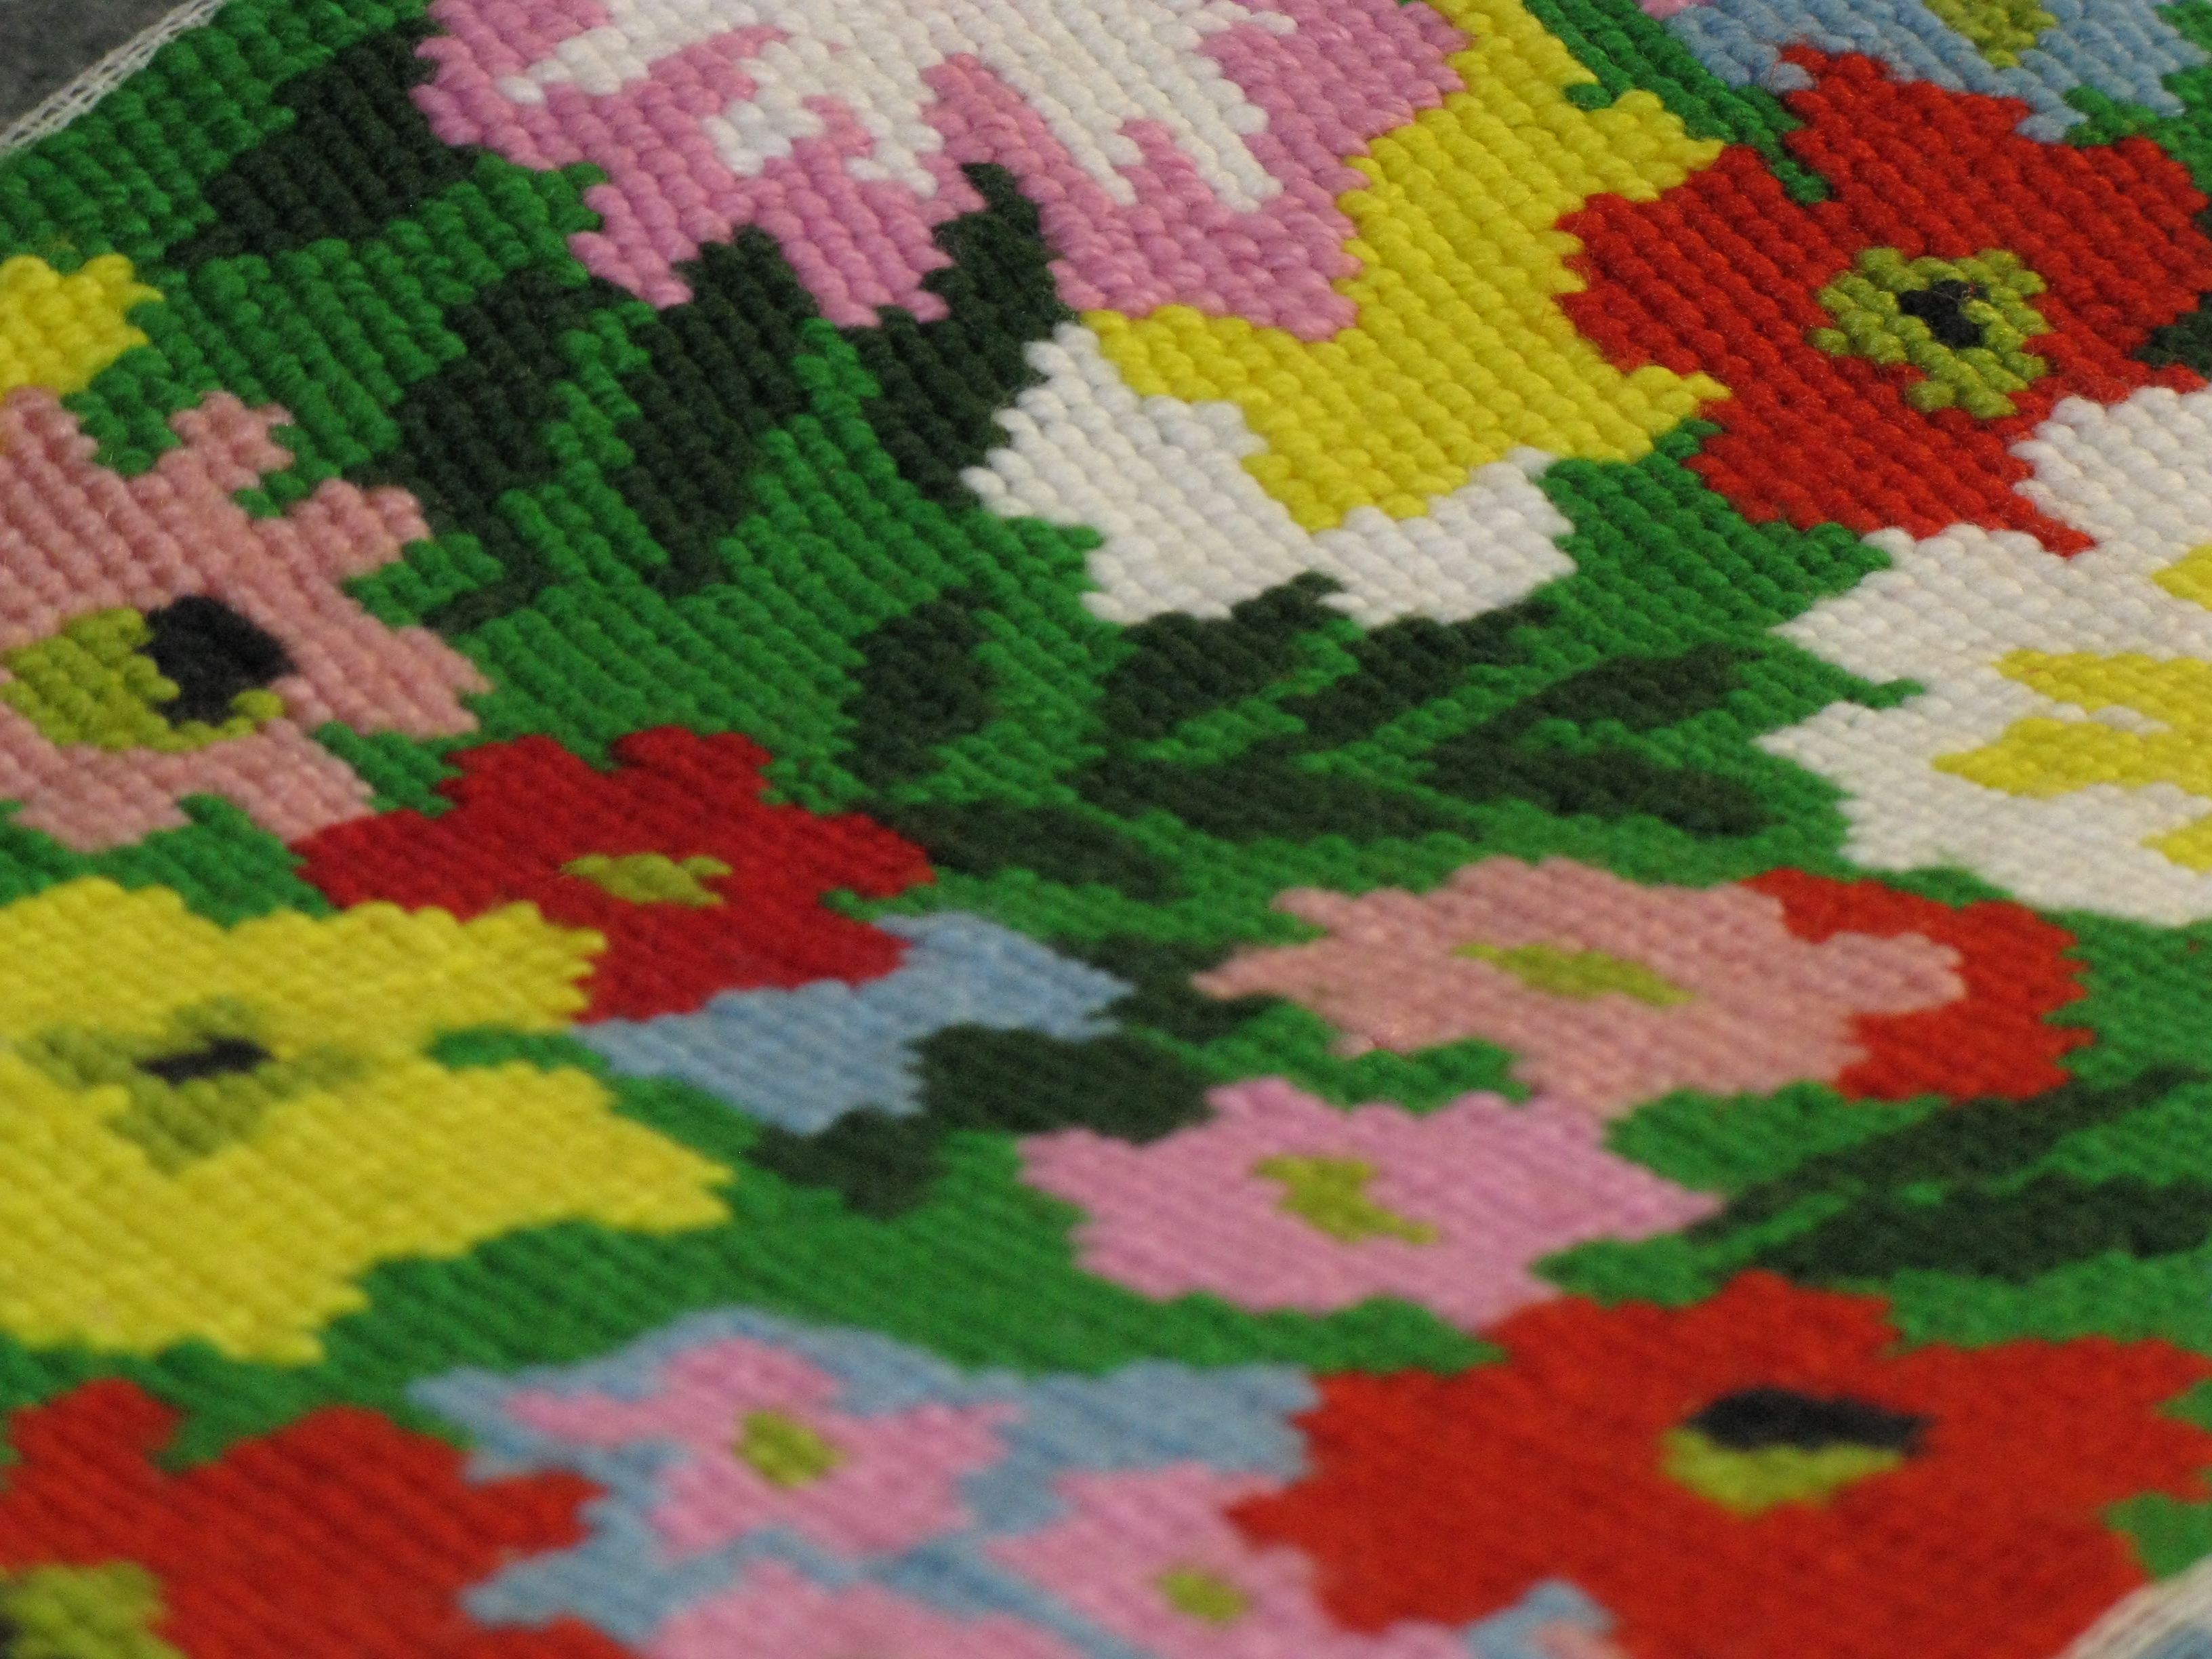
img_0194.jpg

Someone spent a lot of time on this embroidery. I think it was purchased as part of a lot at an auction. It’s amazing how much time we spend to create something that is eventually passed on to family or strangers.

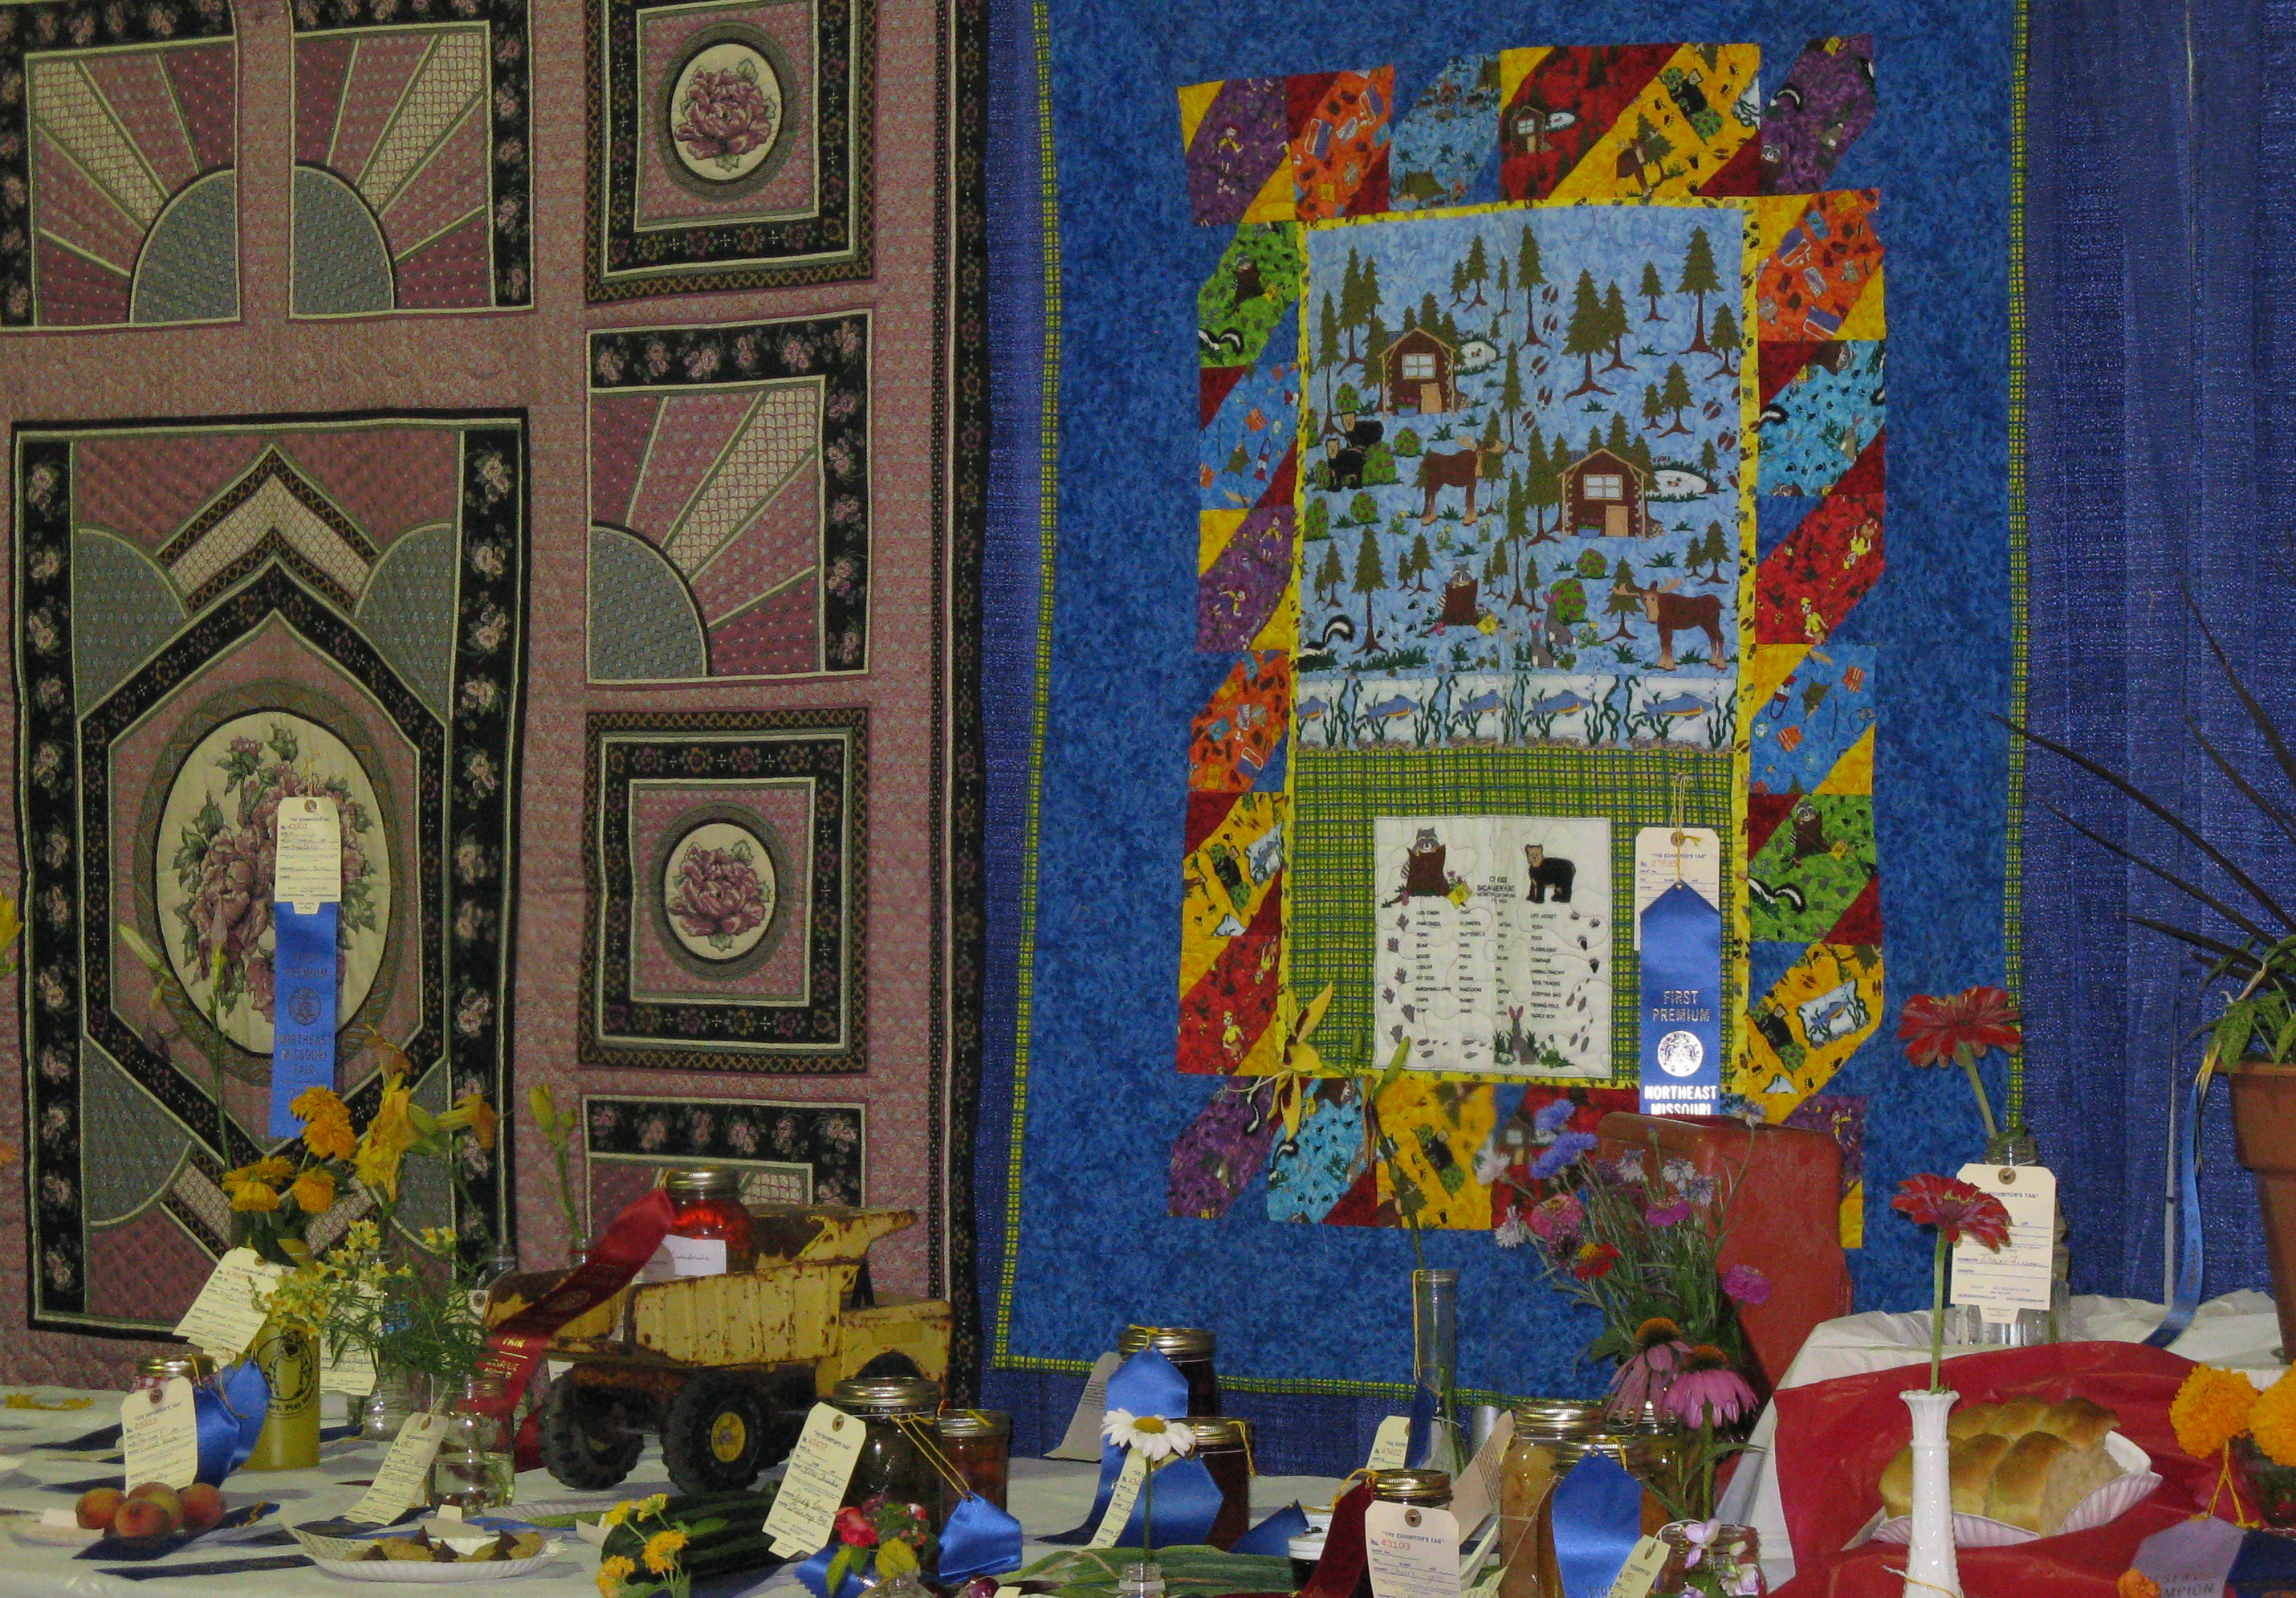
img_0214.jpg

An exhibit at the fair that is taking place this week.

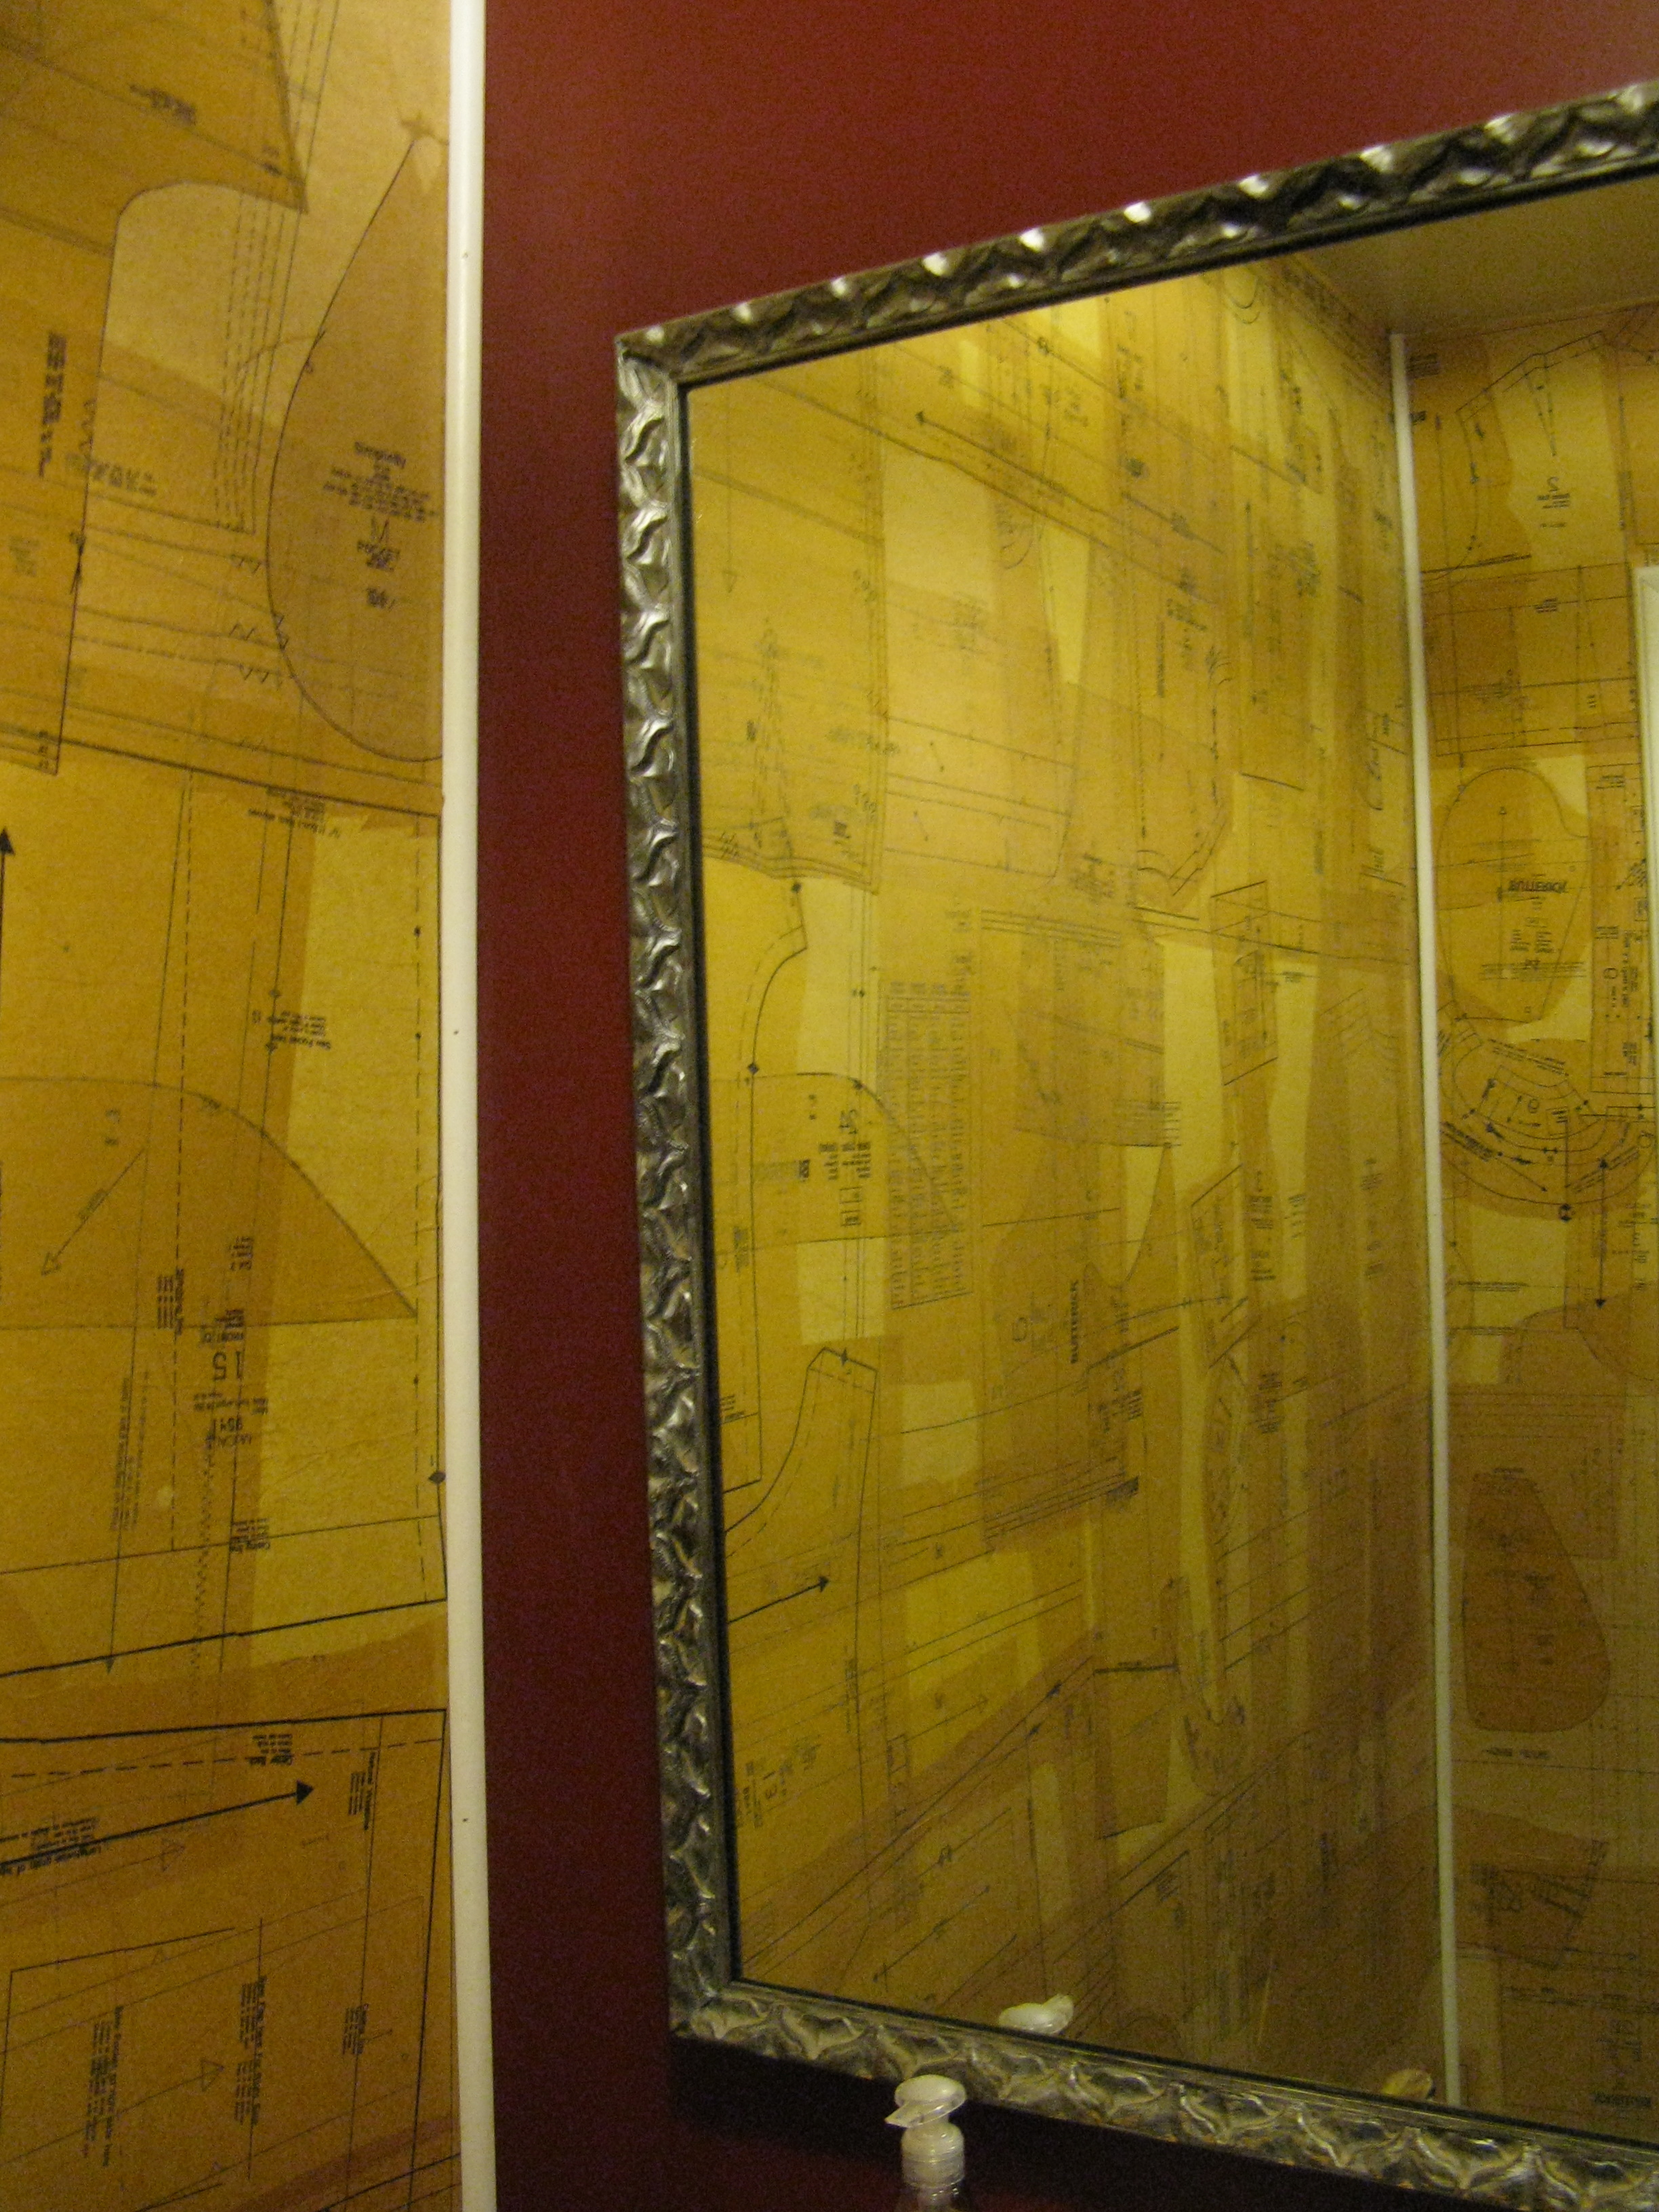
img_0211.jpg

What to do with leftover patterns? Paper the walls. This is the bathroom at the local coffee shop. My grandmother used patterns to wrap glassware. I’m sure there are many other decoupage ideas for this material.