genericviagra

buy cheap cialis pill online lloyds pharmacy viagra cheapest without prescription farmacia online alprostadil

viagra no prescription required

cheap without prescription Cialis Super Active online meds where can i buy viagra cheap without prescription brand viagra online sildenafil online

canadian discount pharmacy

cheap without prescription Generic Levitra purchase tadalafil amoxicillin no prescription cheap without prescription pill online buy cheap generic viagra

yohimbe

Generic Viagra buy cheap cheap cialis impotence treatment cheapest without prescription buy viagra online stamina rx

buy prescriptions

buy cheap Viagra Super Active sildenafil citrate tablets soma pharmacy buy online cheap pharmacy cialis online

next day cialis

Zithromax cheap without prescription viagra sale online abortion pill online cheapest without prescription brooks pharmacy no prescription required

online pharma

buy cheap Viagra Soft viagra price comparison can i buy viagra online buy online order kamagra net pharmacy

viagra herbal

cheap without prescription Xenical discount viagra online lowest price viagra cheapest without prescription get viagra prescription online doctor

cialis generic

Levitra cheapest without prescription canadian rx canadian viagra online buy cheap canadian prescription drugs buy amoxil

Archive for July, 2008

Award Time

Thursday, July 31st, 2008

award.jpg

Barbara of Mainely Stitching bestowed the Brilliante Weblog award on the Daisies. She is an expat from Maine who has settled in the Netherlands with her family. Go visit her site and check out her awesome cross-stitch work and interesting kid-friendly craft ideas.

The acceptance of this award is contingent on some requirements. You have to:

1. Put the logo on your blog.
2. Add a link to the person who awarded you.
3. Nominate at least 7 other blogs.
4. Add links to those blogs on yours.
5. Leave a message for your nominees on their blog

And here are my nominees:

gratzindustries.blogspot.com
Alan and Wendi of Gratz Industries are the authors of a blog that covers topics as diverse as a Project Runway Barbie design competition, comic books, craft tutorials, and solstice projects.

blazedanielle.wordpress.com
Blaze Danielle is “a Tree Climber, Dress Wearer, Tea Drinker, Berry Picker, Story Teller, Flower Presser, Picture Taker, Porch Swinger, Seed Planter, Puddle Jumper, and Art Maker. She loves windowsills, swimming holes, and old maps. You will most always find her picnicking on a grassy knoll.” Her blog filled with her beautiful illustrations is as serene as her description.

www.ihanna.nu/blog
Hanna from Sweden maintains a wonderful blog full of creative ideas and interesting observations. Most recently she’s been hard at work helping her friend organize her wedding complete with cake, favors, decorations, and wedding photography.

myzoebug.blogspot.com
Amy of My Zoe Bug writes about her daily adventures. She is a papercrafter, knitter, etsy shop owner, tutorial writer and all around interesting blogger.

craftyways.wordpress.com
Under a Tree is a blog from Japan. The author is a fantastic beader and a member of the Thoughtful Friday Flickr group. Check out her projects and Friday observations.

tomandjasmine.wordpress.com
Bobbi-lee of Tom and Jasmine is one of my favorite new bloggers. An illustrator and graphic designer, she recently submitted a wonderful story booklet tutorial to Crafty Daisies. Visit her blog for free, beautiful scrapbook papers, interesting craft projects, and links to fun projects.

whatthehay.wordpress.com
What the Hay is a blog by a self-proclaimed “small town farm kid living in the bigger noisier” world. While this blog has recently been on hiatus (life does tend to take over sometimes), I’ve been informed that new postings will be up in the next weeks. Until then do check out past projects and tutorials such as the Altoid Box Needle Holder, and the environmentally friendly rag sponge.

Now, what I would really like to know is who originated this particular award in the first place. Any ideas?

How to Make and Use a Floor Loom

Wednesday, July 23rd, 2008

Bree of hotteaapparel.blogspot.com is today’s guest contributor with this amazing loom. So simple, so cool. This is a great way to reuse end-of-season t-shirts to make a comfy bathroom rug to greet fall.

When I was a teenager I’d spend two weeks of each summer at Swedish Language camp. My absolute favorite arts and crafts activity was weaving on a beautiful floor loom. I’ve longed to weave rugs ever since, but the price tag on such looms is prohibitive. I came across a book in the library that inspired me to make my own, simpler loom: Twined Rag Rugs: Tradition in the Making by Bobbie Irwin.

To make the same loom, you will need:

4 flat corner irons (metal in the shape of an L with holes) and screws
2 pieces of lumber (I used 1″ x 2″) 4 feet long
2 pieces of lumber measuring 28-1/4″ long
52 screws (no longer than 3/4″) for the warp
Drill and bits
Tape measure or ruler
Strong string, twine, or yarn (I used heavy-weight nylon upholstery thread)

I was lucky to move into a home with a pile of leftover lumber and found a nice long piece of 1×2 lumber (which actually measures 1-1/2″x3/4″) which I cut into two 4-foot lengths using a simple hack saw. You can cut your own lumber with any number of different saws (please use appropriate safety precautions when using tools) OR you can ask the lumber/hardware store if they can make the cuts for you. I then cut a piece of leftover trim from a vanity (which was basically another 1×2) into 28-1/4″ length and happened to have another 1×2 of that size available. Once you have your four pieces of lumber, you can put together the frame.

Place the two long boards on the ground parallel to each other. Fit the two shorter boards inside the longer boards; one at the top, one at the bottom. Place the corner irons at each of the four corners and mark the holes. Remove the brackets and pre-drill the holes with a small drill bit before screwing on the brackets. Also, make sure the screws do not drill all the way through the lumber. You don’t want sharp points sticking out of your loom.

Your loom is beginning to take shape now and you should be able to pick it up and carry it in one piece. It may shift a bit out of square when you move it around, but as long as it’s holding together well, it’s fine.

Flip the loom over so that the brackets are on the floor/ground. (Note: this is an upgrade from the loom I made – as you can tell, I placed the screws on the same side as the corner iron and had to use one of the corner iron screws for my warp.) You are going to pre-drill holes for the screws that will hold your warp (the parallel strings that you will be weaving into). You will use 26 screws at both the top and bottom of the loom (the top and bottom are the shorter boards). I recommend cutting a piece of scrap paper that is the length of the shorter boards (28 inches is fine) to make a template for your screw locations. You may have to tape some newspaper together to get the length. Starting from about 1/8″ from the edge of the paper, make a dot every 1-1/16″ (or just barely past the 1″ mark on the ruler) until you have 26 dots. This should give you a nice even spacing for your screws. Tape the ends of the paper on the top of the loom and pre-drill your holes right through the paper into the wood. Remove your template and tape it on the bottom of loom and repeat. The one trick is to make sure you aren’t drilling into a screw from your corner iron on the back. Check to make sure and if it IS lining up with the L-bracket screw, move only that pre-drill dot just enough to avoid the screw. Ideally this won’t be a problem.

Now you can screw in your 52 screws, but don’t screw them in all the way. Leave them sticking out about 1/4″ because these are your pegs for wrapping the warp.

You are now done drilling! Hooray, the loom is finished. Bring it to a comfortable working spot. Mine is leaning up against my fireplace because it’s in the living room and we’re not currently using the fireplace. I do recommend leaning it up against a wall where you can sit in front of it either on the floor or in a chair.

To get started making your first rug, you will need to thread the warp. The warp will be your string of choice. You will need quite a length for this, so keep the string in a ball and unwind as you go. First, tie the end of the string to the left-most screw on the bottom. Then bring the string up to the left-most screw on the top. Keep the string taut and bring it up and over that first screw and over the second screw and down to loom to the second screw on the bottom. Bring it under the second screw and under the third screw and up to the third screw on top. Keep the string taut at all times. You should see the pattern now and continue this until you have come to the final screw. Tie off your string on the final screw. Your warp is done!

The warp string will be used when you are finished weaving to tie the wefts tight. For this reason, you do not want to start weaving at the very bottom of the loom or you won’t have enough string to tie off. So, to make sure I didn’t end up with the weft (the fabric you use to weave in and out of the warp) at the bottom, I cut out some pieces of cardboard (from a cereal box or tissue box – anything you might have lying around) that were about 3″ wide. I weaved these through the warp at the very bottom of the loom. This is a place holder to make sure your weaving doesn’t slip down to the bottom of the loom.

Now you are ready to begin making a rug from scrap fabric. You can use any type of fabric, but keep it consistent. If you want to use jersey knit, continue using jersey knit for the whole rug. If you are using cotton quilting fabric, keep using that type of fabric. Have fun with this part and think of other cool options to weave with like plastic bags, rubber tire tubes, ribbon, etc. Cut strips of material as long as possible and at a consistent width. Thinner pieces will require more weaving for a finished product, thicker pieces will weave up faster and make a thicker rug.

You have a choice now in how to weave your rug. You can use a plain weaving, a simple under-over-under-over technique, which will result in a loosely woven rug (but is the best choice if you are using stiff material like rubber or thick leather) or you can make tighter weave (and thicker rug) using the twining method. Twining requires that you use two strands simultaneously and criss-cross them between each warp string (like twisting twine). I have chosen to use jersey fabrics with the twining method (which you can see in the photos).

Happy weaving!

Travel Musings

Friday, July 18th, 2008

 img_0200.jpg

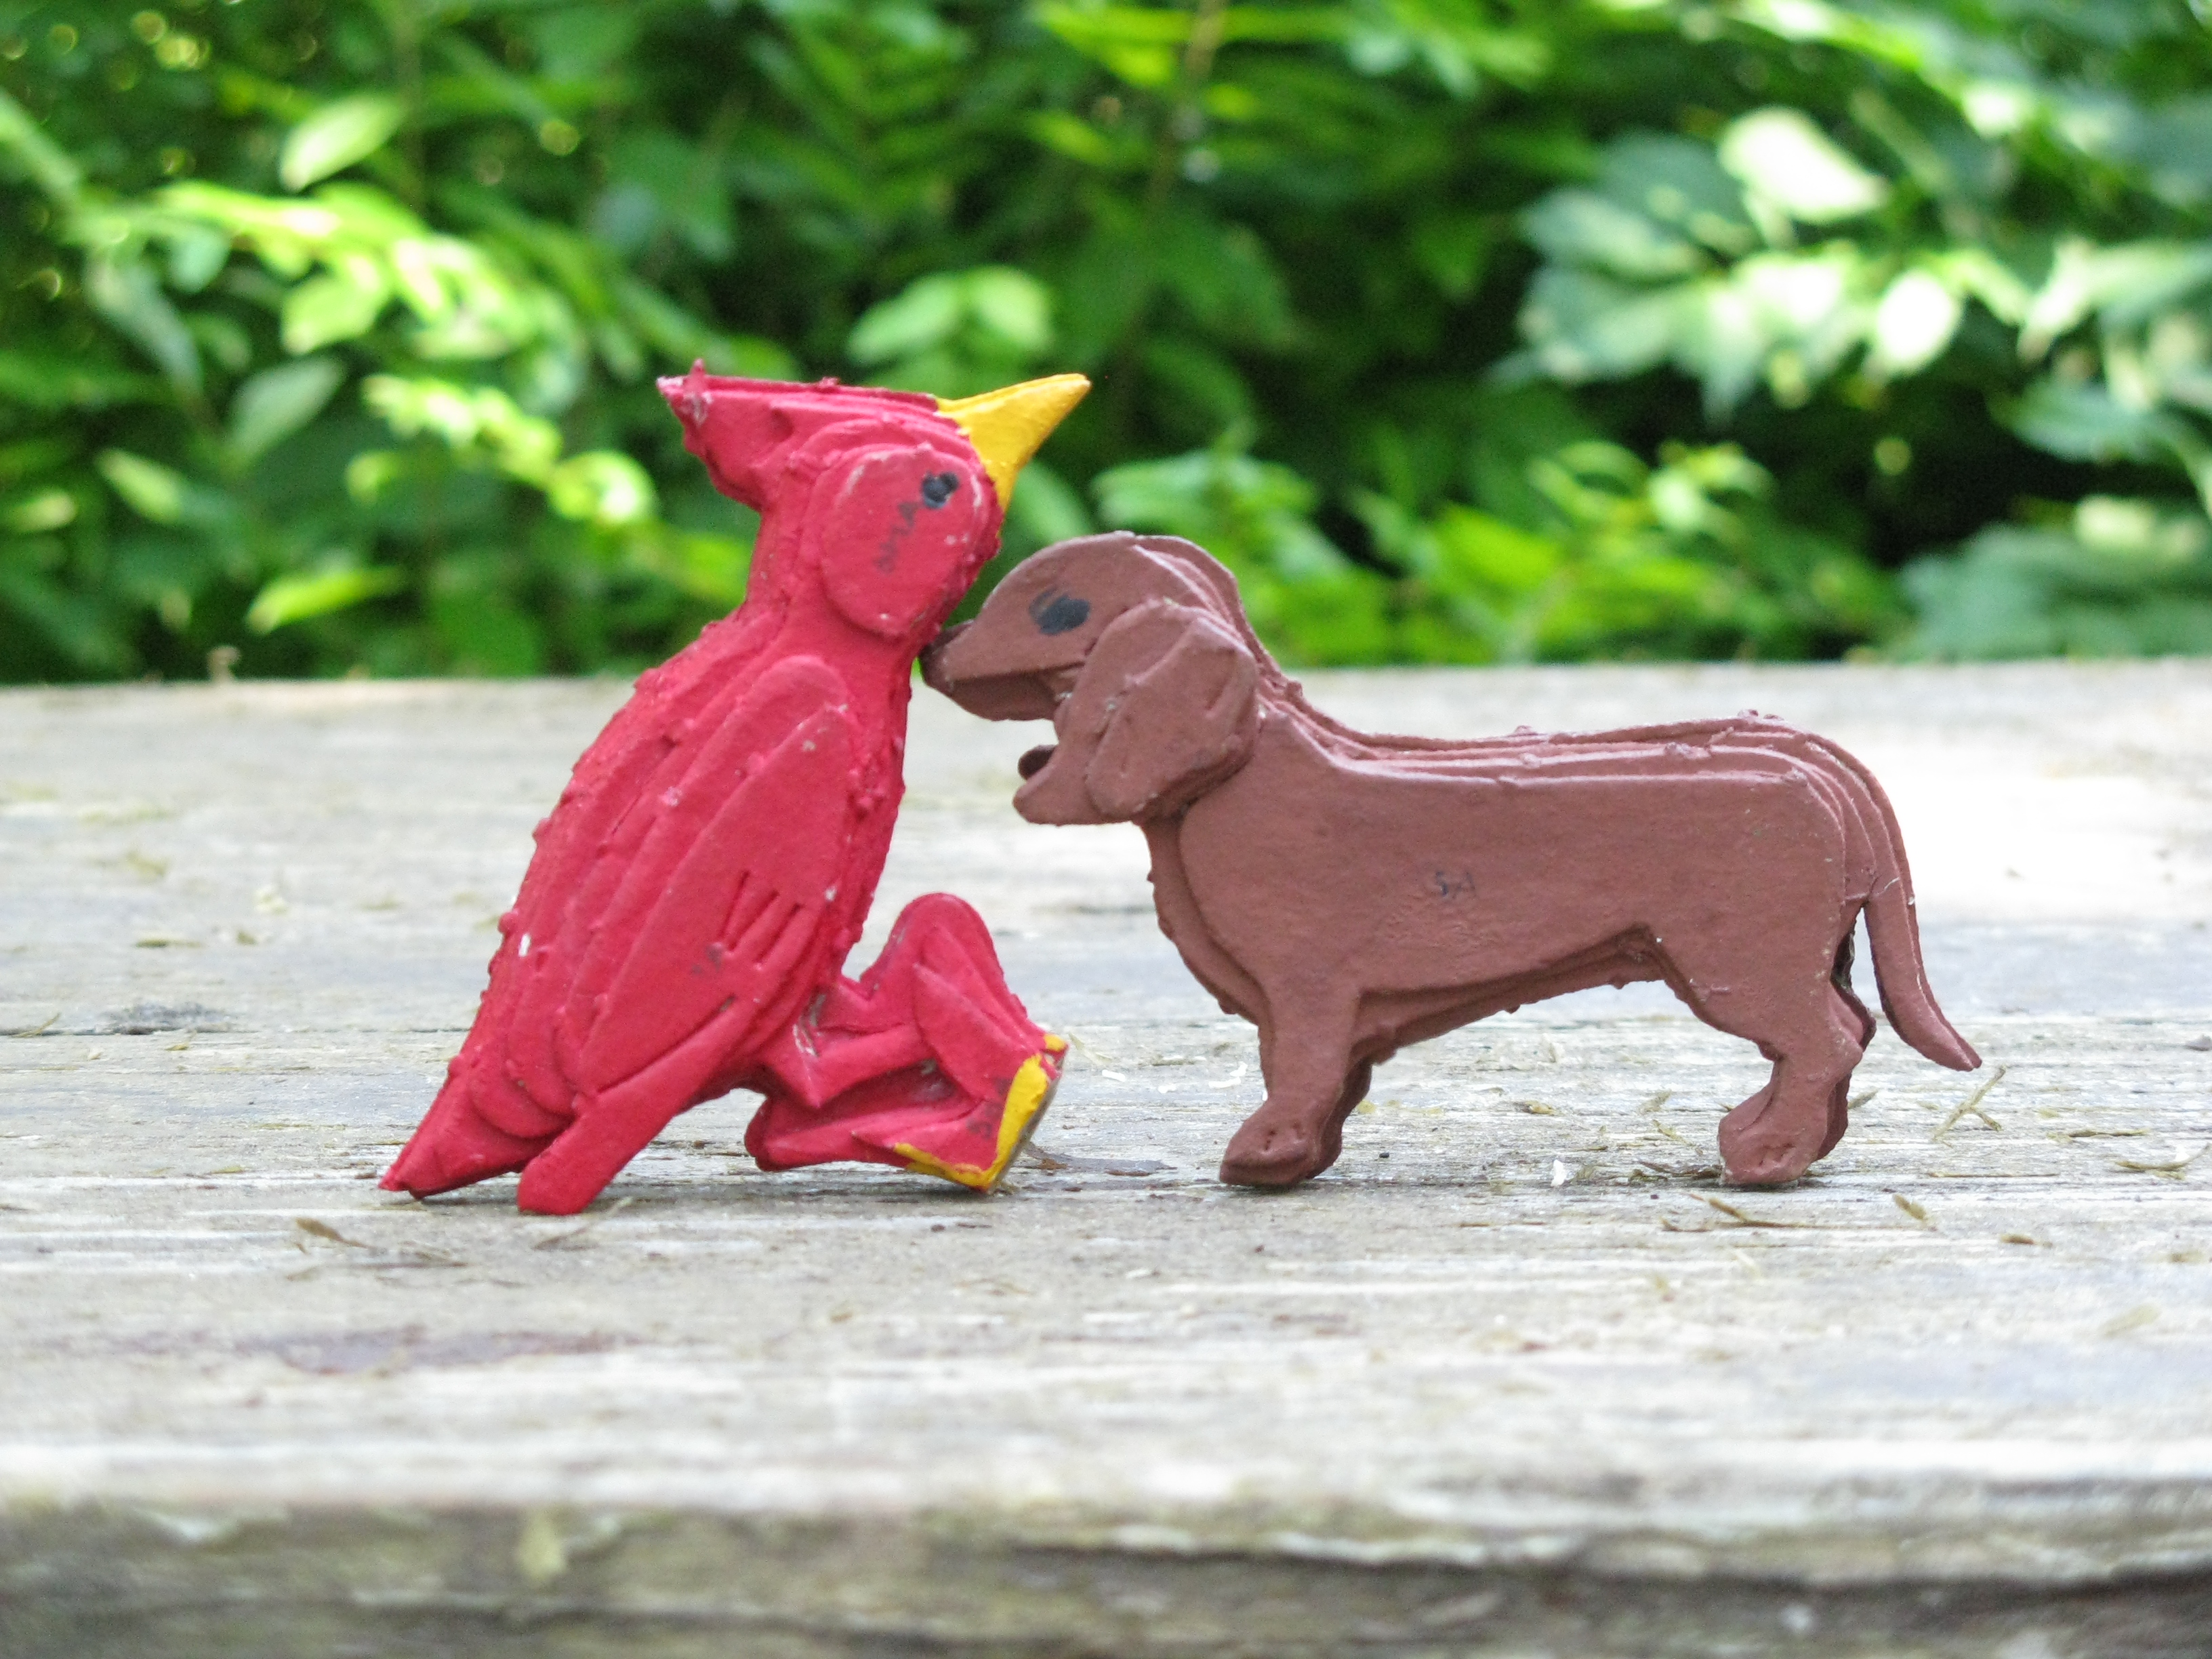
I am in Missouri right now. My grandmother passed away in the Spring and the clan has gathered to sort through her treasures. My grandmother was an avid collector of many interesting things and a constant presence at the local auctions. I’m sure she’s having a grand time listening to all the laughter and stories in her house right now.

Here are some impressions of my stay. The cardinal and the puppy above are made out of cardboard. Did my uncles make them when they were boy scouts? Were they part of a kit?

img_0194.jpg

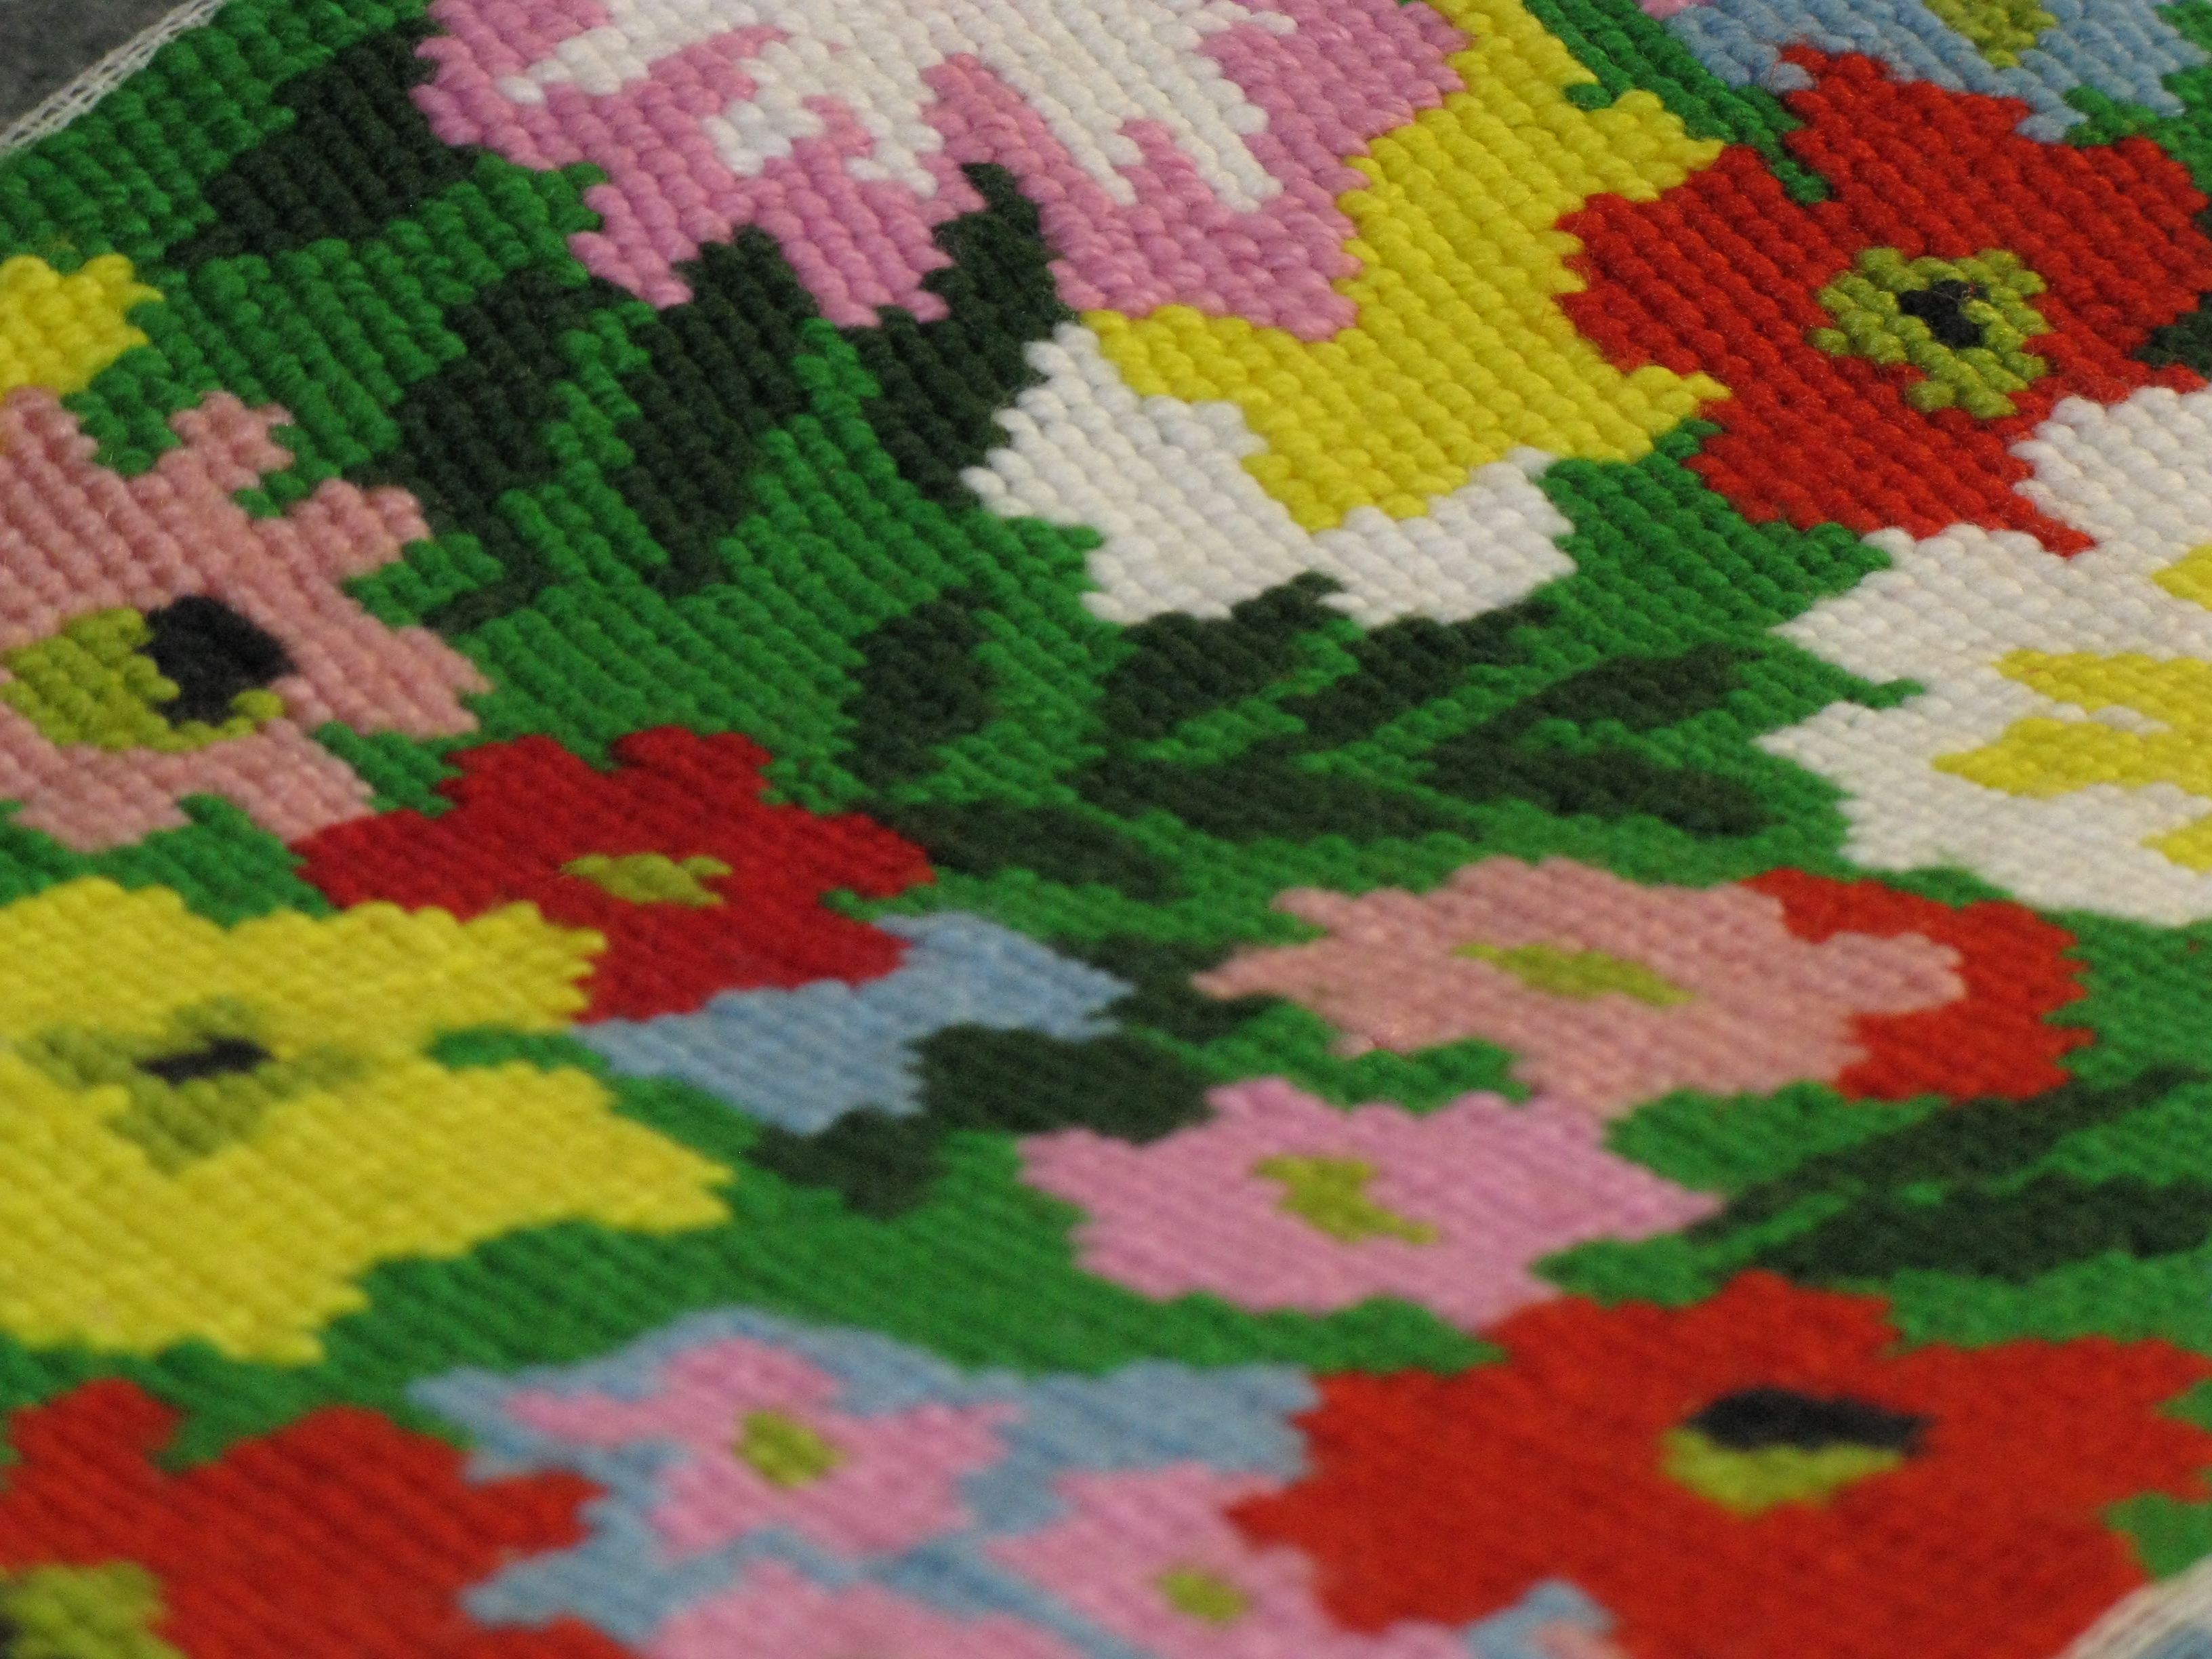
Someone spent a lot of time on this embroidery. I think it was purchased as part of a lot at an auction. It’s amazing how much time we spend to create something that is eventually passed on to family or strangers.

img_0214.jpg

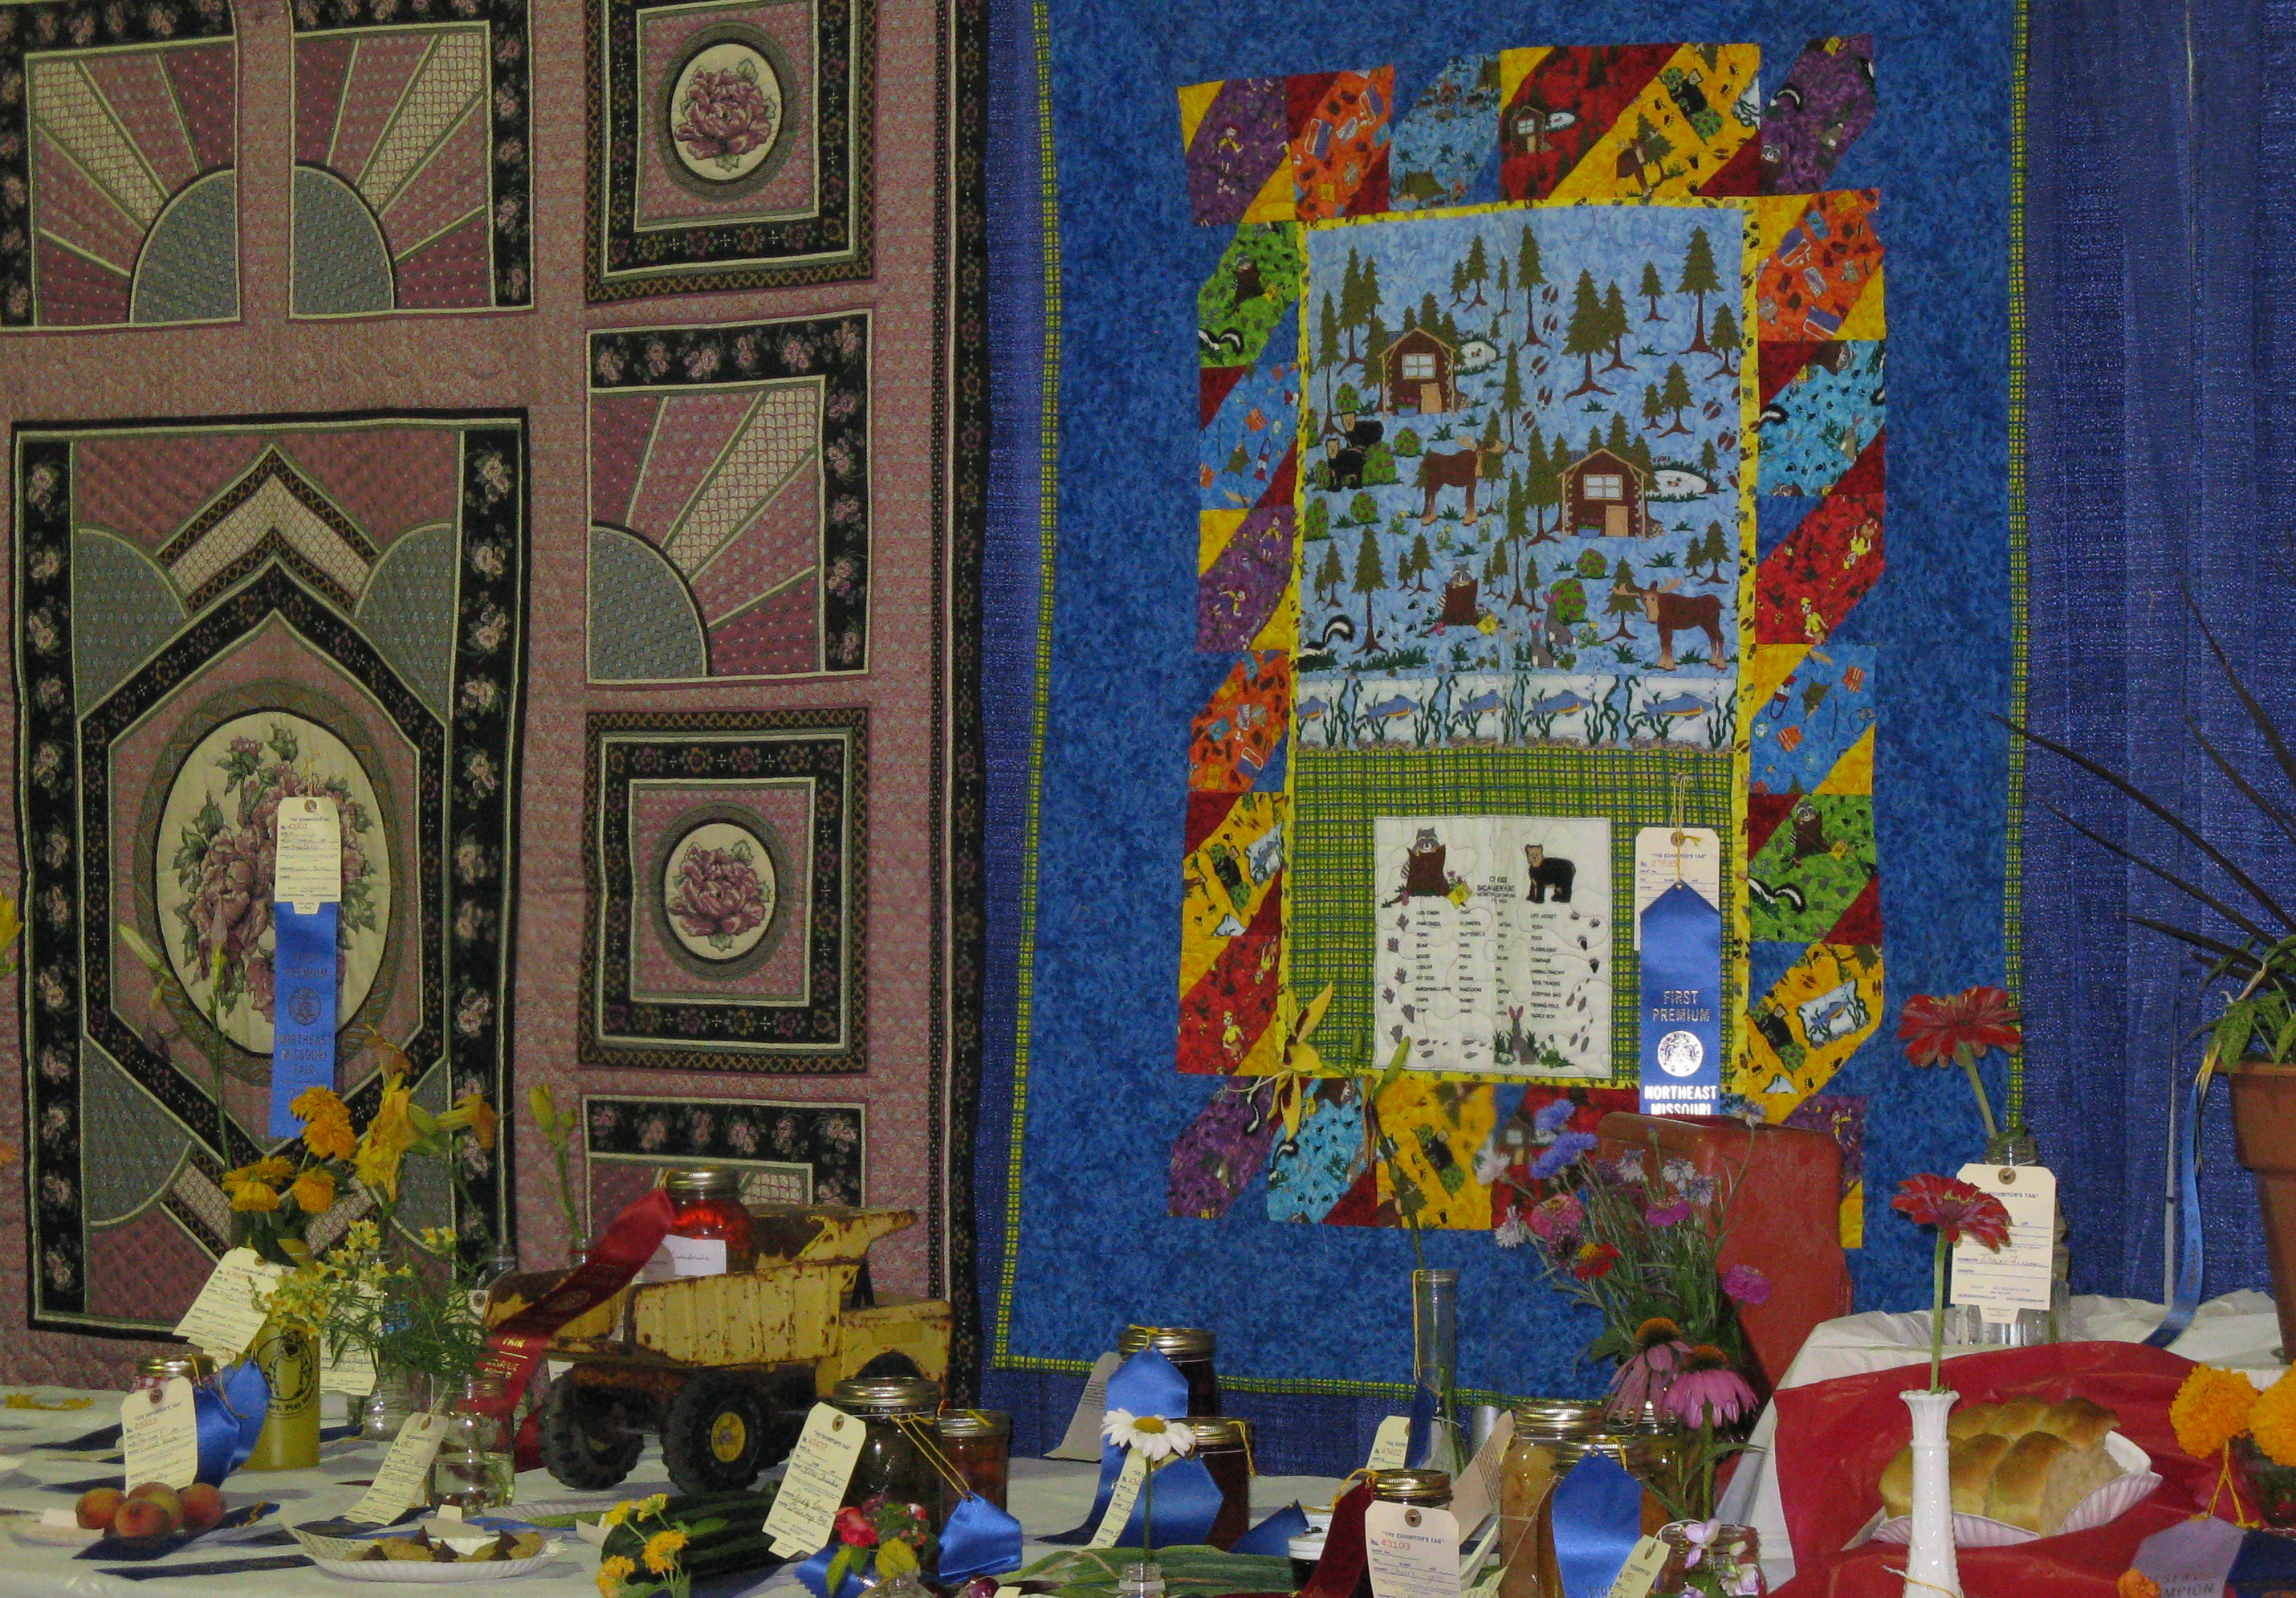
An exhibit at the fair that is taking place this week.

img_0211.jpg

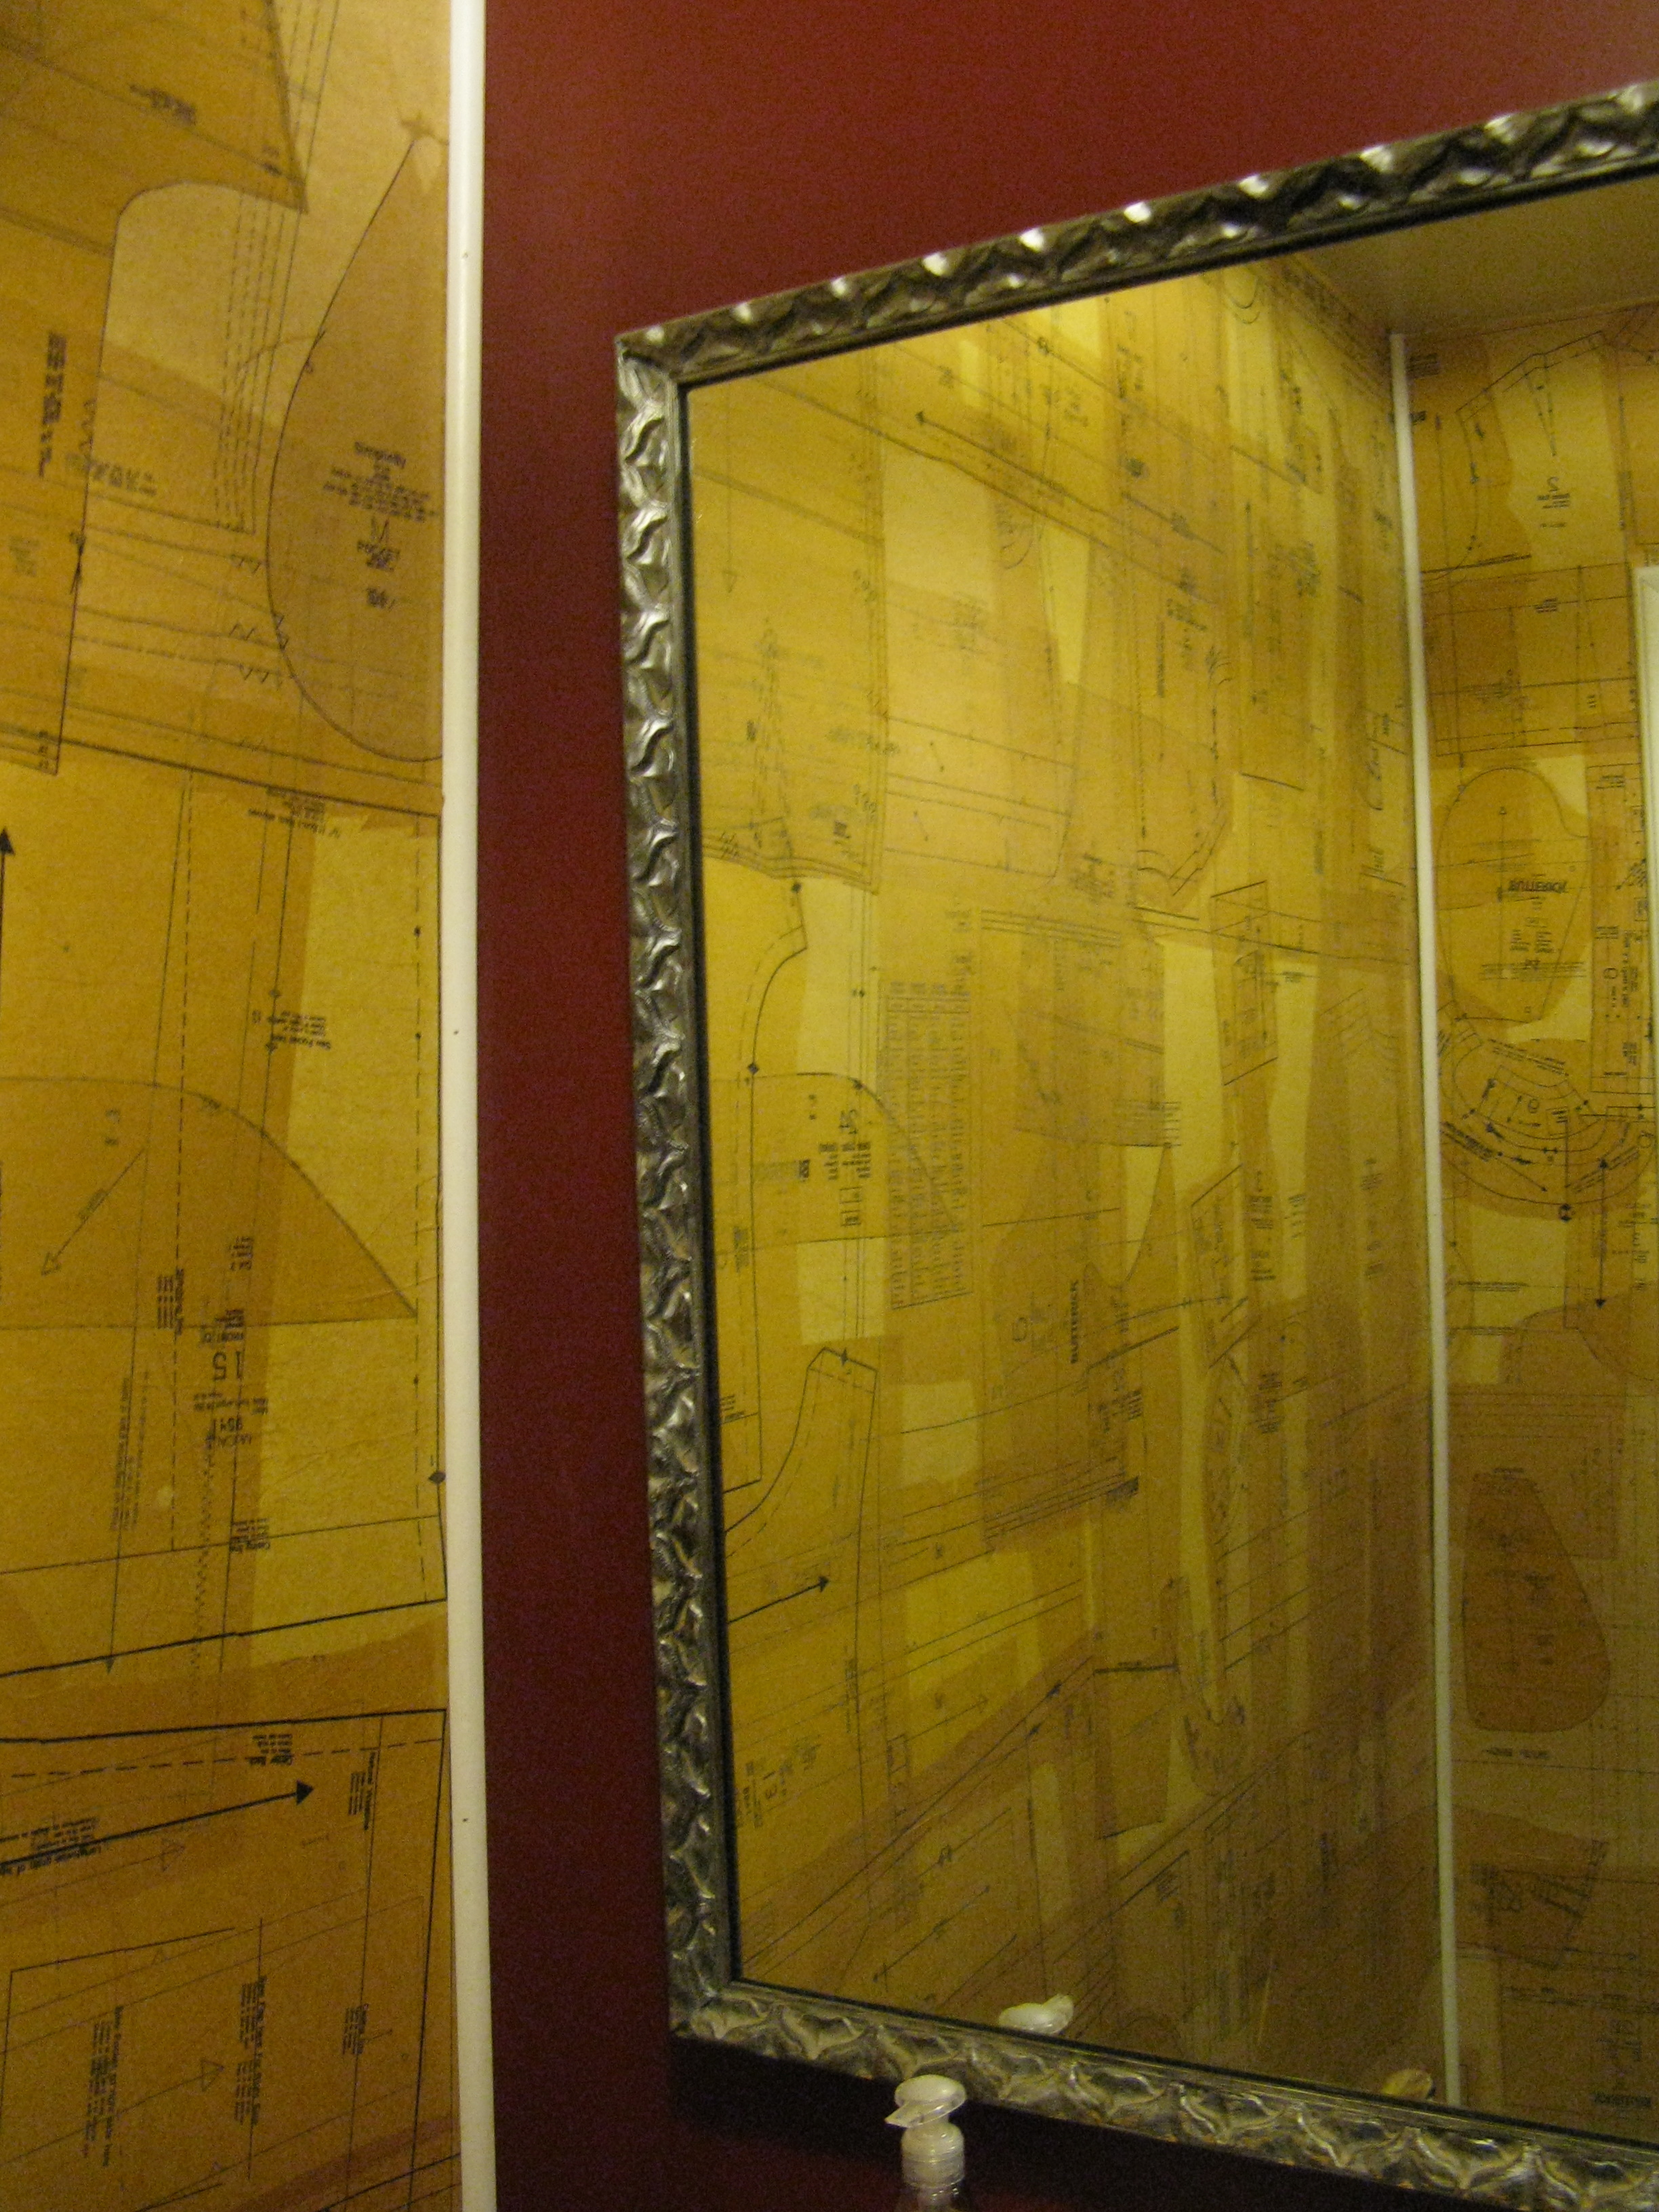
What to do with leftover patterns? Paper the walls. This is the bathroom at the local coffee shop. My grandmother used patterns to wrap glassware. I’m sure there are many other decoupage ideas for this material.

Story Booklet Tutorial

Thursday, July 10th, 2008

Bobbi-lee of TomandJasmine.wordpress.com starts off this season’s guest contributor cycle with a tutorial on how to make a very personal story booklet:

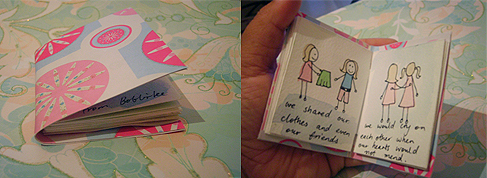
I made this little story booklet for my sisters 20th birthday which was last week and thought I should make a tutorial at the same time. This little booklet is a great gift idea for the young and old, or it can just be a little book of your illustrations or poetry. Have fun!

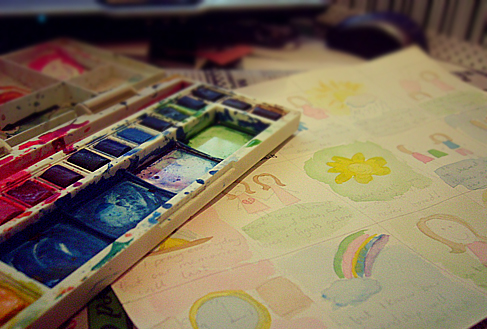
First of all you need to do the pages (unless you are making a blank book to draw and write in later then skip this part). I started with an A4 page of watercolour paper and divided it into 15 equal rectangles. Draw your little illustrations in pencil then paint them or colour them with your choice of paints.

watercolourpaint.jpg

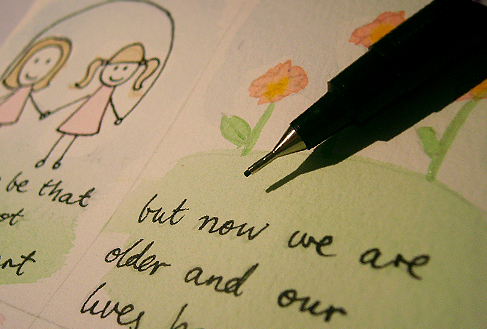
Once you have done your little drawings and the paint is dry, outline them in black felt tip marker and write the poem or story in.

outline-with-fineliner.jpg

Once that’s all done you can cut out the pages neatly with a scalpel and ruler. Don’t cut yourself!

cut-the-paper.jpg

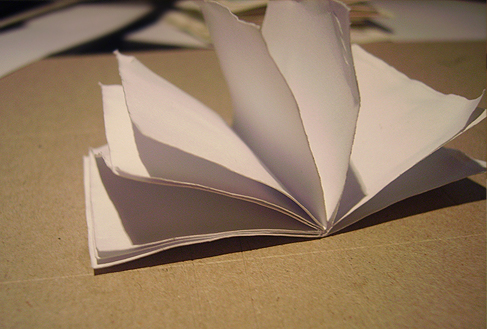
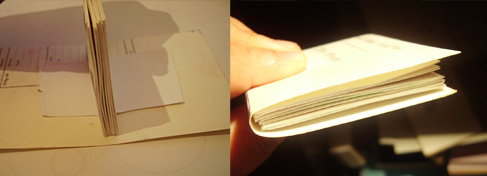
Now comes the fun part. Cut out some strips of paper for the binding. The pieces I used were about 8×4 cms but it really doesn’t matter what size as long as it is smaller than the actual pages. Now fold the strips of paper and glue one side of the fold to one side of a fold on another piece. Keep gluing the folded parts together until you get what looks like a mini book.

strips-of-paper.jpg

Now start gluing the back of the watercoloured pages to the mini book like in the image below. If this doesn’t make sense please let me know-I am terrible at explaining. Keep gluing each page until the book is all glued together. Remember to keep the pages in the right order you wanted and remember that some pages will be back to back.

gluing-pages-together.jpg

Now that the booklet is almost done it needs a cover. I cut a piece of cardboard scrap I had lying around. Glue the last two paper strips to the cardboard. The cover is one piece of cardboard not two pieces. Once glued fold it like in the picture. You might need to hold it under some weight (such as another thick book) to help it keep its shape.

glue-cover-card.jpg

Now all you have to do is line the cover with some pretty paper. I chose this gorgeous scrapbook paper that has glittery accents on it. Line both the inside and outside of the cover.

cover-lining.jpg

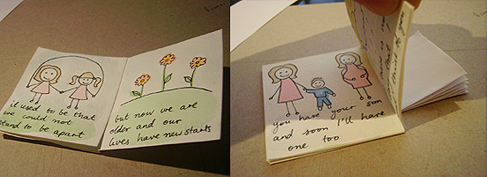
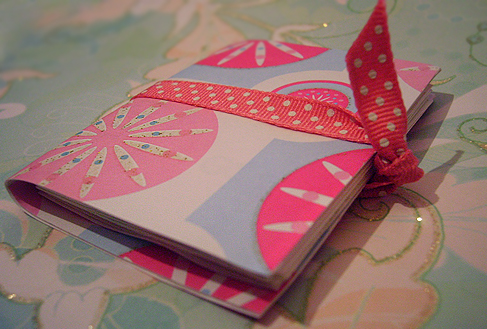
Now you have a cute little story booklet. I tied it with pretty ribbon to give it something extra. You can print a title on the cover, use transfers or stickers or add some beads and ribbon. It’s up to you.

final-book.jpg

July YouTube Craft Tutorial Roundup

Wednesday, July 9th, 2008

YouTube is a wonderful resource for all kinds of tutorials. Here’s a roundup of some tutorials I found interesting:

1. Napkin Decoupage describes different projects you can embark on using napkins and glue. It is produced by Crafts Beautiful, a U.K. based website that features a ton of different craft tutorials.

2. The second video is an introduction to working with polymer clay produced by Polymer Clay TV. You can view all their tutorials on their YouTube channel PolymerClayTV.

3. Of course, I had to include a wire wrapping tutorial. This one is by Auntie’s Beads and explains how to make a wire wrapped ring with crafting wire and some buttons. Auntie’s Beads’ website and YouTube channel currently feature 85 jewelry making related video tutorials.

4. Threadbanger produces my favorite crafting webcasts. This installment shows how to upcycle towels into a bathmat.

5. If you are looking for a craft project to complete with your kids on a rainy day, Vicki Bodwell of the Warm Biscuit Bedding Co. shows you how to make tissue paper flowers.

6. The final piece is by Crafty Daisies’ alumna Joy. I completely forgot about this video and stumbled on it on YouTube, so I thought I should include it. Here you can learn how to make polymer clay buttons.

Do you have some favorite YouTube tutorials you’d like to share?

And The Winner Is . . .

Monday, July 7th, 2008

img_9418square.jpg
Lisa C.! Thank you for all your nice comments and further suggestions. I’ve never worked with memory wire before, but your ideas have made me curious. Another material to try!

Charmed: Wine Charm Tutorial and Giveaway

Wednesday, July 2nd, 2008

img_9416small.jpg

During one of your recent summer festivities, did you pick up “your” glass and, about to take a sip, discovered that the shade of lipstick on the glass rim didn’t match yours? To avoid such a shocking social faux pas consider spending 10 minutes making some wine charms.

img_9390small.jpg

Materials

  • 4 inch length of copper wire per wine charm
  • Dowel with the same circumference you want the charm to have. I used a broomstick
  • Chain-nose pliers
  • Wire cutters
  • Anything you want to use to embellish the charms (beads, buttons, small hardware)

img_9395small.jpg

With the chain-nose pliers, make a P-shaped loop at the end of the wire.

img_9397small.jpg

Wrap the wire around the dowel to shape a hoop.

img_9400small.jpg

String the embellishments on the wire. These are plastic faceted beads.

img_9401small.jpg

Using the pliers, first bend up the P-loop by 90 degrees. If you hold up the hoop, the loop should be parallel to the table top. Then bend the straight end of the wire up to shape a right angle.

img_9405small.jpg

Trim the end of the straight wire so you can comfortably close the hoop by pushing the end through the P-loop. The whole thing will look like an earring hoop.

charmcollage.jpg

Here are some ideas to decorate the charms. Plunder the hardware store, or your jar of lose bolts and nuts for a more edgy look, or find some cool buttons and string them on wire or thread to attach them to the hoop.

The Giveaway

img_9423small.jpg

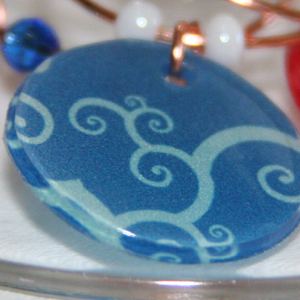
Here I used ink jet shrink film to print and bake different shapes decorated with these digital papers designed by the talented Bobbi-lee. Check out her blog at tomandjasmine.wordpress.com.

You can become the proud owner of these charms by leaving a comment at the end of the tutorial. I will draw the winner on Monday, July 7.

Have a fun holiday!